
Related Manuals for llaza SPLENBOX 400


Summary of Contents for llaza SPLENBOX 400
- Page 1 SPLENBOX 400 Manual de Instalación installation manual REF. 45098014000 Fecha / Date: 31 Enero 2019 / 31st January 2019 REV.
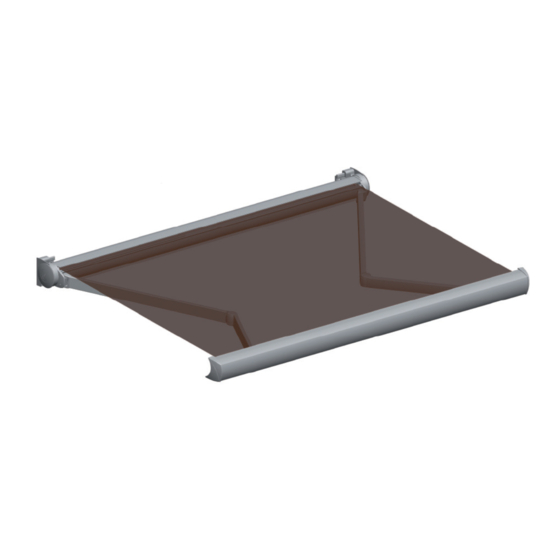
- Page 2 Consigue una salida y capacidad de enrolle de 4,00 m. con tubo de Ø80mm. Diseñado completamente metálico, por lo que ofrece un aspecto impecable de alto valor estético y gran calidad. Splenbox 400 cassette awning with adjustment of slope using an independent rack system. ...
- Page 3 SPLENBOX 400 SPLENBOX 400 2.1.- Despiece del producto / Product parts 2.2.– Nomenclatura / Nomenclature ESTE CONJUNTO TAMBIÉN SE PUEDE CONFIGURAR CON BRAZOS ONYX THIS MODEL CAN ALSO BE ASSEMBLED WITH ONYX ARMS...
- Page 4 SPLENBOX 400 1.1..– Secciones acotadas / Section dimensions FIJACIÓN FRONTAL / WALL MOUNTING FIJACIÓN A TECHO / CEILING MOUNTING Placa de sustentación Frontal / Techo Fixing plate Wall / Ceiling...
- Page 5 SPLENBOX 400 2.1- Tablas de selección motor / Selecction motor table Tubo enrolle Ø70 / Linea / Width (m) 2,00 2,50 3,00 3,50 4,00 4,50 5,00 5,50 6,00 Ø70 Rolling tube 1,50 2,00 Salida / 2,50 Projection 3,00 3,50 4,00 Tubo enrolle Ø80 /...
- Page 6 SPLENBOX 400 5.1- Herramientas y accesorios recomendados para la instalación / Recommended tools and accessories for installation procedure 6.1- Línea / Width Línea total accionamiento motor / Total width for motor operation 7.1.- Instrucciones de instalación — Installation instructions L-40 La distancia entre la parte exterior de las placas, si utilizamos laterales embellecedores, será...
- Page 7 SPLENBOX 400 8.1.- Instrucciones de instalación — Installation instructions Fijación del conjunto sobre los soportes pared / Fixing the cassette support to the wall bracket. Para la realización de un cambio de inclinación en el conjunto / To change the cassette slope proceed as indicated in the drawing.
- Page 8 SPLENBOX 400 8.1.– Instrucciones de fabricación / Assembly instructions Para la realización de un cambio de paralelismo en el conjunto / To modify the alignment of the arms, proceed as follows. Regulación paralelismo / Parallelism regulation Fijación paralelismo / Parallelism fixing 8.2.–...
- Page 9 SPLENBOX 400 8.3.– Instrucciones de fabricación / Assembly instructions Para la colocación de las regletas y tapas laterales / Introduction of the joining insert and plastic caps IMPORTANTE: Verificar que en cada lado del perfil de carga estén los patines IMPORTANT: Do not forget that a plastic runner has to be introduced at each side of the profile 8.4.–...
- Page 10 SPLENBOX 400 BASIC NOTES ON ASSEMBLY AND INSTALLATION: Assembly and installation should be done by trained personnel. IMPORTANT SAFETY CONSIDERATIONS: For proper installation of the awning, the instructions for assem- bly and installation must be carefully followed step by step. Keep plastic bags or any other mounting pieces out of children’s reach.
- Page 11 SPLENBOX 400 CONSIDERACIONES BÁSICAS PARA EL MONTAJE Y LA INSTALACIÓN: El montaje y la instalación de este producto debe realizarlo personal cualificado. INSTRUCCIONES IMPORTANTES PARA LA SEGURIDAD. Atender a las advertencias de seguridad indica- das junto al producto o en las instrucciones de montaje. Las bolsas de plástico y otros elementos de montaje no son ningún juguete y deben quedar fuera del alcance de niños o personal ajeno al mon-...
- Page 12 LLAZA WORLD, S.A. Tramuntana, 1. Pol.Ind. Roques Roges 43460 ALCOVER Tel. +34 990 600 / Fax +34 977 990610 e-mail: info@llaza.com / Export@llaza.com...
Need help?
Do you have a question about the SPLENBOX 400 and is the answer not in the manual?
Questions and answers