
Subscribe to Our Youtube Channel
Related Manuals for Dakota Alert PR-4000


Summary of Contents for Dakota Alert PR-4000
- Page 1 Dakota Alert WIRELESS SECURITY EQUIPMENT Portable Receiver PR-4000 USER GUIDE www.dakotaalert.com...
-
Page 2: Package Contents
When a signal is received, the zone will be displayed on the LCD screen and the receiver can be set to give an audible tone or a silent vibrate alert. The PR-4000 can store up to 200 event logs for each of the zones with time and date stamp. The portable receiver is powered by a rechargeable Li-Ion battery which will hold a charge for about a week. -
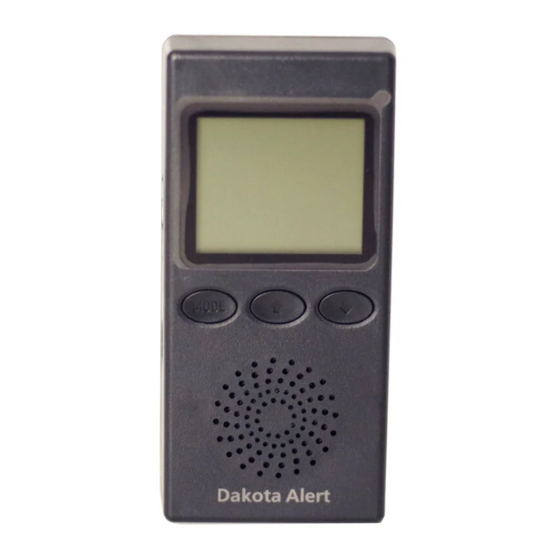
Page 3: Front View
POWER RESET SIDE VIEW FRONT VIEW... -
Page 4: Locking/Unlocking The Keypad
CHARGING THE PR-4000 • The charging port is located on the left side of the PR-4000 below the power button. • This can be charged with any USB micro charger. • The battery icon will blink while charging • Charge time will typically be 6-8 hours. - Page 5 SETTINGS-volume, vibrate and time/date VOLUME • Press and release the power button to clear the “Zone” and “TTL”. • With the keypad unlocked, press and release the MODE button. • The speaker icon will flash in the display. • Use the up and down arrows to select the desired level of volume (0-4) VIBRATE •...
- Page 6 • The display will now show “USE” to indicate that the sensor has been programmed to that zone. • If you are using more than one sensor with the PR-4000, use the DOWN button to move on to the next zone that you would like to program.
- Page 7 William Tell Canon in D Morning NOTE: Each sensor can only occupy one zone of the PR-4000. If you program a Toreador March sensor more than once, it will remember Beep (high) the last zone it was programmed to and...
- Page 8 DELETING (CLEARING) SENSORS FROM THE PR-4000 • Press and release the POWER button to clear the “ZONE” and “TTL”. • With the keypad unlocked, press the MODE and UP key at the same time and then release. • While in programming mode, use the DOWN button to toggle through the zones (1-16).
- Page 9 LOW BATTERY ALERT IN SENSOR If a sensor has a low battery the PR-4000 display will read “LO bAttEry” when a signal is received from that sensor. (FIGURE 3) Follow the instructions of the sensor for advice and guidance on changing the battery.
-
Page 10: Alert Log
ALERT LOG • The PR-4000 can store up to 200 event logs for each of the zones with time and date stamp. • Press and release the power button to clear the “Zone” and “TTL”. • To view the log, first unlock the keypad. Press the MODE and DOWN buttons at the same time and release. -
Page 11: Factory Default
USB charging port. You will feel a small click when you press the reset button. The display will default to the original factory setting and no senors will be programmed to the PR-4000. -
Page 12: Warranty
WARRANTY Dakota Alert warrants this product to be free of defects in materials and workmanship for a period of one year from the date of purchase. This warranty does not cover damage resulting from accident, abuse, act of God, or improper operation. If this product does become defective, simply return it to Dakota Alert.
Need help?
Do you have a question about the PR-4000 and is the answer not in the manual?
Questions and answers