Subscribe to Our Youtube Channel
Summary of Contents for Dakota Alert RE-4k PLUS ANZ
- Page 1 Wireless Receiver RE-4k PLUS ANZ USER GUIDE NEW ZEALAND AUSTRALIA www.bealert.co.nz www.bealert.com.au...
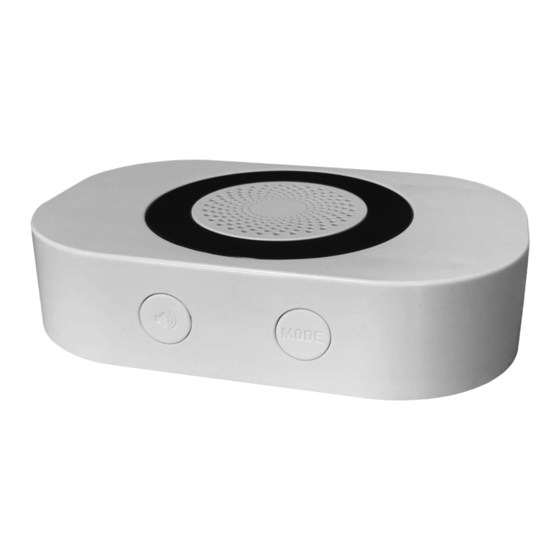
- Page 2 OVERVIEW Bottom Power adapter jack Terminals Front Speaker LEDs Volume button Mode button Back DIP switches Mounting holes...
-
Page 3: Package Contents
PACKAGE CONTENTS • RE-4k Plus receiver • Power adapter • User Guide POWERING YOUR RECEIVER Connect the power adapter to the jack in the bottom of the receiver. Plug the power adapter into a power outlet. Power adapter Bottom... -
Page 4: Setting Up Your Receiver
SETTING UP YOUR RECEIVER ‘Basic Setup’ lets you choose the tune and LED settings you want for Dakota Alert 4000 Series transmitters. In addition to tune and LED settings, ‘Advanced Setup’ lets you set up exterior sensors using the Relay 1, Relay 2, and the 12 VDC terminals. - Page 5 MODE Press and hold the button for three seconds until all LEDs flash and start blinking slowly. Set the DIP switches to control the actions when a signal is received: DIP 1: LEDs flash - on or off DIP 2: Chime or tune - on or off DIP 3: Relay 1 output - on or off DIP 4: Relay 2 output - on or off DIP 5: 12VDC output - on or off...
-
Page 6: Adjusting The Volume
CONNECTING WIRES TO THE TERMINALS The RE-4k Plus receiver has two relay outputs (NO, COM, NC) and a 12 VDC (+ and –) output terminal. Back of receiver To connect lead wires to the terminals, strip off 3/8” (10 mm) of insulation from the end of the wire. Note: The terminals work with wire gauges from 22 to 16 AWG (low voltage only). -
Page 7: Mounting The Receiver
DELETING ALL SENSORS MODE Press and hold the button for three seconds until the LEDs flash slowly. MODE Press and hold the (volume) buttons again for five seconds. The four lights flash quickly, then turn off. The receiver is reset, and all codes are deleted Note: To recode transmitters to the receiver, see ‘Basic Setup’... -
Page 8: Specifications
We will be happy to answer your questions and help you in any way we can. WARRANTY: Dakota Alert warrants this product to be free of defects in material and workmanship for a period of one year from the date of purchase. This warranty does not cover damage resulting from accident, abuse, act of God or improper operation.


Need help?
Do you have a question about the RE-4k PLUS ANZ and is the answer not in the manual?
Questions and answers