
Related Manuals for Kargo Master 48132


Summary of Contents for Kargo Master 48132
- Page 1 Instruction Guide 48132 Kargo Master Rancho Cordova, CA 95742 800-343-7486 CustomerService@KargoMaster.com 20190730R2 DATE: ______________...
-
Page 2: Table Of Contents
Instructions – 48132 *PLEASE READ ALL INSTRUCTIONS AND WARNINGS PRIOR TO ASSEMBLING, INSTALLING, AND USING THIS PRODUCT* Warning Always check for wires, fuel tanks and lines, brake lines and other important vehicle functionality items prior to drilling and installing all products. -
Page 3: Parts List
Instructions – 48132 Parts Hardware For Technical Support Call: 800-343-7486 Monday-Friday 7AM - 4 PM (PST) Page 3... -
Page 4: Step 1 - Determine Location
Instructions – 48132 Step 1 – Determine Location • Determine the location for the drawer to be mounted. Note: If only one drawer unit is being installed, it is recommended to install directly under a shelf. This provides an enclosed area when drawer is closed. -
Page 5: Step 2 - Attach Drawer Mounts
Instructions – 48132 Step 2 – Attach Drawer Mounts • Place the drawer mount into the shelf unit in the orientation shown. • Hook the drawer mounts onto the rear tab in the shelf side panel. • Using two 1/4" x 1/2”... -
Page 6: Step 3 - Install Divider
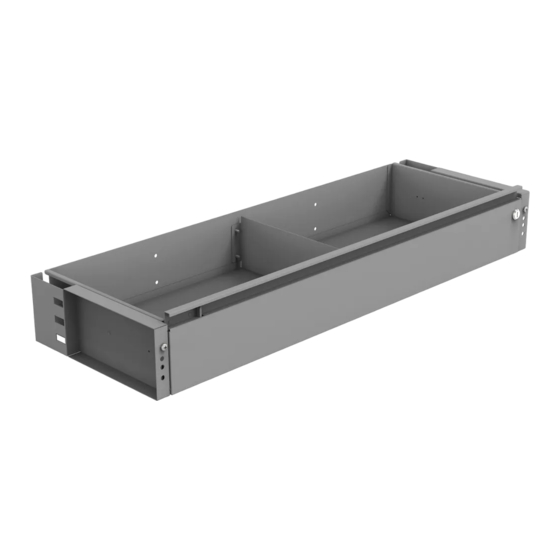
Instructions – 48132 Step 3 – Install Divider • If desired, install the divider into the shelf assembly. There are three locations to choose from. • Bolt into place using 1/4" x 1/2” pan head screw. Be sure the front of the divider sits in the slot at the front of the drawer assembly. -
Page 7: Step 4 - Install Drawer
Instructions – 48132 Step 4 – Install Drawer • Align the slider rails on the previously installed side mounts with the slides on the drawer unit. • Slide the drawer assembly in place. The drawer should move freely in and out of place. Be sure the drawer can NOT pull out from sliders when fully opened. -
Page 8: Drawer Removal
Instructions – 48132 Steps to remove drawer from drawer mounts • Extend the drawer all the way out to view the latch. • Gently click the latch to disengage the rail. Note: If the latch's original position is up, clip down to disengage and vice versa. - Page 9 Instructions – 48132 Multiple shelf units may be installed in a variety of different locations. Some examples are shown below. When only one drawer unit is being installed, it is recommended to install directly below a shelf to provide an enclosed area when the drawer is closed.
Need help?
Do you have a question about the 48132 and is the answer not in the manual?
Questions and answers