Advertisement
Quick Links
Replacing Ink Tubes
Tech Note Number: 508
Applicable Models: AnaJet FP-125 printer series
To replace ink tubes please follow these steps.
If replacing ink tubes 1-4 you will first need to remove the ink bay. If you are replacing ink tubes 5-8 only
you can skip to step 10.
1. Remove the ink cartridges from the Ink Bays.
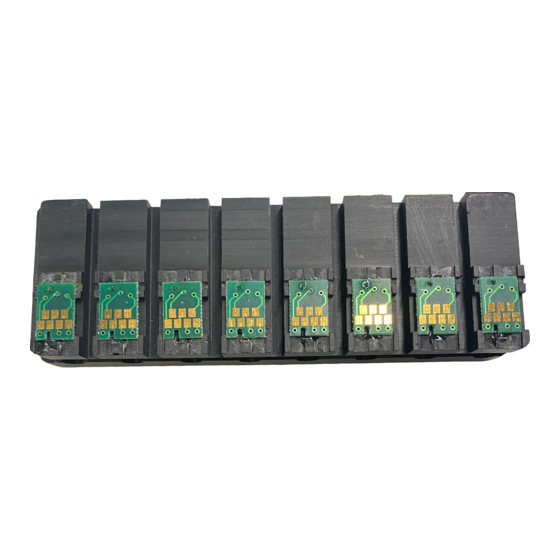
2. Remove the 10 pin connector from the Ink PCBA.
3. Remove the 2 6-32 screws from the bottom of the Ink Bay Bezel. See Photo 3.2.7-1
Technical Notes
Total number of pages: 6
Date: April 16, 2009
Page 1 of 6
Advertisement

Subscribe to Our Youtube Channel
Related Manuals for AnaJet FP-125


Summary of Contents for AnaJet FP-125
- Page 1 Total number of pages: 6 Date: April 16, 2009 Applicable Models: AnaJet FP-125 printer series To replace ink tubes please follow these steps. If replacing ink tubes 1-4 you will first need to remove the ink bay. If you are replacing ink tubes 5-8 only you can skip to step 10.
- Page 2 Photo 3.2.7-1 4. Slide the Ink Bay Bezel back about ¼ inch until the top retaining tabs are free. 5. Unplug the cables to J 1 and J 2 from the Ink LED PCBA. 6. Pull the Ink Bay Bezel to the right and off of the Chassis. Use caution to avoid damaging the Ink LED Panel flex cable.
- Page 3 Page 3 of 6...
- Page 4 8. Remove the 6-32 screws from the upper bracket of the Ink Delivery System and the back case. 9. Then slide the ink bay forward and lift out. 10. Disconnect the appropriate ink tubes from the ink bay by loosening the hex nuts on the back of the ink bay.
- Page 5 11. Peel back the Ink Tube Carrier links to allow easy access to the ink tubes. Page 5 of 6...
- Page 6 12. Then remove the dampers according the damper replacement procedure. (See Damper Replacement) 13. Once damper are removed thread the new ink tubes through the ink tube carrier, reattach the ink tubes (note that the tubes are different lengths and are numbered) and reassemble the ink delivery system.
Need help?
Do you have a question about the FP-125 and is the answer not in the manual?
Questions and answers