Table of Contents
Advertisement
Quick Links
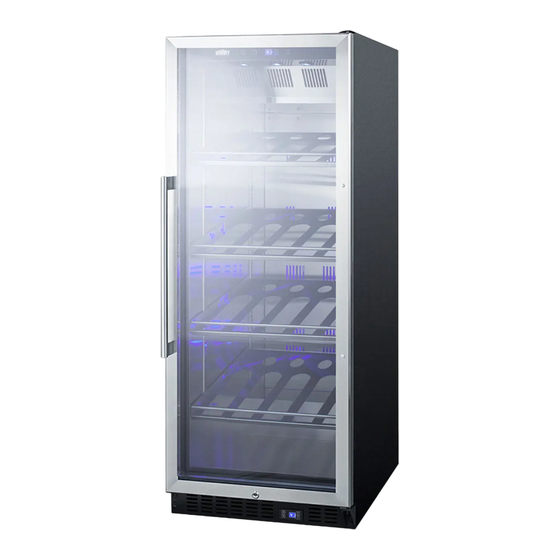
X-Series Wine Cellars
SCR610BLX/CSS
SCR611GLOSX
SCR1401X/LH/CSS
BEFORE USE, PLEASE READ AND FOLLOW ALL SAFETY RULES AND OPERATING INSTRUCTIONS.
Write Model and Serial No. (on lower left
corner of inside cabinet) here:
________________________________________________
COMMERCIAL
WINE CELLARS
Owner's Manual
CH Series Champagne Cellars
SCR610CH/CSS
SCR611GLOSCH
SCR1156CH/CSS
SCR1401/LH/CH/CSS
Felix Storch, Inc.
Summit Appliance Division
ISO 9001:2015 registered
770 Garrison Avenue
Bronx, NY 10474
www.summitappliance.com
Advertisement
Table of Contents


Need help?
Do you have a question about the X-Series and is the answer not in the manual?
Questions and answers