Sign In
Upload
Download
Table of Contents
Contents
Add to my manuals
Delete from my manuals
Share
URL of this page:
HTML Link:
Bookmark this page
Add
Manual will be automatically added to "My Manuals"
Print this page
×
Bookmark added
×
Added to my manuals
Manuals
Brands
Zanussi Manuals
Oven
ZOB35471BK
User manual
Zanussi ZOB35471BK User Manual
Hide thumbs
1
2
3
4
5
6
7
8
9
10
11
12
13
14
15
16
17
18
19
20
Table Of Contents
21
page
of
21
Go
/
21
Contents
Table of Contents
Troubleshooting
Bookmarks
Table of Contents
Safety Information
Children and Vulnerable People Safety
General Safety
Safety Instructions
Internal Light
Product Description
Before First Use
Daily Use
Activating and Deactivating the Appliance
Oven Functions
Clock Functions Table
Setting the Duration
Using the Accessories
Additional Functions
Hints and Tips
Drying - True Fan Cooking
Care and Cleaning
Notes on Cleaning
Stainless Steel or Aluminium Appliances
Cleaning the Door Gasket
Cleaning the Oven Door
Replacing the Lamp
Troubleshooting
Service Data
Installation
Electrical Installation
Securing the Appliance to the Cabinet
Energy Efficiency
Environmental Concerns
Advertisement
Quick Links
1
Oven Functions
Download this manual
User Manual
GETTING
STARTED?
EASY.
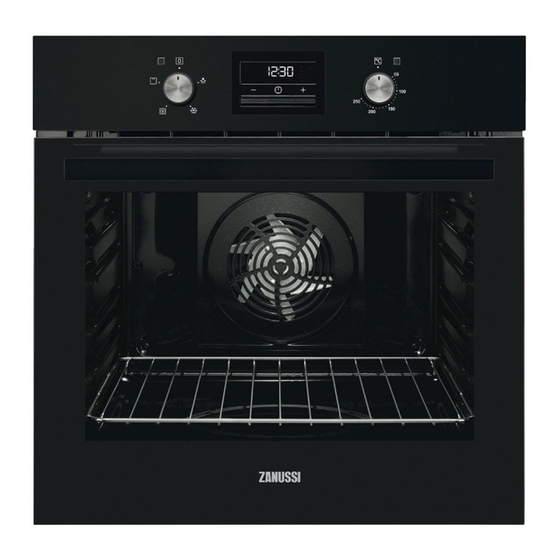
ZOB35471BK
ZOB35471WK
ZOB35471XE
ZOB35471XK
EN User Manual
Oven
Table of
Contents
Previous
Page
Next
Page
1
2
3
4
5
Advertisement
Table of Contents
Need help?
Do you have a question about the ZOB35471BK and is the answer not in the manual?
Ask a question
Questions and answers
Related Manuals for Zanussi ZOB35471BK
Oven Zanussi ZOB35471WK User Manual
(21 pages)
Oven Zanussi ZOB35471XK User Manual
(21 pages)
Oven Zanussi ZOB35301BK User Manual
Product manaul (36 pages)
Oven Zanussi ZOB35301 User Manual
Zanussi zob35301 oven user manual (20 pages)
Oven Zanussi ZOB35301XK User Manual
(49 pages)
Oven Zanussi ZOB35712BK User Manual
(20 pages)
Oven Zanussi ZOB35301 User Manual
(20 pages)
Oven Zanussi ZOB353X User Manual
(20 pages)
Oven Zanussi ZOB35805XK User Manual
(48 pages)
Oven Zanussi ZOB35905XU User Manual
(53 pages)
Oven Zanussi ZOB35602XK User Manual
(29 pages)
Oven Zanussi ZOB35602XK User Manual
(68 pages)
Oven Zanussi ZOB35712 User Manual
(40 pages)
Oven Zanussi ZOB35602 User Manual
(64 pages)
Oven Zanussi ZOB35632XU User Manual
(29 pages)
Oven Zanussi ZOB35805 User Manual
(60 pages)
This manual is also suitable for:
Zob35471wk
Zob35471xe
Zob35471xk
Table of Contents
Print
Rename the bookmark
Delete bookmark?
Delete from my manuals?
Login
Sign In
OR
Sign in with Facebook
Sign in with Google
Upload manual
Upload from disk
Upload from URL


Need help?
Do you have a question about the ZOB35471BK and is the answer not in the manual?
Questions and answers