Table of Contents
Advertisement
Available languages
Available languages
EN
FR
NL
!
#
%
J1: Not used.
J2:
DE
IT
Not pet immune (PI)
LED on.
J3 and J4:
See Figure '.
LED off.
Installation Instructions
ES
PT
PL
$
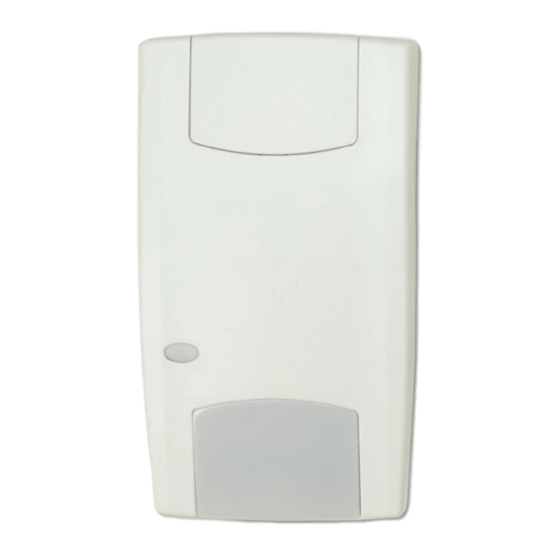
EV1012(AM)(Z)
12 m range (39' 4")
J5:
Terminal 8 = D/N.
Terminal 8 = Remote test.
www.gesecurity.eu
EV1000 Series PIRs
SV
Revision 4.1 (October 2008)
•
Part number 146169999-4A
"
J6:
•
Copyright © 2008 GE Security B.V. All rights reserved
CV + polarity.
CV - polarity.
Advertisement
Table of Contents

Subscribe to Our Youtube Channel
Related Manuals for Aritech EV1000 Series


Summary of Contents for Aritech EV1000 Series
- Page 1 EV1000 Series PIRs Installation Instructions Revision 4.1 (October 2008) • Part number 146169999-4A " Not pet immune (PI) EV1012(AM)(Z) 12 m range (39' 4") J1: Not used. LED on. J3 and J4: Terminal 8 = D/N. CV + polarity. See Figure '.
- Page 2 EV1000 Series PIRs Installation Instructions & (7'10") (2'12") PIR/AM PIR/AM EV1012 EV1012AMZ EV1012AM EV1012 EV1012AM...
-
Page 3: Installing The Detector
EV1000 Series PIRs Installation Instructions SW 3: Resetting the AM/TF output Installation instructions The system will only reset an AM alarm if it has ensured that the cause of the AM alarm has been removed. If the AM circuitry Introduction cannot return to its original reference levels, then either the detector is still masked or possibly has been damaged. -
Page 4: Instructions D'installation
EV1000 Series PIRs Installation Instructions SW 2 : Sensibilité d’anti-masque Manuel d’installation Activé : Augmente la sensibilité d’anti-masque. Le relais AM réagit en moins de 6 secondes. Introduction Désactivé : Sélectionne la sensibilité d’anti-masque standard. Le La gamme EV1000 / 1000AM est constituée de détecteurs de relais AM réagit en moins de 12 secondes (sortie... -
Page 5: Installatie-Instructies
EV1000 Series PIRs Installation Instructions EV1012 EV1012AMZ EV1012AM J6: Polariteitsinstelling van de regelspanning (CV) Protection contre Facultatif Cart e cen trale (oui) Aan: “Actieve hoge” biedt de standaard GE Security-logica met l’arrachement “Actieve hoge”-logica om de ingangen Looptest (WT) en Dag/Nacht (D/N) in te schakelen. -
Page 6: Technische Specificaties
EV1000 Series PIRs Installation Instructions Technische specificaties J1: Nicht verwendet J2: PIR aktiviert die LED EV1012 EV1012AMZ EV1012AM Die Melder-LED ist immer aktiviert (Werkseinstellung). Ein: Detector PIR + AM Die LED wird von der Einbruchmeldezentrale gesteuert Signaalverwerking Aus: und die Melder-LED ist immer deaktiviert (keine... -
Page 7: Technische Daten
EV1000 Series PIRs Installation Instructions Selezionare le impostazioni desiderate dei ponticelli e dei PIR/AM Rote Gelbe Alarm- Zurücksetzen commutatori DIP switch (vedere fig. %). Per ulteriori relais Relais informazioni, vedere la sezione Impostazione del rivelatore. Unterspannung Offen Offen Verwenden Sie die... -
Page 8: Indicatori Led
EV1000 Series PIRs Installation Instructions SW 4: segnalazione uscita AM o TF Instrucciones de instalación Questo DIP non viene utilizzato con la versione AMZ dei Introducción rivelatori. segnala AM su entrambi i relè AM e allarme e TF solo sul La gama EV1000/1000AM está... - Page 9 EV1000 Series PIRs Installation Instructions EV1012 EV1012AMZ EV1012AM Configuración de interruptor DIP Consumo de corriente en INTERRUPTOR 1: Para señalar la salida AM (antimáscara) o FT estado normal (mA) (fallo técnico) Consumo de corriente en Señala AM o FT sólo cuando el sistema está en...
-
Page 10: Especificações Técnicas
EV1000 Series PIRs Installation Instructions J5: Modo D/N (Dia/Noite) ou definição Rtest (teste remoto) * Depende da configuração do DIP switch SW4. Utilize este jumper para definir o terminal 8 para D/N ou Rtest. A Especificações técnicas GE Security recomenda que utilize D/N para gerir a activação AM/TF, se necessário. -
Page 11: Dioda Led
EV1000 Series PIRs Installation Instructions J1: Nieużywany PIR/AM Czerw. Żółta Przekaźnik Przekaźnik Zerowanie alarmu J2: Włączenie diody LED detektora podczerwieni Alarm intruza Rozwarty Automatycznie po Włącza diodę LED czujki we wszystkich (alarm) 3 s. sytuacjach (ustawienie fabryczne). (Włączony): Zablokowany Przełącz w tryb Włącza sterowanie diodą... -
Page 12: Inställningar Av Detektorn
EV1000 Series PIRs Installation Instructions Sätt på fronen. LED indikering Sätt i skruven (om det krävs) och tryck fast luckan. Fast LED Blinkande LED (1 Hz) Fast blinking (4 Hz) Inställningar av detektorn Röd Larmrelä AM-relä Återställning Se figur för byglarnas placering i detektorn.
Need help?
Do you have a question about the EV1000 Series and is the answer not in the manual?
Questions and answers