Advertisement
Quick Links
fig. 1a
fig. 1c
EV435AM/EV436AM
fig. 1e
EV455AM/EV456AM
fig. 4
fig. 1b
fig. 1d
fig. 3
"CV" = Control Voltage
Either "Low" or "High" Control Voltage may be used "Low" = 0 Volt
Select the appropriate Control Voltage Setting.
fig. 5
fig. 9
- 1 -
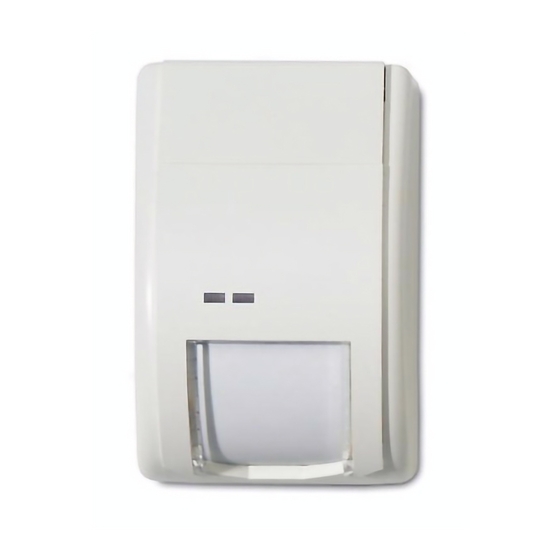
EV400AM SERIES DETECTOR
fig. 2
Switch Description
1
LED indication
2
Range
3
Processing
4
Trouble output
ETO + alarm relay;
tech. fault; ETO only
5
AM Sensitivity
6
Reset Tr.output
7
Tr. output indic. Only in disarm mode
8
Contr. Polarity
fig. 6
fig. 7
fig. 10
fig. 11
EV435AM/EV436AM/EV455AM/EV456AM
On
LED's on
LED's controlled
max. stated range
min. stated range
Bi-curtain
Standard-4D
High
Standard
After Walk test
Authorized reset
Immediately
Active High
Active Low
"High" = 12 Volt
fig. 8
fig. 12
Off
ETO
Advertisement

Related Manuals for Aritech EV400AM Series


Summary of Contents for Aritech EV400AM Series
- Page 1 EV400AM SERIES DETECTOR EV435AM/EV436AM/EV455AM/EV456AM fig. 2 Switch Description fig. 1a LED indication LED's on LED's controlled Range max. stated range min. stated range Processing Bi-curtain Standard-4D Trouble output ETO + alarm relay; tech. fault; ETO only AM Sensitivity High Standard Reset Tr.output...
- Page 2 © 2003 GE Interlogix B.V.. All rights reserved. - 2 - 4006-1B...
- Page 3 Switch 8: Control polarity: English "ON " provides the standard Aritech logic with active high logic to enable Walk test and Latch inputs. MOUNTING INSTRUCTIONS (fig. 1a). "OFF " provides active low logic to enable Walk test and Latch inputs.
- Page 4 Interrupteur 8: Polarité de contrôle: mur d’aplomb "ON " fournit la logique standard Aritech avec 12 V, pour activer les entrées • Utiliser la base comme gabarit pour marquer les emplacements des vis sur Test de marche et Verrouillage.
- Page 5 2 en 10 aansluiten. ALARMGEHEUGEN (fig. 3). Let op 3: Aritech adviseert om regelmatig een Looptest van de detector uit te Let op: Allereerst dient de polariteitsaansturing ("CV") van het alarmgeheugen voeren en het resultaat op het controlepaneel te verifiëren.
- Page 6 " OFF " legt die Standard-AM -Empfindlichkeit fest. Klemme 10 = Gehtest/Abdeckmeldung Rückstellung Schalter 6: Rückstellung des "Störungsausgangs": 4) Das Aritech VS200 Plombier-Siegel (VdS) muß wie in Abb. 1b abgebildet an Gehäuse- " ON " Rückstellung des Störungsausgangs im Anschluß an jeden beliebigen Gehtest.
- Page 7 Interruttore 8: Polarità di controllo: • Fissare la base alla parete. " ON " la logica standard Aritech con un riferimento positivo per abilitare gli • Spelare il cavetto per 5 cm e introdurlo attraverso il foro (o i fori) passacavo ingressi test Copertura e Latch.
- Page 8 Interruptor 8: Polaridad de control: Espagñol " ON " Proporciona la lógica estándar Aritech conlógica activa alta para activar las entradas de la prueba de condición y del seguro. INSTRUCCIONES DE MONTAJE (fig. 1a). " OFF " Proporciona lógica activa baja para activar las entradas de la prueba •...
Need help?
Do you have a question about the EV400AM Series and is the answer not in the manual?
Questions and answers