
Related Manuals for Grundig GCA-B1002B


Summary of Contents for Grundig GCA-B1002B
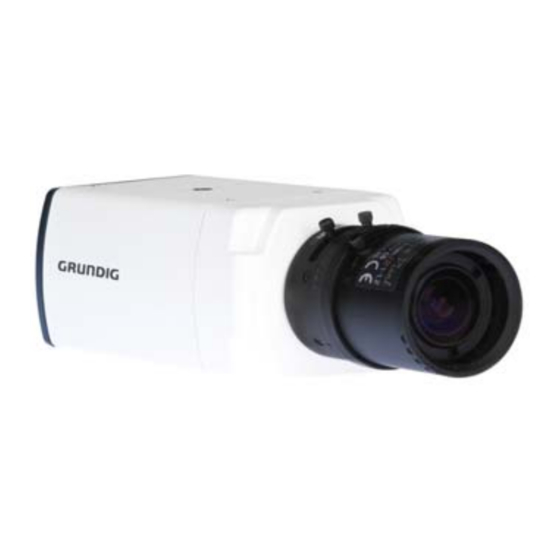
- Page 1 Owner's Manual Cameras & Domes GCA-B1002B 1/3" CCD Colour Camera, 650L, 230VAC GCA-B1302B 1/3" CCD Colour Camera, 650L, 12VDC/24VAC GCA-B1002B.76.1.09.10.2012 © ASP AG...
-
Page 3: Table Of Contents
Content: 1. Available Versions 2. Important Safety Instructions 3. Package Contents 4. Installation 1. Camera Overview 2. Lens Mounting 3. Back Focus Adjustment 4. Power Connection 5. OSD Control Keys 6. OSD Menu 1. LENS 2. SHUTTER/ AGC 3. WHITE BAL (White Balance) 4. -
Page 4: Available Versions
Continued use in such a condition may cause fire or electric shock. If this product fails to operate normally, contact the nearest service center. Never disassemble or modify this product in any way. (GRUNDIG is not liable for problems caused by unauthorised modifications or attempted repair.) To prevent fire or electric shock, do not expose the inside of this device to rain or moisture. -
Page 5: Camera Overview
1. AUTO IRIS Connector: Auto iris lens connector 2. POWER LED: Red light indicates good power connection. 3. VIDEO OUT (BNC Connector): For video output 4. For GCA-B1002B: 230V AC Connector / For GCA-B1302B: DC 12V/AC 24V Connector 5. OSD Control Keys 4.2. - Page 6 4.3. Back Focus Adjustment When to adjust the back focus: Back Focus refers to the distance from the rear lens element to the camera focal plane. It is only required to adjust the back focus only when the focus cannot be adjusted throughout its zoom range.
-
Page 7: Power Connection
4.4. Power Connection For the camera with 230V power supply, please put the power cable into the camera. For the camera with 12V DC/24V AC power supply, connect the power terminal block. 5. OSD Control Keys - SET UP key (in the middle): Accesses the menu mode or confirms the setting. -
Page 8: Lens
ATR: This function is used to improve the contrast of the image (similar to WDR). NR: This noise reduction function is to decrease the noise which can be generated under low light conditions. DAY/NIGHT: This function is used to improve the camera's sensitivity at night or when the brigthness level of the ambient environment is low. -
Page 9: Shutter/ Agc
AUTO: Here you can set the operation mode of the lens and adjust the iris speed. - TYPE [DC, VIDEO] : Please do not select VIDEO mode. Please choose DC for this camera model. - MODE [AUTO, OPEN, CLOSE] : Choose whether the lens iris should be controlled automatically or be fixed to open or close. -
Page 10: White Bal (White Balance)
LOW LUMINANCE - MODE [AGC, OFF] : When choosing AGC, the auto exposure is controlled by using AGC. - BRIGHTNESS [x0.25, x0.50, x0.75, x1.00] : Sets the value of auto exposure operations. As the value increases, the screen gets brighter. MANUAL: Here you can set the SHUTTER value and the AGC value. - Page 11 - SPEED [000~255] : Sets the speed of searching for White Balance when the colour temperature changed. - DELAY CNT [000~255] : This sets the delay time of searching for White Balance, when the colour temperature changed. - ATW FRAME [x0.5, x1.0, x1,5, x2.0] : Adjust ATW by increasing or decreasing the colour temperature.
-
Page 12: Backlight
MANUAL: This function allows the white balance to be adjusted manually. An increased level produces a strong blue tone on the screen and a decreased level produces a strong red tone on the screen. PUSH LOCK: This mode is set to the current white balance condition and keeps its value. Select this mode and then press the SET UP key. -
Page 13: Nr (Noise Reduction)
LUMINANCE [LOW, MID, HIGH] : This improves the visibility of bright areas. CONTRAST [LOW, MIDLOW, MID, MIDHIGH, HIGH] : This improves the visibilty of dark areas. 6.6. NR (Noise Reduction) When selecting ↵, the following submenu will appear. NR MODE [OFF, Y, C, Y/C] : This function is used to improve the picture quality by filtering the noise which is generated under low bright light conditions. -
Page 14: Camera Id
AUTO [BURST, DELAY CNT, DAY→NIGHT, NIGHT→DAY] : This mode automatically switches the video signals between COLOR and B/W when the according ambient illumination/brightness is reached. - BURST: Set this option to ON to output a burst signal in B/W mode. - DELAY CNT: Sets the delay time for switching between COLOR and B/W mode. -
Page 15: Pict Adjust (Picture Adjustment)
Steps for programming the Camera ID: 1. Turn on the CAMERA ID mode and enter the submenu. 2. Using the four direction keys, switch between the characters. Press the SET UP key to make a desired figure. 3. Press CLR if you need to delete letters. NOTE: CHR1 is the preset selection of characters for this camera (letters from A to Z, numerals from 0 to 9, symbols). -
Page 16: Privacy
DETECT SENSE [000~127] : Sets the motion detection sensitivity. BLOCK DISP [OFF, ON, ENABLE] : Controls the ON/OFF status of the motion detection block display. - ON, OFF: Turns the block display on/off. - ENABLE: If the BLOCK DISPLAY is set to ON, you can choose in this setting with the SET UP key areas where the motion detection (in block format) should not be displayed. -
Page 17: Language
AREA SEL [1/8 ~ 8/8] : Select a mask out of the 8 mask areas and set the options below for the selected mask. If MONITOR AREA in the MOTION DET menu has been set to ON, four areas will be selectable. - Page 18 Specifications GCA-B1002B Image Sensor 1/3" CCD Sony 960H Ex-view HAD II Scanning System PAL, 50Hz, 625L (V), 2:1 Inter Line Transfer Pixels - Effective 976(H) x 582(V) Resolution 650 (H) lines Col/B&W Auto (Electronic) / Color / B/W / External Sensitivity Colour 0.01 Lux (50IRE) @ F1.2...
- Page 19 Dimensions English...
- Page 20 EC Declaration of Conformity GCA-B1002B 1/3" CCD Colour Camera, 650L, 230VAC GCA-B1302B 1/3" CCD Colour Camera, 650L, 12VDC/24VAC It is hereby certified that the products meet the standards in the following relevant provisions: EC EMC Directive 2004/108/EC Low Voltage Directive 2006/95/EC...
Need help?
Do you have a question about the GCA-B1002B and is the answer not in the manual?
Questions and answers