Table of Contents
Advertisement
UNITED KINGDOM
CANADA
RUSSIA
GERMANY
UNITED STATES
FRANCE
ITALY
JAPAN
SPAIN
AUSTRALIA
With your inspiring rating, COSTWAY will be more consistent to offer you EASY
SHOPPING EXPERIENCE, GOOD PRODUCTS and EFFICIENT SERVICE!
Mit Ihrer inspirierenden Bewertung wird COSTWAY konsistenter sein, um Ihnen
EIN SCHÖNES EINKAUFSERLEBNIS, GUTE PRODUKTE und EFFIZIENTEN
SERVICE zu bieten!
Avec votre évaluation inspirante, COSTWAY continuera à fournir une
EXPÉRIENCE D'ACHAT PRATIQUE, des PRODUITS DE QUALITÉ et un
SERVICE EFFICACE !
Con su calificación inspiradora, COSTWAY será más consistente para ofrecerle
EXPERIENCIA DE COMPRA FÁCIL, BUENOS PRODUCTOS y SERVICIO
EFICIENTE.
Con la tua valutazione incoraggiante, COSTWAY sarà più coerente per offrirti
ESPERIENZA DI ACQUISTO FACILE, BUONI PRODOTTI e SERVIZIO
EFFICIENTE!
Dzięki twojej opinii COSTWAY będzie mógł oferować jeszcze WYGODNIEJSZE
ZAKUPY, LEPSZE PRODUKTY i SPRAWNIEJSZĄ OBSŁUGĘ KLIENTA.
US office: Fontana
UK office: Ipswich
DE office: FDS GmbH, Neuer Höltigbaum 36, 22143 Hamburg, Deutschland
FR office : 26 RUE DU VERTUQUET, 59960 NEUVILLE EN FERRAIN, FRANCE
USER'S MANUAL
Portable Air-conditioner
ES10043
Advertisement
Table of Contents

Related Manuals for Costway ES10043


Summary of Contents for Costway ES10043
- Page 1 JAPAN SPAIN AUSTRALIA With your inspiring rating, COSTWAY will be more consistent to offer you EASY SHOPPING EXPERIENCE, GOOD PRODUCTS and EFFICIENT SERVICE! Mit Ihrer inspirierenden Bewertung wird COSTWAY konsistenter sein, um Ihnen EIN SCHÖNES EINKAUFSERLEBNIS, GUTE PRODUKTE und EFFIZIENTEN SERVICE zu bieten! Avec votre évaluation inspirante, COSTWAY continuera à...
-
Page 8: Appearance And Function Of Control Panel
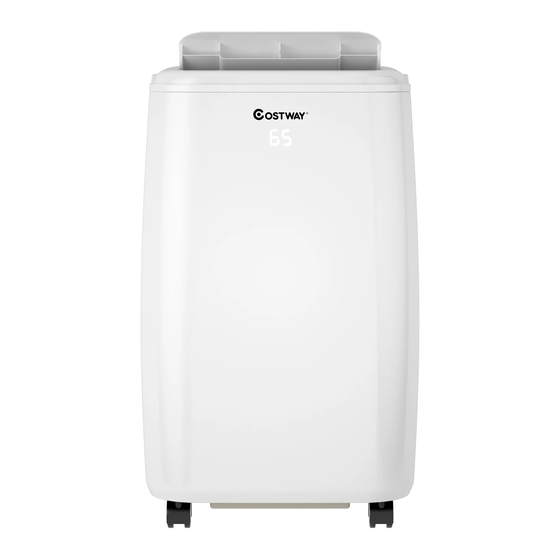
2. Name of Parts Part Description Quantity Window Kit 1 (optional) Air outlet 1 (optional) Dowel 2 (optional) Caulking kit 1 (optional) Water pipe 1 (optional) Batteries 2 (optional) After unpacking, please check whether the above-mentioned accessories are included, and check their purposes in the installation introduction in this manual. Fig.1 4. -
Page 9: Operation Introduction
5. Appearance and Function of Remote Control 3) As shown in Fig. 6, Connect drain hose well (only for using heating model); 4) Insert the power cord into an grounded AC 115V/60Hz socket; Remote Control 5) Press the POWER button to turn on the air-conditioner. POWER Power on/off TIMER... -
Page 10: Cooling Operation
6.2 Cooling operation 6.8 SLEEP mode - Press the “MODE” button till the “Cool” icon appears. - While in cooling mode, press the SLEEP key to set the temperature. It increases - Press the “ DOWN ”or“ UP ”button to select a desired room temperature. 1°F after an hour and at most increases 2°F after 2 hours. -
Page 11: Installation Explanations
7. Installation Explanations 7.1 Installation Explanations: Fig.9 - A removal air-conditioner shall be installed in the flat and empty place all around. clockwise Don’t block the air outlet, and the required distance around should be at least 30cm/12”. (See Fig.8) - Should not be installed in wet location, such as the laundry room. - Page 12 Universal caulking kit accessory for mobile air conditioner 5. Open the window gently and open 6. Your caulking kit is now installed, the zipper of the fabric piece (at level you can now turn on and enjoy the of the bottom or middle of the window) coolness of your mobile air conditioner! Suitable for windows and doors Included in this kit:...
-
Page 13: Troubleshooting
9. Troubleshooting Troubles Possible Causes Suggested Remedies - Water full indicator lamp blinks, and Dump the water out of the water water tank is full. tank. 1.Unit does not start when pressing on/off button - Room temperature is lower than the Reset the temperature setting temperature.
Need help?
Do you have a question about the ES10043 and is the answer not in the manual?
Questions and answers