Table of Contents
Advertisement
Quick Links
USA office: Fontana
GBR office: Ipswich
If you're having difficulty, our friendly
customer team is always here to help.
AUT office: Truganina
USA:cs.us@costway.com
AUS:cs.au@costway.com
GBR:cs.uk@costway.com
THIS INSTRUCTION BOOKLET CONTAINS IMPORTANT SAFETY INFORMATION. PLEASE READ AND KEEP FOR FUTURE REFERENCE.
PORTABLE AIR CONDITIONER
ES10113AU-WH
Advertisement
Table of Contents

Subscribe to Our Youtube Channel
Related Manuals for Costway ES10113AU-WH


Summary of Contents for Costway ES10113AU-WH
- Page 1 PORTABLE AIR CONDITIONER ES10113AU-WH USA office: Fontana GBR office: Ipswich AUT office: Truganina If you're having difficulty, our friendly USA:cs.us@costway.com AUS:cs.au@costway.com customer team is always here to help. GBR:cs.uk@costway.com THIS INSTRUCTION BOOKLET CONTAINS IMPORTANT SAFETY INFORMATION. PLEASE READ AND KEEP FOR FUTURE REFERENCE.
-
Page 2: Table Of Contents
Content I. Notes II. Features and Components III. Installation and Adjustment IV. Control Setting V. Drainage Instructions VI. Maintenance VII. Troubleshooting VIII. Appendix Thank you for choosing the luxurious and elegant portable air conditioner. Please keep the manual for future reference, and read the manual carefully before use. -
Page 3: Features And Components
* Use this appliance only as described in this manual Any other use is * Never twist, kink or wrap the cord around the appliance, as this may not recommended by the manufacturer and may cause fire, electric cause the insulation to weaken and split. Always ensure that all cord shock or injury. -
Page 4: Installation And Adjustment
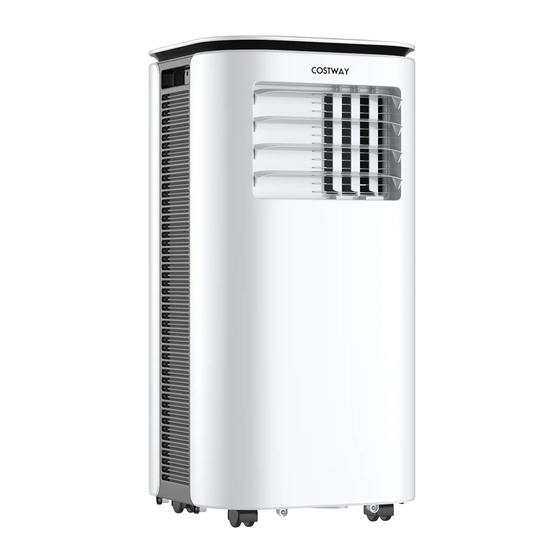
ES10113AU-WH Top Cover Exhaust Pipe Assembly Control Panel Side Panel Exhaust Pipe Assembly Wind guide Bar Drain Hose Front Panel Back Panel Installation and Adjustment 1. Installation: Warning: before using the mobile air conditioning, Caster Base Panel keep it upright for at least two hours. -
Page 5: Control Setting
1.2 Install the window sealing plate assembly 1) Half open the window, and mount the window sealing plate assembly to the window (as shown in Fig.2 and Fig.3); the assembly can be placed in horizontal and vertical direction. 2) Pull various components of the window sealing plate assembly open, adjust their opening distance to bring both ends of the assembly into contact with the window frame, and fix various components of the assembly... - Page 6 2: Power Key: press the key to turn on and turn off the machine. In Instructions of key operation of the the case of power on, press the key to turn off the machine; in the high-quality remote control are as case of power off, press the key to turn on the machine.
-
Page 7: Drainage Instructions
Drainage Instructions Maintenance 1. Manual drainage: Cleaning: before cleaning and maintenance, turn 1) When the machine stops after the water is full, turn off the off the machine and unplug the plug. machine power and unplug the power plug. 1.Clean the surface Notes: Please move the machine carefully, so as not to spill the Clean with surface of machine with a wet soft cloth. -
Page 8: Troubleshooting
Unit Storage: 1: Unscrew the drainage cover, unplug the water plug, and In cooling mode, the room discharge the water in the water pan into other water containers or tempe rature is lower than directly tilt the body to discharge the water into other containers. the set temperature;... -
Page 9: Appendix
Note: If problems not listed in the table occur or recommended solutions do not work, please contact the professional service organization. Appendix Fuse Parameters Type:5ET or SMT, Voltage:250V, Current: 3.15A Schematic Diagram for Cooling Only model Capillary Return / Damage Claim Instructions Condenser DO NOT discard the box / original packaging.
Need help?
Do you have a question about the ES10113AU-WH and is the answer not in the manual?
Questions and answers