Advertisement
Quick Links
Advertisement

Related Manuals for VMI X-Viber


Summary of Contents for VMI X-Viber
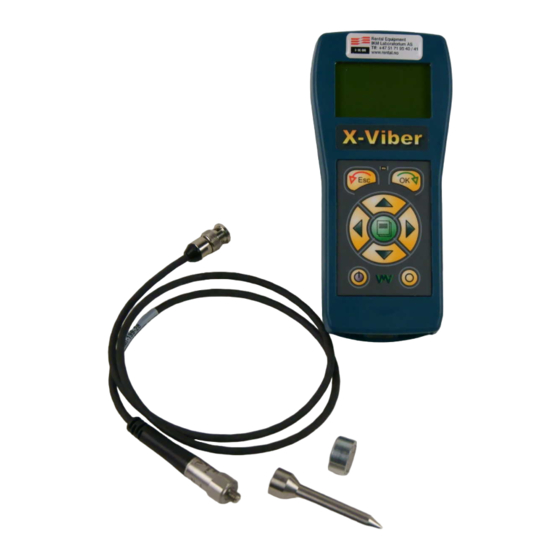
- Page 1 Single Plane Balancing Manual with X-Viber Version 1.00 VMI AB 28 August 2006...
- Page 2 Single Plane Balancing...
- Page 3 Press firmly the ON/OFF or ESCAPE or OK button until the instrument starts. Move the black line with the Up or Down buttons to Measurements and press the OK button. Move the black line with the Up or Down buttons to Single plane bal. and press the OK button.
- Page 4 Move the black line to Auto-save: Press the side arrow buttons to select ENABLE or DISABLE. In Enable mode the X-Viber will automatically finish and store the measured value. Move the black line to Auto-advance: Press the side arrow buttons to select YES or NO.
-
Page 5: Hardware Installation
Use the extension cable if the measuring distance is longer than 1m. If the X-Viber has difficulties to measure the speed then put the instrument in an angle towards the reflective tape as in the picture above and try to increase the distance between the X-Viber and the tape. - Page 6 Start the machine and select your balancing speed. Press the OK button and X-Viber starts to measure. Adjust the X-Viber on the magnet holder until you get a stable rpm value and tighten the locking screw again. This window is shown, when X-Viber is measuring.
- Page 7 This window is shown when X-Viber has finished and stored the measurement. This part shows This part shows the angle of the vibration level. the vibration. This part shows the machine speed. Press the OK button, if you want to repeat this measurement.
- Page 8 If the Auto-save function is activated X-Viber will automatically save the measurement, when the value is sufficiently stable. X-Viber is now presenting all the data for this measurement. Press the right Side arrow button if you want to continue. When the measurement is finished and saved this message will appear.
- Page 9 Mount the balancing weight in the rotor. Note! The unit for weight in X-Viber is grams but you can disregard this unit. If you for example enter the size of the trial weight in ounce you will also get size of the balancing weight in ounce.
- Page 10 OK button. There are 10 memory locations 0-9 where You can save a balancing route. X-Viber is automatically selecting the first available free location in the memory. You can change to another number with the Side arrow buttons.
- Page 11 Viewing a stored balancing Move the black marker line to Files and press the OK button. Move the black marker line to Restore. You can change to another number with the Side arrow buttons. You can only view locations marked with an ®. Press the OK button to view the balancing.
- Page 12 a stored balancing Deleting Move the black marker line to Files and press the OK button. Move the black marker line to Delete. You can change to another number with the Side arrow buttons and press the OK button Change to Yes with one of the Side arrow buttons and press the...
- Page 13 Select the “Communication” menu in the X-VIBER Instrument Start the X-TREND software and select the command “Transfer / X-VIBER”. Click on the line “Show Balancing” on the lower part of the virtual “X-VIBER” instrument Click here and a new window will appear:...
- Page 14 Select the balancing you want to transfer by clicking the line You will then see information about the balancing. by clicking on the line Both “Single Plane Balancing” and “3-Point Balancing” files will appear in the list but with different icons. A “Balancing report”...
- Page 15 Single Plane Balancing...
- Page 16 Single Plane Balancing...
Need help?
Do you have a question about the X-Viber and is the answer not in the manual?
Questions and answers