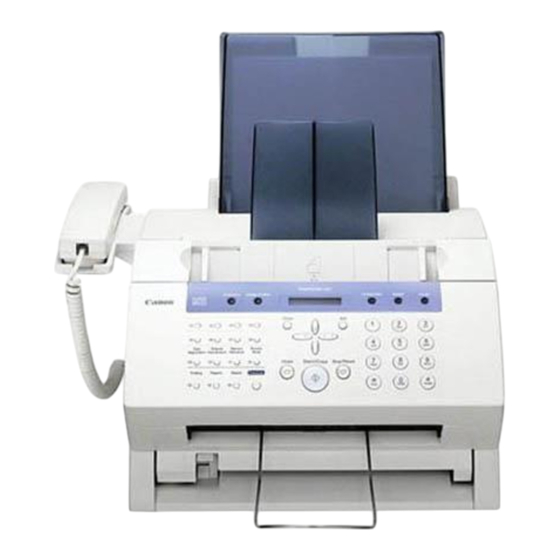
Canon FAXPHONE L80 Setup Instructions
Canon fax phone set-up instructions
Hide thumbs
Also See for FAXPHONE L80:
- User manual (203 pages) ,
- Basic manual (124 pages) ,
- Software user's manual (66 pages)
Advertisement
Quick Links
Thank you for purchasing the Canon FAXPHONE L80.
To get your machine ready for use, please follow the instructions in this document before
referring to any other documentation.
Unpack the machine and its components.
Check that you have the following:
Machine
Multi-purpose
tray
Handset
NOTE
• You need a USB cable (less than 16.4 ft./5 m) to connect your machine to a computer.
• To lift the machine, hold it firmly and level as illustrated.
Set-Up Instructions
Set-Up Instructions
FX-3 S Cartridge
Multi-purpose tray
cover
Handset cradle
Plugs with
pins (2)
Support trays (2)
Document support
Paper loading warning label
Power cord
Telephone line cord
Documentation
Set-Up Instructions
Basic Guide
Warranty
Registration card (for USA only)
FAXPHONE L80 Software CD-ROM
Destination labels
Advertisement

Summary of Contents for Canon FAXPHONE L80
- Page 1 Set-Up Instructions Set-Up Instructions Thank you for purchasing the Canon FAXPHONE L80. To get your machine ready for use, please follow the instructions in this document before referring to any other documentation. Unpack the machine and its components. Check that you have the following:...
-
Page 2: Assemble The Machine
Remove the shipping materials from the machine. 1 Place the machine on a flat surface. 2 Remove all shipping tapes from the exterior of the machine. 3 Gently open the operation panel sheet from the ADF. 4 Close the operation panel by pressing at the center until it locks into place. Assemble the machine. -
Page 3: Load Paper
Load paper. 1 Insert a stack of paper into the multi-purpose tray edge first), then adjust the paper width guides to the width of the paper 2 Attach the multi-purpose tray cover to prevent dust accumulating inside the machine. Paper width guide Attach the handset cradle to the machine. -
Page 4: Connect The Power Cord
Connect the handset and telephone line cord. Telephone line cord Connect the supplied cord to the jack. Then connect the other end to the telephone line jack on your wall. External device (optional) Connect the cord of an extension telephone, answering machine or data modem to the jack. - Page 5 • Always hold the cartridge by its handle. NOTE • The FX-3 S Cartridge is a starter cartridge supplied with the machine. The replacement cartridge is the FX-3 Cartridge separately available from Canon. PULL WITHIN THIS RANGE PULL WITHIN THIS RANGE...
- Page 6 Set the fax receive mode. 1 Press Function 2 Press Receive Mode 3 Press until the mode you want appears in the LCD: You can select from the following: Fax/Tel Mode: When the handset or the extension telephone is connected to the machine, the machine automatically switches between faxes and voice calls.
- Page 7 Install the Printer Driver. (Windows 98/Me/2000/XP) IMPORTANT • DO NOT connect the USB cable before installing the software. NOTE • When installing the software in Windows XP or Windows 2000, log onto the system as a member of the Administrator group. •...
- Page 8 The serial number is located on the back of the machine. (Recommended). Canon is a registered trademark of Canon Inc. All other products and brand names are registered trademarks or trademarks of their respective owners. Specifications subject to change without notice.


Need help?
Do you have a question about the FAXPHONE L80 and is the answer not in the manual?
Questions and answers