Advertisement
Quick Links
Advertisement

Related Manuals for Netvue Home Cam 2


Summary of Contents for Netvue Home Cam 2
- Page 1 Home Cam 2 Quick Guide...
- Page 2 Warning This equipment has been tested and found to comply with the limits for a Class B digital device, pursuant to Part 15 of the FCC Rules. These limits are designed to provide reasonable protection against harmful interference when the equipment is operated in a commercial environment. This equipment generates uses and can radiate radio frequency energy and, if not installed and used in accordance with the instructions, may cause harmful...
-
Page 3: What's In The Box
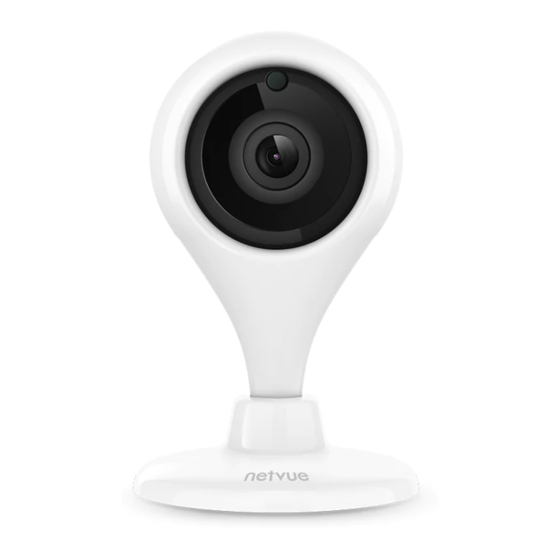
What’s In The Box Drilling Template Screws Anchors Ejector Pin 图 Home Cam 2 Quick Guide Quick Guide Power Adapter Home Cam 2... -
Page 4: Camera Structure
Camera Structure Light Sensor Micro SD Lens Card Slot Infrared LEDs Magnetic Base... - Page 5 Wi-Fi Button Speaker Microphone Power Port...
-
Page 6: Read Before Installing
Read Before Installing 1. Keep Home Cam 2 and all accessories out of reach of children and pets. 2. Home Cam 2 comes with a power adapter. If you prefer other power adapters, please make sure that they allow a DC5V power supply voltage, and an electric current not less than 1A . - Page 7 Set Up With Netvue App Download Netvue App from App Store or Google Play. Follow the in-app instruction to complete the entire set up process.
- Page 8 Put your Home Cam 2 just anywhere you want-on the wall, under the ceiling, or directly on the desktop. iron, nickel, cobalt containing object With the magnetic base, Home Cam 2 can be attached to the surface of any iron, nickel, cobalt-containing object, such as refrigerator,...
-
Page 9: Install On The Wall
Install on the Wall 1. Use the provided drilling template to mark the position of holes on your wall. Use drill bit (15/64", 6mm) to drill two holes, and then install anchors to hold screws. - Page 10 2. Install the Mounting Bracket on your wall with the Screws provided.
- Page 11 3.Point the hole at the bottom to the nail and turn it counterclockwise.
- Page 12 100° 4.Now it is all set, you could rotate it 100 degrees up and down.
- Page 13 Netvue Protect Plan Netvue Protect Plan provides optional advanced features for those with higher security needs, and each plan supports multiple devices. Continuous Video Recording Event Video Recording Human Detection Visit my.netvue.com to learn more.
- Page 14 Feel free to contact us for additional help support@netvue.com Netvue Forum in-App Chat @NetvueTech Netvue Web Client 1(866)749-0567 www.netvue.com 240 W Whitter Blvd Ste A, La Habra, CA 90631 © 2010-2021 NETVUE, INC...
Need help?
Do you have a question about the Home Cam 2 and is the answer not in the manual?
Questions and answers