Advertisement
Quick Links
Quick Start Guide
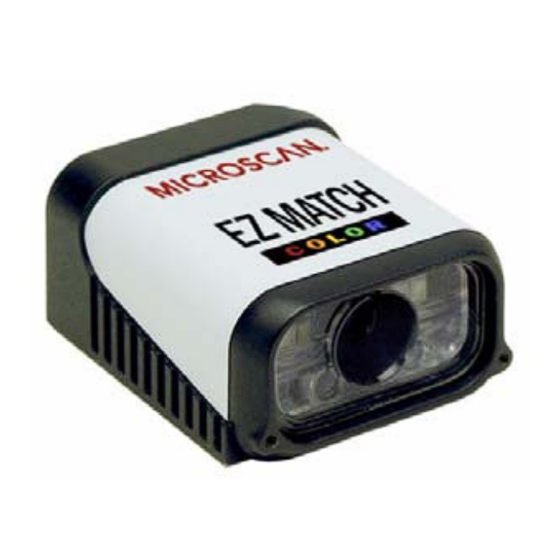
EZ Match Imager
Step 3 — Position Imager
• Place the imager in an area with as little ambient light as possible.
• Place a black surface behind the area in which test tubes, caps, or symbols
will be inspected by the imager.
The black background provides the contrast necessary for the imager to
detect the presence or absence of objects in its field of view.
• Position the imager at a focal distance between 2 and 6 inches from a
sample tube, cap, or symbol.
• Position the imager relative to the object to avoid the glare of direct
(specular) reflection. Important: Avoid excessive skew or pitch. Maximum
skew is ±30°; maximum pitch is ±30°.
ml
10
8
6
4
2
EZ Match Imager and Object in Field of View
• Objects can be rotated at any angle; however, for best results, objects
should be aligned with the FOV (field of view).
Note: For accuracy of testing and performance, Microscan recommends
using a mounting arm adapter kit. Contact your Microscan sales manager
for details about mounting arm adapter kits and other accessories.
Copyright ©2008 Microscan Systems, Inc.
Step 1 — Check Hardware
Caution:
Be sure that all cables are connected BEFORE applying power
to the system. Always power down BEFORE disconnecting any cables.
Item
Description
1
EZ Match Imager
2
IC-332 Adapter
3
IB-131 Interface Box
4
Power Supply
5
Object Detector
6
Host Cable
P/N 83-210051 Rev B
Step 4 — Install ESP
ESP (Easy Setup Program) is Microscan's proprietary setup and testing
software. It is not meant to be a tool for a real-time production environment; the
purpose of ESP is to provide a quick and easy way to set up and configure your
imager. With your imager connected to a host computer (Windows™ Vista, XP,
or 2000), you can use ESP for configuration and imager testing.
If installing from the Microscan Tools CD:
1. Insert the Microscan Tools CD in your computer's CD drive.
2. Select ESP Software from the navigation bar at the left of the screen.
3. Click on ESP Software under the Current Version heading.
4. Click the Run button and follow the prompts in the ESP Setup Wizard.
If downloading from the web:
Place a black
1. Go to the Download Center at www.microscan.com.
background
2. Create a new member account or, if you are already a member, enter
behind the area
your user name and password.
where tubes,
caps, or symbols
3. Navigate to the "Microscan Software" section of the Download Center
will be inspected
(near the top of the page).
by the imager.
4. Click on the link showing the latest version of ESP. Extract the ESP
This provides the
installation files to a location of your choice on the host computer. Note
contrast necessary
where your ESP.exe file is stored on your hard drive.
for the imager to
5. At the end of the installation process, the following icon will appear on
detect the presence
your desktop:
or absence of
objects in the field
of view.
6. Click the ESP icon to start the program.
ESP System Requirements
• 166 MHz Pentium processor (recommended)
• Windows Vista, XP, or 2000 operating system
• Internet Explorer 5.0 or higher
• 64 MB minimum RAM
• 40 MB minimum disk space
• 800 x 600 pixel minimum 256 color display
1
2
3
Scanner
6
4
5
Hardware Required
Part Number
FIS-0004-11XXG
FIS-0001-0035G
99-400018-01
97-100004-15 (90-264 VAC, 24 VDC)
99-000017-01
61-300026-01
Step 2 — Connect the System
Connecting by RS-232 / RS-422 / RS-485
• Connect the imager (1) to the IB-131/IC-332 interface (2) and (3).
• Connect the host cable (6) to the host and to the host port on the IB-131 (3).
• Connect the object detector (5) to the IB-131 (3).
• Connect the power supply (4) to the IB-131 (3).
• Apply power to the imager.
2
3
Scanner
6
4
5
Hardware Configuration
Caution:
Be sure that all cables are connected BEFORE applying power
to the system. Always power down BEFORE disconnecting any cables.
Step 5 — Select Model
The following menu will appear when you start ESP:
Important: An EZ Match
Imager must be connected
to the host computer for its
corresponding icon (shown
at left) to appear on the
model menu.
The icon will always be
present in subsequent ESP
sessions, even when the EZ
Match unit is not physically
connected.
1. Click the button showing the EZ Match Imager.
2. Click OK.
Note: You can also double-click the EZ Match button to make your
selection.
3. Click Yes when this dialog appears:
Note: If you need to select another model later, click the Switch
Model button near the top of the screen or use Model > New
Model in the menu toolbar.
1
Advertisement

Related Manuals for Microscan EZ Match Imager


Summary of Contents for Microscan EZ Match Imager
- Page 1 (shown sample tube, cap, or symbol. at left) to appear on the 1. Insert the Microscan Tools CD in your computer’s CD drive. • Position the imager relative to the object to avoid the glare of direct model menu.
- Page 2 Read Rate indicates the number of tube/cap detections or successful To make changes to a configuration setting: decodes per second achieved by the imager. To make setup changes to the EZ Match Imager, click the App Mode button. Test Read Rate by EZ Button 1. Left click on the...
Need help?
Do you have a question about the EZ Match Imager and is the answer not in the manual?
Questions and answers