Table of Contents
Advertisement
Quick Links
Quick Start Guide
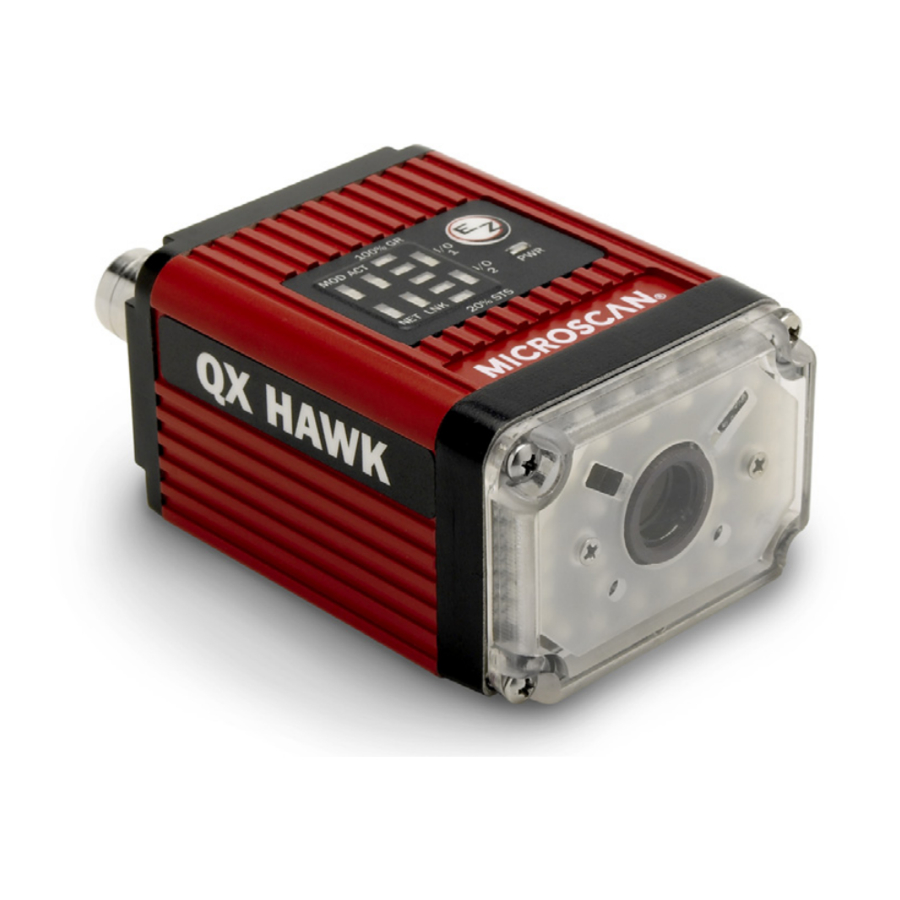
QX Hawk
Industrial Imager
Step 3 — Position the Imager
1. Position the imager at a focal distance of one inch or more
from a test symbol.
2. Tip the imager relative to the symbol to avoid the glare of
direct (specular) reflection. The case parting line should be
perpendicular to the plane of the symbol by either pitching
the symbol or the imager as shown.
3. Symbols can be rotated (tilted) at any angle; however, for best
results symbols should be aligned with the field of view. In the
case of linear symbols, aligning the bars in the direction of
their movement (ladder orientation) will minimize the chances
of blurring and will result in more consistent decodes.
Important: Avoid excessive skew or pitch. Maximum skew
is ±30°; maximum pitch is ±30°. The illustration below
shows skew axis, pitch axis, and tilt axis.
Copyright ©2014 Microscan Systems, Inc.
Step 1 — Check Hardware
1
5
2
6
Serial Standalone
Caution:
applying power. Power down BEFORE disconnecting any cables.
Item
1
QX Hawk Industrial Imager
2
QX-1 Interface Device
3
QX Cordset, Common, M12 12-pin Socket to M12 12-pin Plug, 1 m 61-000162-01 or -02
4
QX Cordset, Host, Serial, M12 12-pin Plug to DB9 Socket, 1 m
5
QX Cordset, Host, Serial, M12 12-pin Socket to DB9 Socket, 1 m
6
QX Power Supply, 24VDC, M12 12-pin Plug, 1.3 m, U.S./Euro 97-000012-01
7
QX Cordset, Host, Ethernet, M12 8-pin Plug to RJ45, 1 m
8
QX Photo Sensor, M12 4-pin Plug, NPN, Dark On, 2 m
P/N 83-116800-04 Rev B
Note: Additional cordsets and accessories are available in the Microscan Product Catalog.
Step 4 — Install ESP
ESP Software can be found on the Microscan Tools Drive that is
packaged with the imager.
1. Follow the prompts to install ESP from the Tools Drive.
2. Click on the ESP icon to run the program.
Note: ESP can also be installed from the Download Center at
www.microscan.com.
Minimum System Requirements
• 233 MHz Pentium processor
• Windows 7 (32-bit or 64-bit), Vista (32-bit or 64-bit), XP, or 2000
operating system
• Internet Explorer 6.0 or higher
• 128 MB RAM or greater
• 80 MB hard drive space
• 800 x 600 minimum 256 color display (1024 x 768 32-bit color
recommended)
Refer to the QX Hawk Industrial Imager User's Manual for detailed
information about using ESP to configure the QX Hawk.
1
3
7
3
2
6
8
8
Ethernet Standalone
Hardware Required
Be sure that all connections are secure BEFORE
Description
Part Number
FIS-6801-XXXXG
98-000103-02
61-000152-01 or -02
61-000153-01 or -02
61-000160-01 or -02
99-000020-02
Step 2 — Connect the System
Important: When connecting Ultra-Lock cordsets to the QX
Hawk and QX-1, align the pins first and then push the connector
into place. Do not twist the connectors, as this will bend the pins.
Important: Do not attempt to power more than four imagers
with a single power supply in a daisy chain configuration. Add a
QX-1 and one power supply for every four additional imagers in
the daisy chain.
RS-232
1. Connect the Serial Communication Cable from "A" on the
QX Hawk to "2" on the QX-1.
2. Connect the host cable from "1" on the QX-1 to the host
computer.
3. Connect the photo sensor to "T" on the QX-1.
4. Connect the power supply to "3" on the QX-1.
5. Plug in the power supply.
Ethernet
1. Connect the Ethernet Cable from "B" on the QX Hawk to
the network.
2. Connect the power supply to "A" on the QX Hawk.
3. Connect the photo sensor to "T" on the QX-1.
4. Plug in the power supply.
Step 5 — Select Model
When you start ESP, the model menu will appear:
1. Click the button showing the QX Hawk.
2. Click OK.
Note: You can also simply double-click the button showing
your imager to make your selection.
3. Click Yes when the following dialog appears:
Note: If you need to select another model later, click the
Switch Model button near the top of the screen or use
Model > New Model in the menu toolbar.
Advertisement
Table of Contents

Related Manuals for Microscan QX Hawk


Summary of Contents for Microscan QX Hawk
- Page 1 Be sure that all connections are secure BEFORE applying power. Power down BEFORE disconnecting any cables. 1. Connect the Ethernet Cable from “B” on the QX Hawk to the network. 2. Connect the power supply to “A” on the QX Hawk.
- Page 2 You can also start a test with the <C> <Cp> command and end it the imager. with the <J> command. • Send and Save. This activates all changes in current memory and saves to the imager for power-on. Copyright ©2014 Microscan Systems, Inc.
Need help?
Do you have a question about the QX Hawk and is the answer not in the manual?
Questions and answers