Advertisement
Quick Links
Instructions
AMM7UP Upgrades
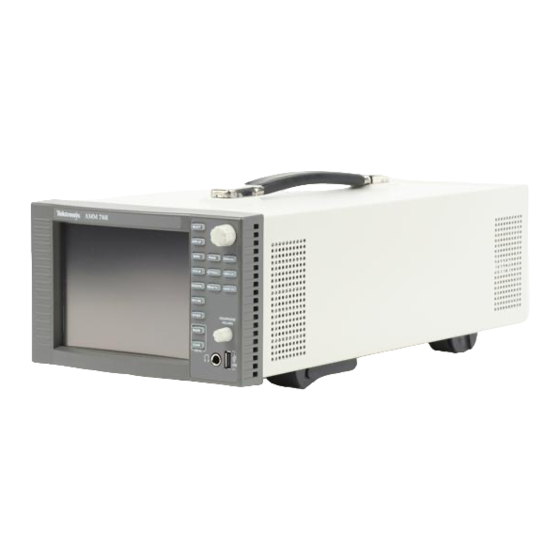
AMM768 Audio Multi-Channel Monitor
075-0936-00
Warning
The servicing instructions are for use by qualified
personnel only. To avoid personal injury, do not
perform any servicing unless you are qualified to
do so. Refer to all safety summaries prior to
performing service.
www.tektronix.com
*P075093600*
075093600
Advertisement

Related Manuals for Tektronix AMM768


Summary of Contents for Tektronix AMM768
- Page 1 Instructions AMM7UP Upgrades AMM768 Audio Multi-Channel Monitor 075-0936-00 Warning The servicing instructions are for use by qualified personnel only. To avoid personal injury, do not perform any servicing unless you are qualified to do so. Refer to all safety summaries prior to performing service.
- Page 2 Copyright © Tektronix. All rights reserved. Licensed software products are owned by Tektronix or its subsidiaries or suppliers, and are protected by national copyright laws and international treaty provisions. Tektronix products are covered by U.S. and foreign patents, issued and pending. Information in this publication supercedes that in all previously published material.
- Page 3 Table of Contents General Safety Summary ........Service Safety Summary .
- Page 4 Table of Contents AMM7UP Upgrades...
-
Page 5: General Safety Summary
General Safety Summary Review the following safety precautions to avoid injury and prevent damage to this product or any products connected to it. To avoid potential hazards, use this product only as specified. Only qualified personnel should perform service procedures. While using this product, you may need to access other parts of a larger system. - Page 6 General Safety Summary Terms in this Manual These terms may appear in this manual: WARNING. Warning statements identify conditions or practices that could result in injury or loss of life. CAUTION. Caution statements identify conditions or practices that could result in damage to this product or other property.
-
Page 7: Service Safety Summary
Service Safety Summary Only qualified personnel should perform service procedures. Read this Service Safety Summary and the General Safety Summary before performing any service procedures. Do Not Service Alone. Do not perform internal service or adjustments of this product unless another person capable of rendering first aid and resuscitation is present. - Page 8 Service Safety Summary AMM7UP Upgrades...
-
Page 9: Kit Description
Adds support for decoding Dolby E and Dobly Digital (AC-3), and for digital (embedded and AES/EBU inputs) and analog audio monitoring. Supports digital ASUI formats with up to eight channels. Option SDI Provides audio de-embedding and Tektronix exclusive HD/SD picture, closed caption, and video session displays. Products... - Page 10 TORX-driver bit for T-10 and T-15 screw heads Anti-static wrist strap AMM768 Audio Multi-Channel Monitor 071-2174-xx Specifications and Performance Verification Available from the Tektronix Web site Technical Reference and appropriate test equipment listed in the recommended test equipment tables Kit Parts Lists The following tables list the parts supplied with each upgrade kit.
- Page 11 Kit Description AMM7UP DD Table 4: Option DD parts list Quantity Part number Description 1 EA - - - - - - - - - - - - ENVELOPE, IMPORTANT DOCUMENTS; CONTAINS SOFTWARE OPTION KEY 1 EA 075-0936-00 INSTRUCTIONS; AMM7UP UPGRADES 1 EA 131-7430-XX CONN, DSUB;...
- Page 12 Kit Description Table 6: Option SDI parts list AMM7UP SDI Quantity Part number Description 1 EA - - - - - - - - - - - - ENVELOPE, IMPORTANT DOCUMENTS; CONTAINS SOFTWARE OPTION KEY 1 EA 075-0936-00 INSTRUCTIONS; AMM7UP UPGRADES AMM7UP Upgrades...
-
Page 13: Upgrade Installation
Upgrade Installation This section provides instructions for the following: H Verifying the currently installed options H Preventing electrostatic discharge H Installing the software upgrade H Installing the hardware upgrade H Installing the software option key Verify the Currently Installed Options The software option key supplied in this kit is based on the serial number you supplied when you ordered the upgrade for the audio monitor. - Page 14 In the Hardware and Software Versions display window, note the software version number. 3. Verify the latest version of software at the Tektronix Web site: a. Use the Web browser on a PC to navigate to the following Tektronix Web site: http://www.tek.com/products/video_test b.
- Page 15 CAUTION. Once the instrument has started to erase internal flash, DO NOT remove power from the instrument. If you do so, the instrument flash will be corrupted. The instrument will have to be sent to a Tektronix factory service center to have the system software restored.
- Page 16 NOTE. If you selected DHCP mode, the network will automatically assign the instrument an IP address. 5. Download the latest version of software at the Tektronix Web site: a. Use the Web browser on the PC to navigate to the Tektronix Software and Firmware Finder Web site: http://www.tektronix.com/software b.
- Page 17 Upgrade Installation 6. Prepare the instrument for the software upgrade: a. Press the front panel MAIN button. b. Touch the Config soft key, and then touch the Utilities soft key. c. Touch the System Upgrade soft key. This displays a dialog box that asks you to confirm that you want to shutdown to upgrade the system.
- Page 18 Upgrade Installation b. Touch the Config soft key, touch the Utilities soft key, and then touch the View Hw/Sw Version soft key. c. In the Hardware and Software Versions display window, verify that the software version number matches the version of the software-upgrade package you installed.
- Page 19 Upgrade Installation Locations of the Optional The modules for the hardware options can be installed only in the specific Hardware Modules location shown in Figure 4. Module with analog audio installed Figure 4: Rear panel showing the location of the optional modules Remove the Instrument If you are installing an upgrade option that includes hardware installation, Cover and Module...
- Page 20 Upgrade Installation Figure 5: Removing the chassis cover 4. Slide the chassis cover toward the back of the instrument, and then lift and remove the chassis cover from the instrument. 5. Remove the four screws from the module guide brackets as shown in Figure 6.
- Page 21 Upgrade Installation Hardware Installation For audio upgrades only (Option AD, DD, or DDE), perform the following steps AMM7UP AD to install the audio module into the instrument. Read the entire installation procedure before installing the module. AMM7UP DD AMM7UP DDE 1.
- Page 22 Upgrade Installation Audio option modules must be installed in connector J8 Figure 8: Location of the optional modules connector on main board Behind rear panel In front of rear panel Figure 9: Proper orientation of flanges on rear panel and module AMM7UP Upgrades...
- Page 23 Solder wires to the connector as needed to accommodate the desired audio inputs and outputs. Refer to the AMM768 Audio Multi-Channel Monitor Quick Start User Manual for the connector pin assignments. Audio signals can be connected as either balanced or unbalanced. Be sure to use a suitable cable when you are wiring balanced audio.
- Page 24 In the address bar of the Web browser, enter the IP address of the instrument you are upgrading. This opens the Tektronix AMM768 Remote Interface screen. c. Click the Instrument Options link to open the Active AMM768 Options screen. d. In the Key field, enter the 20-character option key string (you can include or omit any dashes in the string).
-
Page 25: Verify The Upgrade
Press the SELECT button on the front panel to reboot the instrument (or cycle power). NOTE. If a diagnostic test fails, contact Tektronix for assistance. 4. Verify the performance of the installed options by performing the appropriate performance verification procedures in the AMM768 Audio Multi-Channel Monitor Specifications and Performance Verification Technical Reference manual. - Page 26 Verifying the Upgrade g End of document g AMM7UP Upgrades...
Need help?
Do you have a question about the AMM768 and is the answer not in the manual?
Questions and answers