Advertisement
Available languages
Available languages
Quick Links
GENERAL PRODUCT INFORMATION:
This product is suitable for dry locations only.
---------------------------------------------------------------
IMPORTANT SAFETY INSTRUCTIONS:
This portable lamp has a polarized plug as a feature to reduce the risk of electric shock (one blade is larger than the
other). This plug will fit in a polarized outlet only one way. If the plug does not fit fully in the outlet, reverse the plug. If
it still does not fit, contact a qualified electrician.Do not use with an extension cord unless the plug can be fully inserted.
DO NOT ALTER THE PLUG .
Assembly Instructions (English)
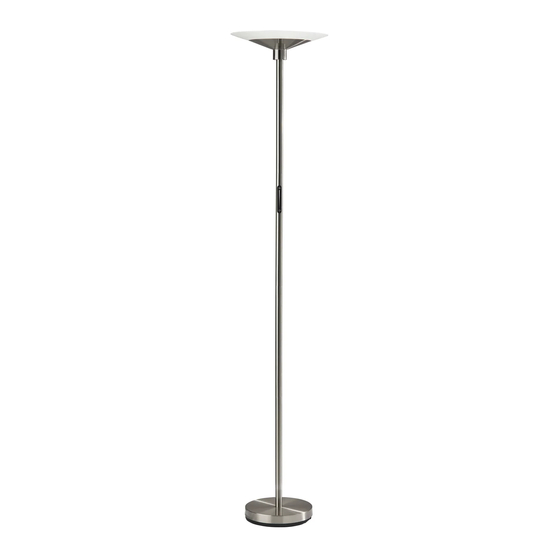
ASSEMBLY INSTRUCTION FOR
Solar LED Torchiere
Model# 5121-22
5121-22
1. Screw tube (B) onto base (A).
2. Screw tubes (B),(C), (D) and (E)
together until tight.
You may need to pull any excess cord
gently through the poles so that these
parts fit.
3. Place socket holder (F) onto tube (E)
and screw clockwise until tight.
4. Place the glass shade (G) onto shade
holder (F). Then, turn each of the 3
plastic pieces connected to shade holder
(F) so that they latch onto shade (G) and
secure it (Detail view ).
5 . Connect the adaptor (I) with cord (H).
*SEE SEPARATE SMART SWITCH
INSTRUCTION
21 Penn Plaza Suite 909 New York,NY 10001
Tel: (212) 736 4440 Fax: (212) 736 4806
1.0
www.adessohome.com
Advertisement

Related Manuals for Adesso 5121-22


Summary of Contents for Adesso 5121-22
- Page 1 ASSEMBLY INSTRUCTION FOR 5121-22 Solar LED Torchiere Model# 5121-22 1. Screw tube (B) onto base (A). 2. Screw tubes (B),(C), (D) and (E) together until tight. You may need to pull any excess cord gently through the poles so that these parts fit.
- Page 2 INSTRUCCIONES DE ENSAMBLAJE PARA 5121-22 Solar Lámpara LED de Piso Modelo# 5121-22 1. Enrosque el poste (B) en la base (A). 2. Enrosque los postes (B),(C), (D) and (E) juntos hasta que queden apretados. Es posible que tenga que halar suavemente el exceso de cable a través de los postes para...
Need help?
Do you have a question about the 5121-22 and is the answer not in the manual?
Questions and answers