Table of Contents
Advertisement
Quick Links
INSTALLATION MANUAL
This is the second of two manuals
required to complete this installation.
The first manual is included with
your mounting system.
Level of Difficulty
Moderate
Weight Capacity
Gross trailer weight (GTW)
Vertical load
Parts List
Item Qty Description
1
1
Main body / Head assembly
2
1
3
1
Handle lock bar
4
2
Button head cap screw,
M8 - 1.25" x 30
5
2
Lock washer, M8
6
1
Latch spring
7
4
Hex bolt, M14
8
4
Lock washer, M14
9
4
Flat washer, M14
10
4
Nylock nut, M14
11
4
Base rail mounting clip
12
4
Base rail mounting pin, 1/2"
Tools Required
Ratchet
Torque wrench
Socket set
--
Torque Specifications
M8 bolt
16 ft-lbs.
M14 bolt
100 ft-lbs.
Use above torque setting unless otherwise noted
Product Registration
CURT Group stands behind our products
with industry-leading warranties. Provide
feedback and help us to improve our
products by registering your purchase at:
warranty.curtgroup.com/surveys
CURTMFG.COM
•
PRODUCT SUPPORT: 877.287.8634
DANGER ZONE PRECAUTIONS
Block all trailer tires in front and behind with appropriate wheel chocks. Do not
substitute objects such as, but not limited to: stones, wood blocks, etc. Front
trailer lifting jacks must be supporting the trailer and resting on a firm and level surface.
Towing vehicle must be stationary with automatic transmission
in park (manual in neutral), emergency brake applied and engine off.
WARNING
Fully instruct and demonstrate the operation of this 5th wheel hitch to the end user. Include the
importance of observing all warnings contained herein, including warning labels on 5th wheel
hitch main body. Provide this manual in its entirety to the end user. Serious injury or death may
30,000 lbs.
result if the warnings above are not observed.
7,500 lbs.
Do not expose hands, body parts or clothing between the truck and
trailer or the truck's bed sides and trailer. If you must place any part
of your body under trailer or between truck and trailer, you must:
1. Block all trailer tires with wheel chocks.
2. Make sure trailer landing gear / jacks are resting on a firm, level surface.
3. Towing vehicle must be stationary with auto transmission in park
(manual in neutral), emergency brake applied and engine off.
Never exceed the towing capacity (trailer and contents combined)
of any towing system component or your vehicle.
Improperly coupled trailers can separate or drop without notice,
causing serious injury or death. To reduce the chance of serious injury or death:
Never attempt to couple trailer without reading and following all instructions thoroughly.
Always follow operating instructions to secure trailer to tow vehicle.
Make sure the hitch is secure before towing.
Prior to towing, ensure all components and hardware are structurally sound and secure.
Always chock the trailer to prevent movement while coupling the hitch.
Always ensure lynch pins are installed through handle and center pivot pin before towing.
Always keep hands clear of the 5th wheel jaws when operating the handle.
Always perform a pull test prior to towing. See 'pull test' later in this instruction manual.
Never position anyone under the trailer's kingpin area during coupling and uncoupling.
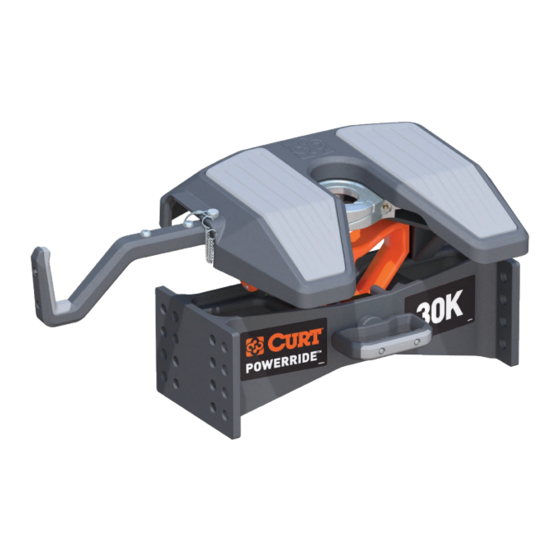
Product Photo
•
16315-INS-RA
•
03/31/2021
•
ECN8138
•
PAGE 1
16315
Advertisement
Table of Contents

Related Manuals for curt 16315


Summary of Contents for curt 16315
- Page 1 16 ft-lbs. M14 bolt 100 ft-lbs. Use above torque setting unless otherwise noted Product Registration CURT Group stands behind our products with industry-leading warranties. Provide feedback and help us to improve our products by registering your purchase at: warranty.curtgroup.com/surveys CURTMFG.COM •...
- Page 2 Measure from the ground to the surface of the truck bed. Subtract the measurement taken in Step 2 from Step 1. This value will be near the height requirement for the 5th wheel. CURTMFG.COM • PRODUCT SUPPORT: 877.287.8634 • 16315-INS-RA • 03/31/2021 • ECN8138 • PAGE 2...
- Page 3 Insert the latch spring (#6) into the slot on the handle mount bar and compress slightly to allow the first M8 cap screw (#4) and lock washer (#5) to be lifted into position behind the spring. CURTMFG.COM • PRODUCT SUPPORT: 877.287.8634 • 16315-INS-RA • 03/31/2021 • ECN8138 • PAGE 3...
- Page 4 5th wheel. Always ensure the jaws are open and unobstructed prior to 4" coupling to your trailer's kingpin. 1/2" CURTMFG.COM • PRODUCT SUPPORT: 877.287.8634 • 16315-INS-RA • 03/31/2021 • ECN8138 • PAGE 4...
- Page 5 Under no circumstances should the 5th wheel unit be used if damage exists. If no damage exists, review coupling instructions and repeat procedure. CURTMFG.COM • PRODUCT SUPPORT: 877.287.8634 • 16315-INS-RA • 03/31/2021 • ECN8138 • PAGE 5...
- Page 6 Your 5th wheel hitch is now safely uncoupled and is ready to be recoupled the next time you tow. CURTMFG.COM • PRODUCT SUPPORT: 877.287.8634 • 16315-INS-RA • 03/31/2021 • ECN8138 • PAGE 6...
- Page 7 1,000 miles When the grooves have worn flush they should be replaced. (CURT# 19269) If you prefer, you may use a lube plate installed on your trailer's kingpin (CURT# 16722) to further reduce wear. Lubricate the Before each use Remove the center pivot pin (#2) and apply a light coating of high-pressure wheel bearing grease.
Need help?
Do you have a question about the 16315 and is the answer not in the manual?
Questions and answers