
Related Manuals for PROIETTA CASE AF10


Summary of Contents for PROIETTA CASE AF10
- Page 1 INSTRUCTION MANUAL CASE AF10 / AF20 WARNING: Read this instruction manual carefully before using the product Thank you for choosing a PROIETTA product...
- Page 2 4.3) INSTALLATION IN PORTRAIT FORMAT 4.4) POWER CONNECTION 4.5) FIXING THE VIDEO PROJECTOR 5) MAINTENANCE 6) CAUSE AND SOLUTIONS OF POSSIBLE PROBLEMS 7) PROIETTA APP INSTALLATION 8) PROIETTA CONTROL BOARD (LED SIGNALLING OPERATION) 9) WARRANTY 10) DECLARATION OF CONFORMITY 11) DISPOSAL OF UNUSED PRODUCT...
-
Page 3: Safety Information
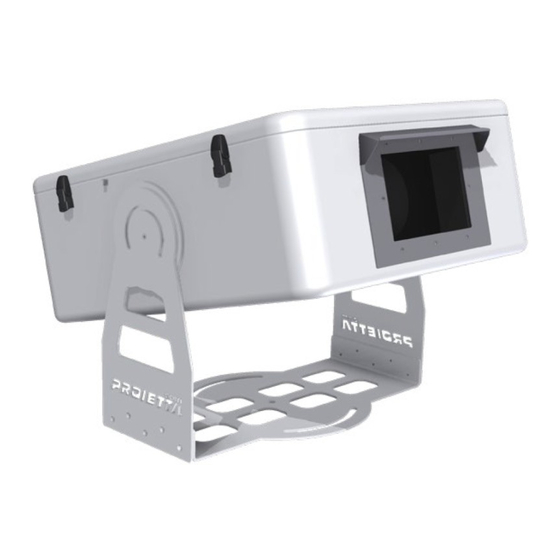
SAFETY INFORMATION Read the following security information carefully before performing any operations. The product described in this manual is an outdoor protective case for video projectors. Any other use is not provided by the manufacturer and therefore relieves him of any liability for damages arising from misuse. - Page 4 MODELS AF10 Maximum dimensions of the video projector insertable in the CASE AF10...
- Page 5 AF20 Maximum dimensions of the video projector insertable in the CASE AF20 Do not insert a bigger projector video than the measurements indicated for each type of protective case. Choosing an undersized case, compared to the video projector placed inside, can result in insufficient ventilation and irreversible damage to the device itself.
-
Page 6: Ventilation System
VENTILATION SYSTEM Outlet Air Inlet Air The air enters in the case at outdoor ambient temperature (T INLET AIR) from the filter- equipped air intakes located at the bottom of the case (there is only one air intake for the AF6 model). -
Page 7: Usage Instruction
The case can be tilted no more than 20 degrees up or 20 degrees down relative to the horizontal plane. Contact Proietta Support in case you need to tilt it more. HANGING INSTALLATION The protective case must always be installed with filters facing the ground; it doesn’t have to be installed upside down. -
Page 8: Power Connection
POWER CONNECTION Connect your case to the current according to the security rules currently in force in your country/region. The supply voltage must be: 220-240 V, 50-60 Hz and the supply line must be protected by an efficient grounding link and is equipped with a bipolar switch with differential thermal 0.03 A safety. - Page 9 FIXING THE VIDEO PROJECTOR Take as a reference the video projector fastening holes by helping with the semi- transparent paper; mark the placement of the holes in the projector screws. Remove Plate A from the main one, mark the holes onto plate A from the paper and drill according to the diameter of the screws of your video projector.
-
Page 10: Maintenance
Check the seals regularly. If the seals are damaged, do not use the protective case because the water could enter inside the case and damage the video projector causing an electric shock. Contact the Proietta Support for any spare parts: www.proietta.com. - Page 11 5°C (41°F). Both operating signals can be monitored by the application provided by Proietta under the heading Status. You should contact the Proietta Support in case you have the following error messages:...
- Page 12 PROIETTA APP INSTALLATION 1) Download the application from Apple Store o Google Play by typing PROIETTA Exterior Projector. 2) When the installation is complete, open the app and allow location services on your device. 3) Select LISTED PAIRED DEVICE and, among the different bluetooth connection options, choose the one that coincides with the serial number of the PROIETTA product that you want to monitor.
-
Page 13: Ethernet Board
BLUETOOTH BOARD (STANDARD) Reset the Bluetooth Module PIN —> Push Button A To reset the PIN press the button, indicated with the red circle on the Bluetooth module, for at least 2 seconds and the PIN becomes: 0000000. Button A ETHERNET BOARD (ON REQUEST) Reset the Bluetooth Module PIN —>... - Page 14 To connect to the network adapter for configuration, it is necessary to have a computer with an address in the range 1 to 254 excluding 233. Open a browser and type the address of the board (IP: 192.168.1.233) When prompted for a username and password use for read-only: username: user password: user...
- Page 15 PROIETTA CONTROL BOARD (LED SIGNALLING OPERATION) 1) LED Tension 3.3V 2) LED Anomaly 3) LED CPU OK 4) LED Tension 5V 5) LED Fan Speed 6) LED Circuit Anomaly 3.3V Probes 7) LED Tension 3.3V Probes 8) LED Tension 3.3V External Modules 9) LED Anomaly Circuit 3.3V External Modules...
- Page 16 LED 5 Green LED reports the speed of the air extraction fan: - a flash —> speed I - two flashes —> speed II - three flashes —> speed III LED 6 Red LED reports a malfunction of 3.3V voltage for the power supply of the probes. LED 7 Green LED reports the presence of 3.3V voltage for the power supply of the probes.
-
Page 17: Warranty
WARRANTY The product is covered by warranty under the terms of the law (24 months). In case of malfunction during the warranty period, the product will be repaired or replaced at the discretion of the manufacturer. The following informations are required for the use of the warranty: - Purchase date (the invoice date is valid) ... -
Page 18: Declaration Of Conformity
Viale Dei Mareschi 4/d 10051 Avigliana-To (Italy) p.iva /VAT. IT09964950019 tel +39 011 9761039 fax +39 011 9761099 proietta@proietta.com - www.proietta.com PROIETTA srl Viale Dei Mareschi 4/d - 10051 - Avigliana - TO (Italy) - VAT number: IT09964950019 tel. +39 011 9761039, info@proietta.com, www.proietta.com...