Sign In
Upload
Download
Table of Contents
Contents
Add to my manuals
Delete from my manuals
Share
URL of this page:
HTML Link:
Bookmark this page
Add
Manual will be automatically added to "My Manuals"
Print this page
×
Bookmark added
×
Added to my manuals
Manuals
Brands
Grindex Manuals
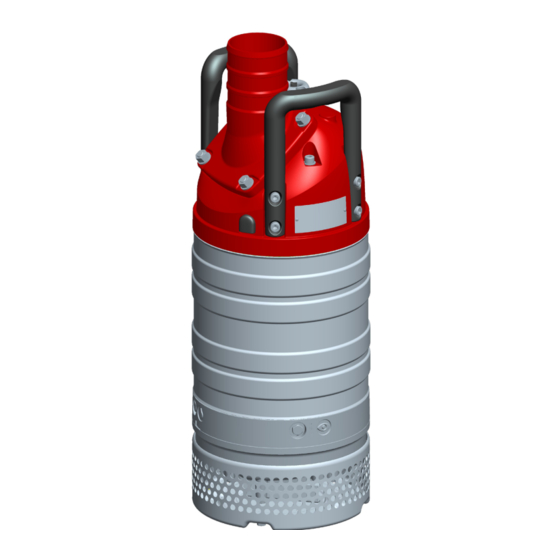
Water Pump
MINOR
Installation, care and maintenance
Grindex MINOR Installation, Care And Maintenance
Hide thumbs
1
Table Of Contents
2
3
4
5
6
7
8
9
10
11
12
13
14
15
16
17
18
19
20
21
22
23
24
page
of
24
Go
/
24
Contents
Table of Contents
Bookmarks
Table of Contents
Table of Contents
Guarantee
Data Plate Interpretation
Safety Precautions
Product Description
Applications
Motor Data
Dimensions and Weights
Performance Curves
Transportation and Storage
Installation
Electrical Connections
Operation
Care and Maintenance
Safety Precautions
Inspection
Recommended Inspections
Changing the Oil
Removing the Impeller
Installning the Impeller and Setting Clearance
Tools
Service Log
Advertisement
Quick Links
1
Table of Contents
2
Electrical Connections
3
Care and Maintenance
4
Changing the Oil
5
Removing the Impeller
Download this manual
No: 89 73 87
Revision 02 2008.04
Installation, care and maintenance
www.grindex.com
MINOR & MAJOR
Table of
Contents
Previous
Page
Next
Page
1
2
3
4
5
Advertisement
Table of Contents
Need help?
Do you have a question about the MINOR and is the answer not in the manual?
Ask a question
Questions and answers
Related Manuals for Grindex MINOR
Water Pump Grindex Matador N Installation, Operation And Maintenance Manual
Versatile drainage pump (56 pages)
Water Pump Grindex Matador H Installation, Operation And Maintenance Manual
Versatile drainage pump (56 pages)
Water Pump Grindex Micro Installation, Care And Maintenance
(12 pages)
Water Pump Grindex Macro Installation, Care And Maintenance
(12 pages)
Water Pump Grindex MAJOR Installation, Care And Maintenance
(24 pages)
Water Pump Grindex Minette Installation, Care And Maintenance
(24 pages)
Water Pump Grindex MINEX Installation, Care And Maintenance
(24 pages)
Water Pump Grindex Mega INOX 8124.390 Installation, Operation And Maintenance Manual
(56 pages)
Water Pump Grindex Maxi 8107.011 Installation, Operation And Maintenance Manual
(76 pages)
Water Pump Grindex MMS Micro Quick Manual
(4 pages)
Water Pump Grindex 8122.210 Macro Installation, Operation And Maintenance Manual
(34 pages)
Water Pump Grindex SALVADOR Installation, Care And Maintenance
(24 pages)
Water Pump Grindex Salvador 8109.282 Installation, Operation And Maintenance Manual
(52 pages)
Water Pump Grindex 8120.280 Sandy Inox Installation, Operation And Maintenance Manual
(44 pages)
Water Pump Grindex SENIOR Installation, Care And Maintenance
(24 pages)
Water Pump Grindex MASTER N Installation, Care And Maintenance
(24 pages)
This manual is also suitable for:
Major
Table of Contents
Print
Rename the bookmark
Delete bookmark?
Delete from my manuals?
Login
Sign In
OR
Sign in with Facebook
Sign in with Google
Upload manual
Upload from disk
Upload from URL


Need help?
Do you have a question about the MINOR and is the answer not in the manual?
Questions and answers