Table of Contents
Advertisement
Quick Links
Advertisement
Table of Contents

Related Manuals for Sirius Satellite Radio SUT958 H200


Summary of Contents for Sirius Satellite Radio SUT958 H200
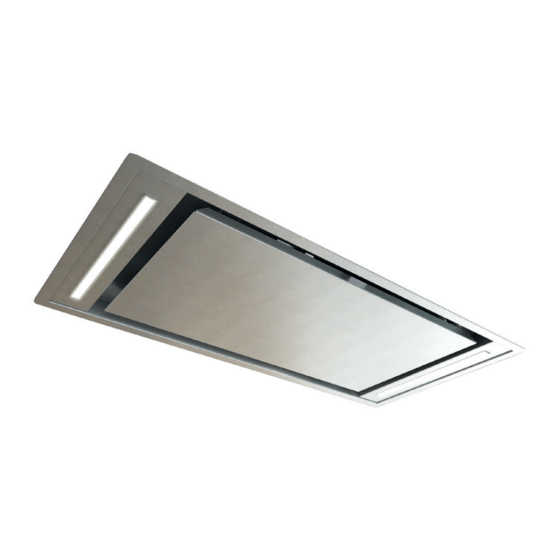
- Page 1 INSTRUCTIONS CARE AND USE MANUAL FOR: Ceiling Hood Models covered by this instructions: SUT958 H200 *** BEFORE INSTALLATION *** ENSURE THERE IS NO VISIBLE OR HIDDEN DAMAGE SUSTAINED DURING SHIPPING *** SHIPPING DAMAGE *** MUST BE REPORTED WITHIN 5 DAYS OF RECEIPT...
- Page 2 WAR NIN G Thank you for purchasing a Sirius Range Hood. Please read all the instructions in this manual before installing the appliance. Save these instructions for future reference. Only use this appliance as an exhaust ventilation system for the re- moval of cooking vapors.
-
Page 3: Table Of Contents
TABLE OF CONTENTS BEFORE YOU BEGIN DUCTING ELECTRICAL Electrical Supply INSTALLATION OPERATING PROCEDURES General Advice Technical data Standard configuration Generating a new transmission code Learning the new transmission code MAINTENANCE Cleaning the Filter Cleaning the Hood Substitution of the LED bar WARRANTY SERVICE... -
Page 4: Before You Begin
B E FOR E Y O U B E G IN The manufacturer declines all responsibility BEFORE YOU BEGIN: It is advisable to in the event of failure to observe the instruc- test run the range hood before installa- tions given here for installation, maintenan- tion. -
Page 5: Electrical
E L E C T RIC A L WARNING: All electrical work must be Electrical Supply. performed by a qualified electrician. This appliance requires 120V/60Hz, 3amp electrical supply - ensure an appropriately Please ensure that the appropriate electrical qualified person completes the electrical ho- codes or prevailing local building codes and ok-up. -
Page 6: Installation
I N S TA L L ATIO N Take the product out of the packaging and pla- insert the plastic plugs into the holes made, ce it on a suitable surface: we suggest to use a and then fix the ceiling brackets as shown in soft material, such as a sponge or a cloth. - Page 7 Bring the hood close to the brackets pre- viously fixed and then connect the applian- ce to the supply mains.Secure the hood to the ceiling, by using the screws supplied, as shown in Fig. 5. fig. 5 EXTERNAL MOTOR VERSION Connect the external motor cable to the ter- minal board found inside the plastic box of the appliance wiring .
-
Page 8: Operating Procedures
O PE R AT I N G PR O C E DU RES Read all the instructions before operating the appliance. Save these instructions for future reference. General Advice. Ensure that the grease filters are in place. Without these components, operating blo- wers could catch on to hair, fingers and lo- ose clothing. -
Page 9: Technical Data
RC001 INITIAL OPERATING CONDITION The manufacturer supplies the radio control unit ADIO ONTROL ready to be used with codes preset in the Factory Radio control used for the remote operation of ducted cooker hoods. TECHNICAL DATA - Alkaline battery powered: 12 V mod. 27A - Operating frequency: 433.92 Mhz - Combinations: 32.768 - Max. - Page 10 Reset of the Factory configuration: Warning The battery should be replaced eve- To restore the Factory configuration, follow the ry year to guarantee the optimal range of the procedure described below: press simultaneously transmitter. To replace the exhausted battery, buttons: take the plastic lid off, remove the battery and replace it with a new one, observing the cor- rect battery polarities.
-
Page 11: Maintenance
M A I N TE N A NCE The hood-fan should provide many years of Substitution of the LED bar: trouble free service provided it is maintained Using an appropriate tool, remove the LED properly. bar from its seat (refer to Fig. 7), disconnect it electronically using the appropriate con- Cleaning the Filter. -
Page 12: Warranty Service
Three Year Limited Warranty YOU MUST REGISTER THE PURCHASE OF YOUR PRODUCT ON LINE AT www.siriuscappe.com/usa/warranty.htm TO CONVALIDATE YOUR WARRANTY. YOU CAN FIND THE DATA OF YOUR HOODS ON A LABEL INSIDE THE HOOD. JUST REMOVE THE GREASE FILTER TO READ IT. WARRANTY SERVICE To qualify for warranty service, you must notify Sirius After sale service at the email address stated below or call toll free USA 1-877-474-8770 and provide the model number, description...
Need help?
Do you have a question about the SUT958 H200 and is the answer not in the manual?
Questions and answers