Table of Contents
Advertisement
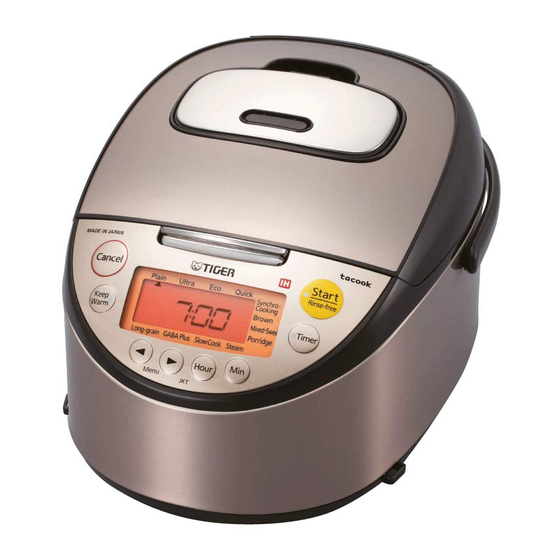
JKT-S10A
JKT-S18A
For household use
IH Rice Cooker
OPERATING INSTRUCTIONS
Thank you for purchasing this TIGER rice cooker/warmer.
Please read these instructions carefully before use and observe them during use.
家庭用
IH 炊飯ジャー
取扱説明書
このたびは、 タイガー炊飯ジャーをお買い上げいただきまことにありがとうございます。
ご使用になる前に、 この取扱説明書を最後までお読みください。
JKT-S
Advertisement
Chapters
Table of Contents


Need help?
Do you have a question about the JKT-S10A and is the answer not in the manual?
Questions and answers