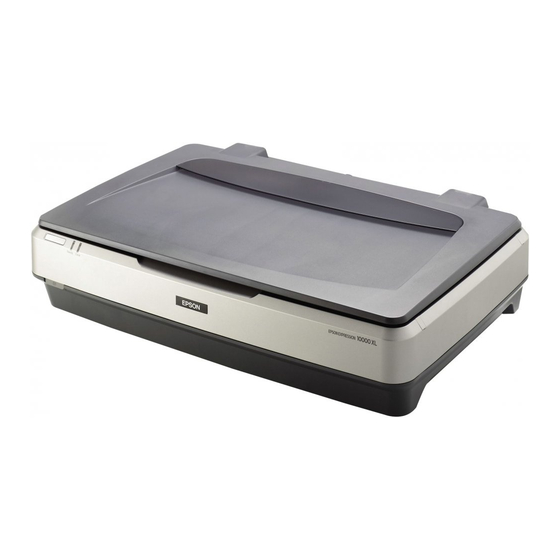
Epson Expression 10000XL Start Manual
Epson expression 10000xl: quick start
Hide thumbs
Also See for Expression 10000XL:
- User manual (96 pages) ,
- Service manual (89 pages) ,
- Setup manual (34 pages)
Table of Contents
Advertisement
Quick Links
Start Here
Epson Expression
1
Unpack Your Scanner
1
Remove everything from the box.
Scanner
Software
CD-ROM
If you have the Photo version of the scanner, the following items are
also included. (See the User's Guide for instructions on installing the
transparency unit.)
2
Remove all the tape and packing material inside and around the
product.
2
Install the Software
Wait! You must install your software before connecting the scanner to
your computer. The installation may take several minutes. Be sure to close
all open programs and turn off any virus protection programs.
The software works with Windows XP, Me, 2000, and 98, and Macintosh OS
9.1 to 9.2 and OS X 10.2.x to 10.3.x. Follow the steps in the section for your
operating system.
Windows
1
Insert the Scanner Software
CD-ROM in your CD-ROM or
DVD drive. The Epson
Installation Program screen
appears.
2
Select Install Software, and
then click the
3
Click Install.
Scanner
Power cord
Transparency
unit
®
Install button.
10000XL
®
USB cable
Adobe
®
Photoshop
®
Elements
CD-ROM
Transparency
guide
Film holders
(two of each type)
User's Guide
MonacoEZcolor
®
CD-ROM
LaserSoft Imaging™
SilverFast
®
Ai 6
CD-ROM
continue
Advertisement
Table of Contents

Subscribe to Our Youtube Channel
Summary of Contents for Epson Expression 10000XL
-
Page 1: Unpack Your Scanner
Scanner Software CD-ROM If you have the Photo version of the scanner, the following items are also included. (See the User’s Guide for instructions on installing the transparency unit.) Remove all the tape and packing material inside and around the product. - Page 2 When done, close the Epson Installation Program screen and remove the CD-ROM. If you want to use any of the bonus software included with your scanner, insert the CD-ROM for the software you want to install, and follow the on-screen instructions.
- Page 3 When done, click the remove the CD-ROM. If you want to use any of the bonus software included with your scanner, insert the CD-ROM for the software you want to install, and follow the on-screen instructions. Macintosh OS 9...
-
Page 4: Connect The Scanner
USB hub. If you’re using IEEE 1394 (FireWire Plug one end of the IEEE 1394 cable (not included) into the scanner’s IEEE 1394 port. Then plug the other end into the IEEE 1394 port on your computer. -
Page 5: Getting The Most From Your Scanner
Note: You can also use MonacoEZcolor to create profiles for your printer, monitor, and digital camera. For details, see the on-screen guide included with the software. First, scan the target image using EPSON Scan: Turn on your scanner, then place the reflective target included with MonacoEZcolor face-down on the scanner glass. - Page 6 Click the Auto Adjust button to apply your color profile. (The button is located near the bottom of the main EPSON Scan screen; you may have to scroll down to see it.) Then click Scan. When scanning completes, close EPSON Scan to view your scanned image in Photoshop Elements.
-
Page 7: Optional Equipment
Connects the scanner to your network, making it accessible to multiple users. You can purchase supplies and accessories from the Epson Store calling (800) 873-7766 or online at www.epsonstore.com (U.S. sales only). In Canada, please call (800) 463-7766 for dealer referral. - Page 8 * Toll or long distance charges may apply. Epson is a registered trademark of Seiko Epson Corporation. Epson Expression is a registered trademark and SoundAdvice is a service mark of Epson America, Inc. General Notice: Other product names are for identification purposes only and may be trademarks of their respective owners.


Need help?
Do you have a question about the Expression 10000XL and is the answer not in the manual?
Questions and answers