Advertisement
Quick Links
Advertisement

Related Manuals for Black & Decker RVA425B


Summary of Contents for Black & Decker RVA425B
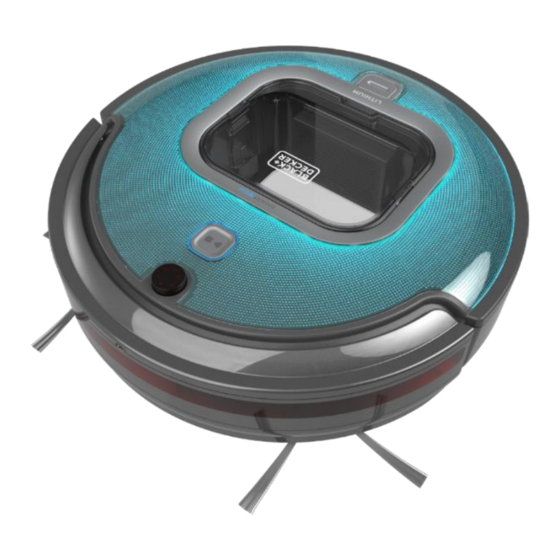
- Page 1 SERVICE MANUAL ROBOTIC VAC BLACK + DECKER RVA425B RVA420B Version 1...
-
Page 2: After Repair
BEFORE TO DISASSEMBLING THE UNIT, BRUSHES, FILTER AND BATTERY MUST BE REMOVED AS SHOWED ON Cleaning & Maintenance and Battery PARAGRAPHS DURING HANDS ON USE STATIC PROTECTION DEVICE AFTER REPAIR Version 1... - Page 3 ENGLISH GERMAN ITALIAN FRENCH SPANISH PORTUGUESE DUTCH CHECK ÜBERPRÜFEN CONTROLLARE CONTROLER COMPROBAR VERIFIQUE CONTROLEREN ATTENTION ! ACHTUNG ! ATTENZIONE ! ATTENTION ! ATENCION ! ATENÇÃO! ATTENTIE ! UTILISEZ UN USE STATIC ANTISTATIK USARE I DISPOSITIVI EQUIPEMENT DE USE PROTECCION USE PROTEÇÃO GEBRUIK ANTI - PROTECTION MATTE...
- Page 4 Diagnosis Software Cleaning Maintenance Battery Switch & Charger Motor and Wheels Front wheel Fan Motor Central Brush Motor Side Brushes Motors Cliff Sensor Bumper & IR Wiring Version 1...
- Page 5 Diagnosis Software To run the diagnostic program you will need the diagnostic software, cable and associated driver installed. Plug the black end of the cable into your pc, and the white end of the cable into the robot's USB port in the dust cassette well. With the unit turned off, run xr668selftest.exe.
- Page 6 Diagnosis Software Cliff sensor Place unit on black surface all cliff sensor lights should be green. Raise unit to height of 14cm over a white surface, all cliff sensor lights should be off. The mV value for each sensor will increase as the distance between the sensor and surface is reduced.
- Page 7 Diagnosis Software Direct charge The Direct charge light should be green when the charger is connected directly into the charging socket on the unit, with power to the charger. If it does not light up then check with a new charger, if this doesn’t work then check the connection of the switch/charger module with the main PCB and replace if necessary.
- Page 8 Diagnosis Software Side Brushes If either side brush is jammed with power to its motor then the Side Brush light will be green, check each side for lack of movement and any interference. Go to Side Brushes Motors Go to Front Wheel Front Wheel Manually rotate the front wheel, this should cause the green light to come on, if it does not...
- Page 9 Diagnosis Software Fan current Fan current should be less than 400 units. If higher then check for blockages and interference to fan, if fine then replace fan SA. If there is no current then check connection to main PCB. Go to Fan Motor Beater current beater current...
- Page 10 Diagnosis Software Error Error code details: Error Code Description error0 No Error error1 left cliff sensor error error2 middle of left cliff sensor error error3 middle of right cliff sensor error error4 right cliff sensor error error5 left bumper sensor error error6 right bumper sensor error error16...
-
Page 11: Cleaning & Maintenance
Cleaning Maintenance Version 1... - Page 12 Battery Version 1...
- Page 13 Disassembling Before disassembling brushes, filter and battery must be removed Version 1...
- Page 14 Switch & Charger Version 1...
- Page 15 Switch & Charger Output 24V Version 1...
- Page 16 Motor and Wheels Version 1...
-
Page 17: Front Wheel
Front wheel Version 1... -
Page 18: Fan Motor
Fan Motor Version 1... - Page 19 Central Brush Motor Version 1...
- Page 20 Side Brushes Motors Version 1...
- Page 21 Side Brushes Motors Version 1...
- Page 22 Cliff Sensor 4 Cliff Sensor FRONT Version 1...
- Page 23 Cliff Sensor Version 1...
- Page 24 Bumper & IR Version 1...
- Page 25 Bumper & IR 5 IR Sensor Version 1...
- Page 26 Bumper & IR Version 1...
- Page 27 Version 1...
- Page 28 RVA425 Only Version 1...
- Page 29 RVA425 Only Version 1...
- Page 30 Wiring Filter Motor & Microswitch R Motor Switch & L Motor charger Brush Motor Base charger Secondary Mainbord Floor Right Front Left Battery Sensor Brush Whell Brush Version 1...
- Page 31 Wiring IR LEFT IR RIGHT MICROSWITCH MICROSWITCH LEFT RIGHT MAINBOARD Version 1...
- Page 32 QUESTION ANSWER My robot vacuum does not work? Turn off the power switch on. Then check the battery and charge the battery in the charger. If this still does not resolve your issue you will need to take your Robot Vacuum to your nearest service agent –...
Need help?
Do you have a question about the RVA425B and is the answer not in the manual?
Questions and answers