Table of Contents
Advertisement
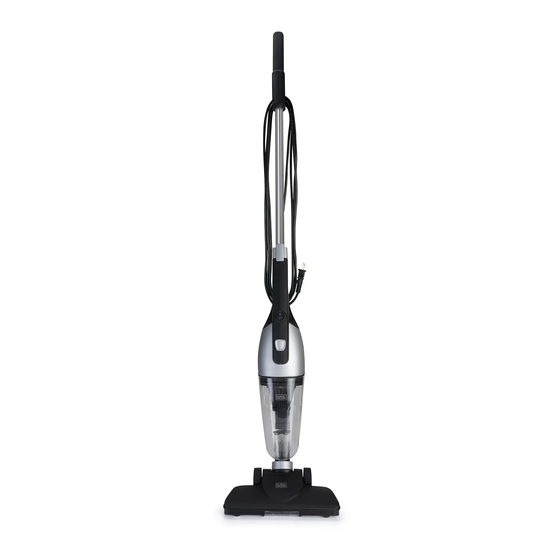
3in1
Stick Vac
Lightweight Corded Vacuum
INSTRUCTION MANUAL
MODEL NUMBER
If you have a question or experience a problem with your
BLACK+DECKER 3in1 Stick Vac purchase, please email
info@eproselect.com or visit website eProSelect.com
SAVE THIS MANUAL FOR FUTURE REFERENCE
Thank you for choosing BLACK+DECKER!
PLEASE READ BEFORE RETURNING THIS PRODUCT
FOR ANY REASON.
SAVE THIS MANUAL FOR FUTURE REFERENCE.
Advertisement
Table of Contents

Related Manuals for Black & Decker EV1416


Summary of Contents for Black & Decker EV1416
- Page 1 3in1 Stick Vac Lightweight Corded Vacuum INSTRUCTION MANUAL MODEL NUMBER If you have a question or experience a problem with your BLACK+DECKER 3in1 Stick Vac purchase, please email info@eproselect.com or visit website eProSelect.com SAVE THIS MANUAL FOR FUTURE REFERENCE Thank you for choosing BLACK+DECKER! PLEASE READ BEFORE RETURNING THIS PRODUCT FOR ANY REASON.
- Page 2 IMPORTANT SAFETY NOTIFICATIONS Before operating the Vacuum cleaner, please read all safety and operating instructions. Save all instructions in a safe place for future reference. DEFINITIONS: Safety Alert Symbols and Words This instruction manual uses the following safety alert symbols and words to alert you to hazardous situations and your risk of personal injury or property damage.
-
Page 3: Important Safety Instructions
IMPORTANT SAFETY INSTRUCTIONS When using an electrical appliances, basic precautions should always be followed, including the following: WARNING: To reduce the risk of fire, electrical shock or injury: • Shock Hazard. To protect against risk of electrical shock, do not put the vacuum in water or other liquid. •... -
Page 4: Additional Safety Warnings
ADDITIONAL SAFETY WARNINGS WARNING: • Prevent unintentional starting. Ensure the switch is in the o -position before picking up or carrying the appliance. Carrying the appliance with your finger on the switch invites accidents. • Have servicing performed by a qualified repair person using only identical replacement parts. -
Page 5: Good To Know
GOOD TO KNOW Helpful Hints • DO empty the dust bin and clean the filters regularly for optimal operation of the vacuum. • DO keep hair, loose clothing, fingers, feet and body parts away from openings or moving parts. • DO disconnect the appliance from the mains supply before connecting the flexible suction hose. -
Page 6: Location Of Controls
GETTING TO KNOW YOUR 3in1 VACUUM Location of Controls Handle Detachable Dust Bin HEPA Filter Main Body Hand Vac LED Light Dust Bin Release Button ON/OFF Switch Lock Switch Roller-head with Easy-glide Wheels Roller-head LED Lights Crevice Tool Soft Brush Tool What’s Inside Corded vacuum with built-in LED light, HEPA filter, handle, roller-head with... - Page 7 ASSEMBLY ASSEMBLY Always disconnect the appliance from the electric outlet before Always disconnect the appliance from the electric outlet before assembling or disassembling unit or accessories. assembling or disassembling unit or accessories. Insert the end of the handle assembly into the main body. 1.
- Page 8 OPERATING INSTRUCTIONS To Use as a Floor Vacuum 1. Assemble all parts and include the roller-head. 2. Plug the assembled floor vacuum into a standard AC outlet. AC Outlet 3. Operate the floor vacuum in slightly angled back or in swivel mode right or left to easily maneuver under or around furniture and obstacles.
-
Page 9: Accessory Attachments
Accessory Attachments 1. Use the provided crevice tool for narrow suction dirt and debris between cushions, in corners, and along wall and counter-top edges. Can be used on blinds, lamp shades, vents and other narrow areas. 2. Use the soft brush attachment on fabrics, curtains, cushions and more delicate surfaces. -
Page 10: Troubleshooting
TROUBLESHOOTING OBSERVATION POSSIBLE CAUSE SOLUTION • • Power adapter not plugged • Make sure the unit’s power cable is securely into wall outlet securely plugged into the wall outlet. Vacuum does • Check if the appliance • Ensure unit power button is switched on not work is switched on •... -
Page 11: Terms And Conditions
TERMS AND CONDITIONS 2-YEAR Limited End User Warranty ePro USA LLC., (the “Company”) warrants that their products (the “Product”) are free of defects in material and workmanship for a period of 1-YEAR (the “Warranty Period”) from the date of purchase by end user. In the event that the Product quali es for coverage under this warranty, the Company at its option and at no charge may either repair or replace the Product (not including, shipping, handling, delivery or installation) with an identical product or product having similar features and functionality as determined by the Company. - Page 12 For assistance with your product, please email info@eproselect.com or visit our website eProSelect.com A LIMITED TWO YEAR WARRANTY This product is covered by a limited two year warranty which is described in the enclosed instruction manual. Please contact the customer service for warranty details.
Need help?
Do you have a question about the EV1416 and is the answer not in the manual?
Questions and answers
how to change the crevice tool
The document does not provide specific instructions for changing the crevice tool on a Black & Decker EV1416. However, based on standard vacuum design, the crevice tool is typically attached by sliding it onto or into the vacuum hose or wand and removed by pulling it off. Always ensure the vacuum is unplugged before changing attachments.
This answer is automatically generated
how to remove roller head on model EV1416
To remove the roller head on the Black & Decker model EV1416, unplug the unit from the power outlet. Then, pull apart the roller head from the dust bin to disconnect it.
This answer is automatically generated
how to remove roller head
To remove the roller head from a Black & Decker EV1416, unplug the unit from the power outlet. Then, pull apart the roller head and dust bin to detach the floor head from the main body.
This answer is automatically generated
I was trying to look for a roller head for my EV1416 vacuum. One wheel broke while trying to get the dust cover off. I really like this vacuum with the light. I also have plenty of filters to use for this vacuum.If I can get a replacement head I would like to purchase one. Thank you and hope I can still use this vacuum.