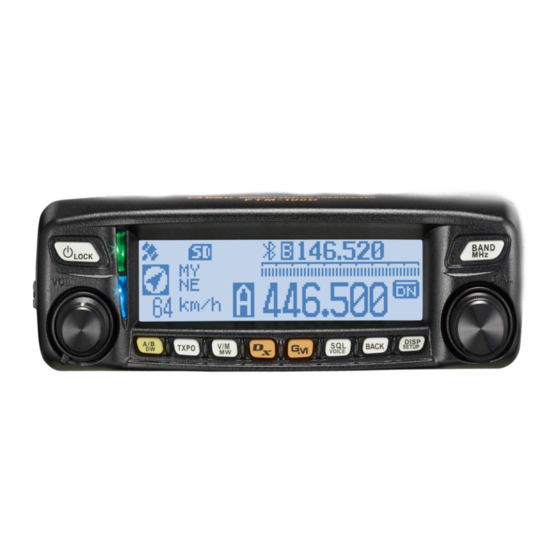
Yaesu FTM-100DE Instruction Manual
C4fm/fm 144/430 mhz dual band transceiver
Hide thumbs
Also See for FTM-100DE:
- Operating manual (177 pages) ,
- Instruction manual (82 pages) ,
- Update instruction manual (13 pages)
Table of Contents
Advertisement
Quick Links
C4FM/FM 144/430 MHz
DUAL BAND TRANSCEIVER
FTM-100DR/DE
Instruction Manual (GM Edition)
Thank you for purchasing this Yaesu product.
This instruction manual explains information related to the "GM Function".
For information on basic operation of the transceiver, please refer to the enclosed
FTM-100DR/DE operating manual.
Company names and products in this manual are trademarks or registered
trademarks of the respective company.
Advertisement
Table of Contents

Related Manuals for Yaesu FTM-100DE


Summary of Contents for Yaesu FTM-100DE
- Page 1 DUAL BAND TRANSCEIVER FTM-100DR/DE Instruction Manual (GM Edition) Thank you for purchasing this Yaesu product. This instruction manual explains information related to the “GM Function”. For information on basic operation of the transceiver, please refer to the enclosed FTM-100DR/DE operating manual.
-
Page 2: Table Of Contents
Contents What is the GM Function? ............3 Displaying all the stations using the GM function....4 Deleting stations from the list ..........4 Inputting Characters ..............5 Switching the character type...........5 Deleting all input characters ...........5 Moving the cursor to the left ...........5 Moving the cursor to the right .........5 Deleting the most recently input character .....5 Completing input .............5... -
Page 3: What Is The Gm Function
What is the GM Function? The GM (Group Monitor) function automatically monitors for any other stations with the GM function in operation on the same frequency, or stations operating in DN mode, within communication range. The GM function then displays the acquired information, including the direction and distance, on the screen for each detected call sign. -
Page 4: Displaying All The Stations Using The Gm Function
What is the GM Function? Displaying all the stations using the GM function Press The GM function activates and displays up to 24 stations using the GM mode on the same frequency, or stations operating in DN mode, within the communication range. -
Page 5: Inputting Characters
Inputting Characters You can input letters and characters to create messages by following the procedure below. Switching the character type Press ([A/a] appears on the upper side). Pressing each time changes the character type in the following order. Uppercase letters → symbols → lowercase letters → numbers Deleting all input characters Press ([CLR] appears on the upper side). -
Page 6: Checking Received Messages Or Images
Checking Received Messages or Images Check messages or images on the LOG list using the GM function. Downloading messages or images When there is a message or image sent in digital mode from a station on the same operating frequency, the content of the message or image is displayed for a certain period of time on the transceiver screen. - Page 7 Checking Received Messages or Images Rotate the DIAL to select [GM MESSAGE] or PICT], then press When [GM MESSAGE] is selected, the “GM MESSAGE” screen appears. When [GM PICT] is selected, the “GM PICT” screen appears and the images and time stamps are listed.
-
Page 8: Deleting Messages Or Images
Checking Received Messages or Images Deleting messages or images You can delete unnecessary data from the memory channels or the microSD memory card. Deleting data from the content display screen Display the data you want to delete. Press appears on the upper side). Displays the confirmation screen. -
Page 9: Sending Message (Massages) Or Images (Pict)
Sending MESSAGE (Massages) or Images (PICT) Send messages or images using the GM function. There are the following three ways for sending messages or images. (1) Creating and sending a new message (2) Replying to the sender of the checked message or image data (3) Forwarding the checked message or image data Sending massages or images You can send messages or images from the transceiver. -
Page 10: Using Routine Messages
Sending MESSAGE (Massages) or Images (PICT) See “Inputting Characters” on page 5 to input a message. Press Displays the entire message. Tips • T o save the created message, press appears on the upper side). For details, see “Registering routine messages” on page 11. • T o continue message entry, press appears on the upper side). - Page 11 Sending MESSAGE (Massages) or Images (PICT) Rotate the DIAL to select the desired routine message, then press Displays the selected routine message in the message entry field. Press appears on the upper side). Hides the routine message display field at the top of the screen.
-
Page 12: Replying To The Sender Of The Checked Message Or Image Data
Sending MESSAGE (Massages) or Images (PICT) Replying to the sender of the checked message or image data Reply to the sender of the checked message or image data. Press and hold for over one second. Displays the “DG-ID SETUP” screen. Press appears on the left side) Displays the “LOG SELECT”... -
Page 13: Forwarding The Checked Message Or Image Data
Sending MESSAGE (Massages) or Images (PICT) Forwarding the checked message or image data You can forward the checked message or image data. Press and hold for over one second. Displays the “DG-ID SETUP” screen. Press appears on the left side) Displays the “LOG SELECT”... -
Page 14: Gm Setup Menu
GM Setup Menu Available settings Setup mode number/ Descriptions (Default values shown Item in BOLD) 1 DP-ID LIST Displays the DP-ID list screen ― Setting of the alert sound when detecting OFF / ON 2 RANGE RINGER stations within communication range OFF / ON 3 MESSAGE POPUP Pop-up message display setting...
Need help?
Do you have a question about the FTM-100DE and is the answer not in the manual?
Questions and answers