
Related Manuals for I-Tech BDPW3D1730


Summary of Contents for I-Tech BDPW3D1730
- Page 1 User Manual Model: BDPW3D1730 i-Tech Company LLC TOLL FREE: (888) 483-2418 • EMAIL: info@itechlcd.com • WEB: www.iTechLCD.com Modified: 10-06-21...
- Page 2 Specifications BDPW3D1730 Model No Construction Rugged Aluminum Construction with shock absorbing rubber corners 3x 17.3" LCD Monitor, 1920x 1080 resolution Display Anti-reflection tempered strengthen glass 3* AD conversion board support DisplayPort, VGA and HDMI outputs for 3 screens Power Supply...
- Page 3 Standard Accessory Kits Accessory Kit SKD BDPW3D1730 Portable Computer Chassis User’s Manual Power Cord Locking bracket DP-to-DP cable or VGA-to-VGA cable or HDMI-to-HDMI cable Total: 3 2x Locking brackets DisplayPort to DisplayPort cable 3 Modified: 10-06-21...
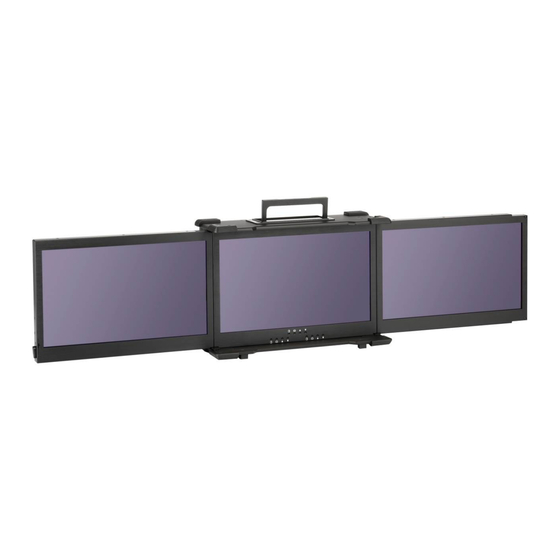
- Page 4 ● Built-in 3x 17.3”, 1920x 1080 LCD display, with anti-reflection tempered glass ● BDPW3D1730 integrates with BPCW3D1730 to transform to 6-screen or 9-screen portable computer ● Creates a stretched desktop with a max. resolution of 5760x 1080 (3x 1920x 1080) ●...
- Page 5 .0 Getting Started 2.0 Operation 1. Lift the lever on the bottom right of the outer LCD to release lock and open the first LCD panel from the main unit by swinging the LCD fixture toward the left 2. Open the second LCD from the main unit by swinging the LCD fixture toward the right 3.
- Page 6 4. Integrate BDPW3D1730 to BPCW3D1730 model by 2x locking brackets 2x locking brackets 5. You also can integrate another BDPW3D1730 to become 9-screens 6 Modified: 10-06-21...
- Page 7 6. There are DisplayPort/ VGA/ HDMI connectors in the back of BDPW3D1730 for 3-screens. Right LCD Middle LCD Left LCD 7. Connect the DisplayPort/ VGA/ HDMI cable to graphic card 7 Modified: 10-06-21...
- Page 8 8. Connect the power cable outlet into the power supply unit in the main chassis and switch the power button to turn on the BDPW3D1730 Switch to Power On Insert Power Cord 9. Front panel button control allows you to adjust the LCD via OSD. Each individual LCD has its own set of OSD control.
Need help?
Do you have a question about the BDPW3D1730 and is the answer not in the manual?
Questions and answers