
Related Manuals for Russell Hobbs RHEM36G


Summary of Contents for Russell Hobbs RHEM36G
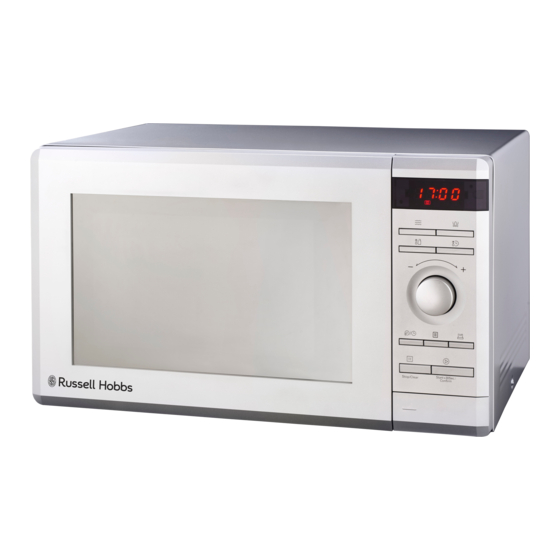
- Page 1 INSTRUCTIONS AND WARRANTY MODEL NO. RHEM36G RUSSELL HOBBS 36L ELECTRONIC MICROWAVE OVEN WITH GRILL...
- Page 2 Congratulations on purchasing our Russell Hobbs 36L Electronic Microwave Oven with Grill. Each unit is manufactured to ensure safety and reliability. Before using this appliance for the first time, please read the instruction manual carefully and keep it for future reference.
-
Page 3: Important Safeguards
IMPORTANT SAFEGUARDS When using any electrical appliance, basic safety precautions should always be followed including the following: Please read the instructions carefully before using any appliance. Always ensure that the voltage on the rating label corresponds to the mains voltage in your home. - Page 4 14. To reduce the risk of fire in the oven cavity: When heating food in a plastic or paper container, check the oven frequently in terms of the possibility of ignition. Remove wire twist-ties from paper or plastic bags before placing the bag in oven. ...
- Page 5 24. Never immerse the unit in water or any other liquid for cleaning purposes. 25. Remove the plug from the socket by gripping the plug. Do not pull on the cord to disconnect the appliance from the mains. Always unplug the unit when not in use, before cleaning or when adding or removing parts.
-
Page 6: Specifications
41. The door or the outer surface may get hot when the appliance is in operation. 42. The rear surface of the appliance should be placed against a wall. SPECIFICATIONS Model: RHEM36G Rated Voltage: 230V~50Hz Rated Input Power(Microwave): 1500W... -
Page 7: Installation
INSTALLATION Make sure that all the packing materials are removed from the inside of the door. WARNING: Check the oven for any damage, such as misaligned or bent door, damaged door seals and sealing surface, broken or loose door hinges and latches and dents inside the cavity or on the door. -
Page 8: Microwave Cooking Principles
Clean the door and sealing surface of the oven. Reposition the receiving antenna of the radio or television. Relocate the microwave oven with respect to the receiver. Plug the microwave oven into a different outlet so that microwave oven and receiver are on different branch circuits. -
Page 9: Utensils Guide
UTENSILS GUIDE The ideal material for a microwave utensil is material which is transparent. This allows energy to pass through the container and heat the food. A microwave cannot penetrate metal, so metal utensils or dishes with metallic trim should not be used. -
Page 10: Parts Diagram
PARTS DIAGRAM Control Panel Turntable Shaft C. Turntable ring assembly D. Glass Tray Observation window Door Assembly G. Safety Interlock System H. Grill Rack TURNTABLE INSTALLATION Never place the glass tray upside down. The glass tray should not be restricted. Both glass tray and turntable ring should always be used during cooking. -
Page 11: Control Panel
CONTROL PANEL Microwave Time Defrost Grill/ Combi Weight Defrost Kitchen Timer/ Clock Menu Memory Stop/Clear Start/+30 Sec/ Confirm OPERATION INSTRUCTIONS Level Microwave Power 100% Display P100... - Page 12 1. Clock Setting When the microwave oven is electrified, the screen will display "0:00", buzzer will ring once. 1) Press " " twice to select clock function, the hour figures will flash. 2) Turn " " to adjust the hour figures, the input time should be within 0--23. 3) Press "...
- Page 13 3. Grill or Combi Cooking Press “ ” once, the screen will display “G” and press “ ” repeatedly or turn the " " to choose the power you want, and "G","C-1" or "C-2" will display for each added press. Then press " "to confirm,and t u r n "...
- Page 14 4. Quick Start 1) In waiting state, Press " " to start cooking with 100% power for 30 seconds , each added press will increase 30 seconds cooking time up to 95 minutes. 2) In microwave, grill ,combination cooking or time defrost state, each press of " "...
- Page 15 8. Auto Menu 1) Press " " to start Auto cooking. Turn " " right to choose the menu, and "A-1" to "A-8" will display, which means pizza, meat, vegetable, pasta, potato, fish, beverage and popcorn. 2) Press " " to confirm. 3) Turn "...
- Page 16 The menu chart: Menu Weight Display 200 g Pizza 400 g 250 g 350 g Meat 450 g 200 g 300 g Vegetable 400 g 50g(with 450 ml cold water) Pasta 100g(with 800 ml cold water) 200 g 400 g Potato 600 g 250 g...
- Page 17 9. Multi-section cooking At most 2 sections can be set for cooking. In multi-section cooking, if one section is defrosting, then defrosting will be placed in the first section automatically. Example: If you want to defrost food for 5 minutes and then cook with 80% microwave power for 7 minutes, operate it as the following: 1) Press "...
- Page 18 12. Lock-out Function for Children Lock: In waiting state, press " " for 3 seconds, there will be a long beep denoting entering the children-lock state and current time will diplay if the time has been set, otherwise, the screen will display " ".
- Page 19 Trouble shooting It is forbidden to run the unit without any food inside. It is very dangerous. According to the Waste of Electrical and Electronic Equipment (WEEE) directive, WEEE should be separately collected and treated. If at any time you need to dispose of this product, please do NOT dispose of this product with household waste.
- Page 20 CLEANING AND MAINTENANCE This appliance is for household use only and is not user-serviceable. Do not open or change any parts by yourself. Please refer to a qualified electrical service department or return to the supplier if servicing is necessary. ...
- Page 21 STORING THE APPLIANCE Unplug the unit from the wall outlet and clean all the parts as instructed above. Ensure that all parts are dry before storing. Store the appliance in its box or in a clean, dry place. ...
- Page 22 PLEASE AFFIX YOUR PROOF OF PURCHASE/RECEIPT HERE IN THE EVENT OF A CLAIM UNDER WARRANTY THIS RECEIPT MUST BE PRODUCED. 2 YEAR WARRANTY 1 year retail 1 year extended warranty upon registration* visit www.russellhobbs.co.za W A R R A N T Y AND EXTENDED WARRANTY Home of Living Brands (Pty) Limited ("Home of Living Brands") warrants to the original purchaser of this product ("the customer") that this product will be free of defects in quality and workmanship which under normal personal, family or household use and purpose may manifest within a period of...
Need help?
Do you have a question about the RHEM36G and is the answer not in the manual?
Questions and answers