Advertisement
Quick Links
● Thank you very much for purchasing "LOBSTER" air riveter. To ensure correct operation, please read
this instruction manual carefully, and keep it in a safe place for later reference.
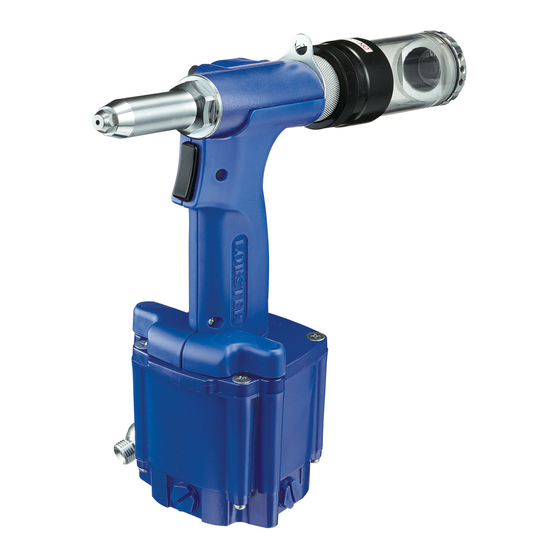
● This instrucion manual contains information for models AR2000SV
Be sure to refer to information that is applicable to the model you are using.
● This is Original instructions. (Original Instruction Manual is written in English Ianguage.)
MANUFACTURER
12-8 Shijo-cho, Higashi-Osaka City
Osaka 579-8053, Japan
Telephone: +81(72)981-7466 Telefacs: +81(72)981-9420
URL https://www.lobtex.co.jp/
BUILT-IN ON-DEMAND
VACUUM SYSTEM
INTRODUCTION ..................... 1
IMPORTANT SAFETY
INSTRUCTIONS
NOMENCLATURE .................. 5
TECHNICAL DATA .................. 6
PREPARATION BEFORE
OPERATING THE AIR RIVETER ... 8
MAINTENANCE ..................... 9
STORAGE ........................... 15
TROUBLESHOOTING ............ 16
PARTS TABLE ... 17
AR2000SV
(A)
PARTS TABLE ... 19
AR2000MV
(A)
PARTS TABLE ... 21
AR2000HV
(A)
AR2000MV
(A)
PRINTED IN JAPAN
............... 2
... 7
and AR2000HV
(A)
(A).
Advertisement


Need help?
Do you have a question about the AR 2000SV and is the answer not in the manual?
Questions and answers