Table of Contents
Advertisement
MR33 Installation Guide
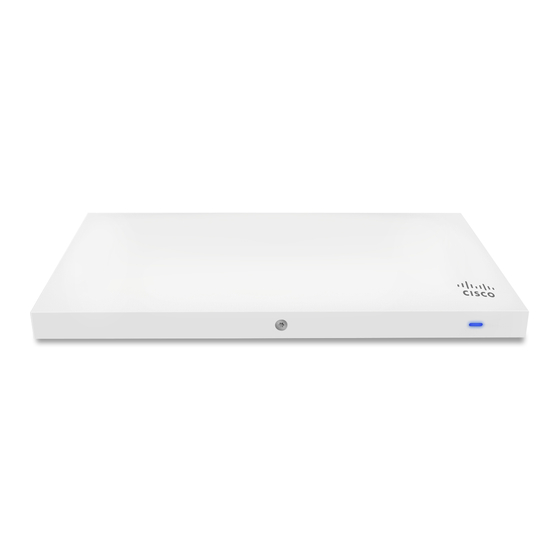
The Cisco Meraki MR33 is a dual-band enterprise class 802.11ac cloud-managed access point. Designed for high
capacity and high density, the MR33 meets the needs of the most demanding environments, and also includes the first
ever cloud-managed third radio dedicated to optimizing the RF environment and securing the airwaves.
Package Contents
The MR33 package contains the following:
• MR33 Cloud-Managed Access Point
• Mount cradle including built-in level tool
• Mount Kit
◦ Drop ceiling mount kit
◦ Wall screws, wall screw anchors, and security screw
◦ Spare hardware
1
Advertisement
Table of Contents

Summary of Contents for Cisco MERAKI MR33
- Page 1 The Cisco Meraki MR33 is a dual-band enterprise class 802.11ac cloud-managed access point. Designed for high capacity and high density, the MR33 meets the needs of the most demanding environments, and also includes the first ever cloud-managed third radio dedicated to optimizing the RF environment and securing the airwaves.
- Page 2 Understanding the MR33 Your Meraki MR33 has the following features:...
- Page 3 The mount cradle has the following features:...
-
Page 4: Security Features
PoE switch. Factory Reset Button If the button is pressed and held for at least five seconds and then released, the MR33 will reboot and be restored to its original factory settings by deleting all configuration information stored on the unit. -
Page 5: Configure Your Network In Dashboard
1. Attach your MR33 to power and a wired Internet connection. See the "Power the MR33" section for details. 2. The MR33 will turn on and the LED will glow solid orange. If the unit does not require a firmware upgrade, the LED will turn either green (no clients associated) or blue (clients associated) within thirty seconds. -
Page 6: Collect Tools
AP) or over a wired connection. 2. If using a wired connection, connect the client machine to the MR33 either through a PoE switch or a PoE Injector. If using a PoE switch, plug an Ethernet cable into the MR33’s Ethernet jack, and the other end into a PoE switch. -
Page 7: Installation Instructions
2. Power over Ethernet supports a maximum cable length of 300 ft (100 m). 3. If being used in a mesh deployment, the MR33 should have line of sight to at least two other Meraki devices. A Cisco Partner can help ensure that your AP placement is ideal. -
Page 8: Attach The Mount Cradle
Attach the mount cradle The MR33 mount cradle can be used to install your access point in a wide range of scenarios: wall or solid ceiling, below a drop ceiling, on various electrical junction boxes. The mount cradle contains a variety of hole patterns that are customized for each installation scenario. The mounting template (included inbox with mount cradle) should be used to drill holes for wall mounts and also to identify the correct hole patterns in the mount cradle that should be used for each type of mount. - Page 9 • 2 rubber spacers 1. Attach the T-rail clips to the T-rail by rotating them and snapping them into place as shown. The black foam pads should be compressed slightly after installation. 2. Using the dashed lines on the mount cradle template as a guide, set the proper spacing of the T-rail clips on the T-rail.
- Page 10 MR33" section. Electrical Junction Box Mount Using mount cradle The MR33 can be mounted to a 4” square cable junction box, a 3.5 or 4” round cable junction box, or various U.S. and European outlet boxes (mounting screws are not included).
- Page 11 To attach the MR33 to the mount cradle properly, line up the top edge of the AP with the top tab of the mount cradle. Since the cradle is already mounted to the wall, guide the MR33 towards the top tab and insert the top tab into the MR33’s slot.
-
Page 12: Desk Or Shelf Mount
Then remove the MR33 from the cradle’s top tab. Desk or Shelf Mount The MR33 can be placed on a desk or shelf resting on the non-scratch rubber feet. The mount cradle is not necessary for a desk or shelf installation. -
Page 13: Kensington Lock
Note: Your MR33 must have an active route to the Internet to check and upgrade its firmware. 2. Verify access point connectivity a. Use any 802.11 client device to connect to the MR33 and verify proper connectivity using the client’s web browser.


Need help?
Do you have a question about the MR33 and is the answer not in the manual?
Questions and answers