Sophos XGS 116 Mounting Instructions
Rackmount kit
Hide thumbs
Also See for XGS 116:
- Quick start manual (68 pages) ,
- Operating instructions manual (9 pages) ,
- Instructions (2 pages)
Advertisement
Available languages
Available languages
Quick Links
Rackmount Kit Mounting Instructions
Please note
This rackmount kit can only be used with XGS 116(w)/126(w)/136(w) models.
What is included in the box
1 small mounting
bracket (right)
2 wide mounting brackets (left, rear)
Please Note: In addition to the rack mounting kit contents, you will need a long-handled Phillips-head screwdriver.
1. Remove existing screws from the chassis
Remove the three screws from each side of the chassis.
2. Attach mounting brackets to the chassis
Please note: You can mount the unit into a rack either with
the front (2a) or the back (2b) facing forwards (see below).
Secure one of the wide mounting brackets on the left side
of the appliance (when looking at the front) and the small
mounting bracket on the right side using three of the flat
head screws supplied for each side.
1.
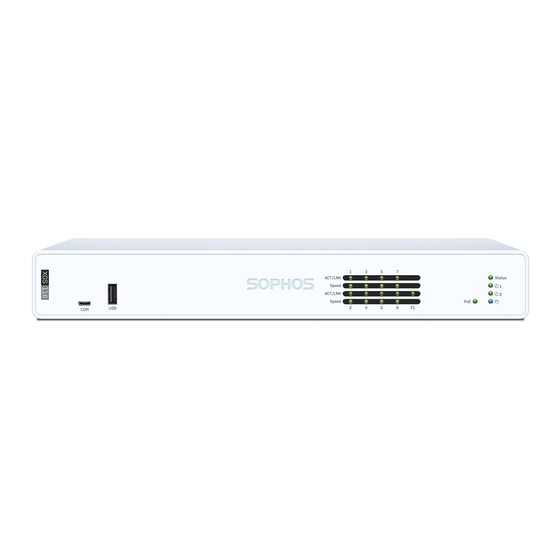
LEDs
2a.
Front-facing installation
Ports
2b.
Back-facing installation
2 adapter trays
Small mounting bracket
Wide mounting
bracket
XGS 116(w)/126(w)/136(w)
2 sponges
2 adapter brackets
3. Install the adapter tray
Attach the power adapter tray to the wide mounting
bracket by using four of the supplied round head screws.
4. Install the power adapter
Place the adapter on the tray.
Depending on the adapter type and size used with your
XGS model, place one of the supplied sponges on top of
the power adapter and secure in position with one of the
supplied adapter brackets by using two of the supplied
round head screws.
Adapter tray
3.
Bracket
Sponge
4.
12 round headed
M3 Screws
6 flat headed
M3 Screws
Advertisement

Related Manuals for Sophos XGS 116


Summary of Contents for Sophos XGS 116
- Page 1 Rackmount Kit Mounting Instructions XGS 116(w)/126(w)/136(w) Please note This rackmount kit can only be used with XGS 116(w)/126(w)/136(w) models. What is included in the box 12 round headed 2 sponges M3 Screws 1 small mounting 6 flat headed bracket (right)
- Page 2 Email: sales@sophos.com.au Email: salesasia@sophos.com © copyright 2020. sophos Ltd. all rights reserved. Registered in England and wales no. 2096520, the Pentagon, abingdon science Park, abingdon, oX14 3YP, uk 20-12-04 (PC) sophos is the registered trademark of sophos Ltd. all other product and company names mentioned are trademarks or registered trademarks of their respective owners.
- Page 3 Montageanleitung für Rackmontage-Kit XGS 116(w)/126(w)/136(w) Bitte beachten Sie Dieses Rackmontage-Kit kann nur mit den Modellen XGS 116(w)/126(w)/136(w) verwendet werden. Lieferumfang 12 M3 2 Schwämme Rundkopfschrauben 1 kleiner Gerätehalter 6 M3 (rechts) 2 breite Gerätehalter (links, hinten) 2 Adapterhalterungen 2 Winkel Flachkopfschrauben Hinweis: Zusätzlich zum Lieferumfang des Rackmontage-Kits benötigen Sie einen langen Kreuzschlitzschraubendreher.
- Page 4 E-mail: sales@sophos.de © copyright 2020. sophos Ltd. alle Rechte vorbehalten. Eingetragen in England und wales, nr. 2096520, the Pentagon, abingdon science Park, abingdon, oX14 3YP, uk sophos ist die eingetragene marke von sophos Ltd. alle anderen genannten Produkt- und unternehmensnamen sind marken oder eingetragene marken ihres jeweiligen inhabers.
Need help?
Do you have a question about the XGS 116 and is the answer not in the manual?
Questions and answers