Advertisement
Quick Links
- Please follow these assembly instructions as it will save you time,
make assembly easier and prevent possible damage to your unit.
- Correct Assembly is your responsibility.
- We strongly recommend that the unit is assembled on a soft
surface such as a carpet or blanket.
- We suggest the use of hand tools only to tighten the screws
and fittings, as power tools can strip threads if over tightened.
- When moving this furniture item, always carry the unit dragging
or sliding the unit could damage then unit and the floor surface.
- Due to the weight and size of this desk it is recommended that
assembly and installation be completed by two people.
- When possible assemble item where unit is to be used,
to limit the need to move Desk and Return.
MENTOR2000R
Advertisement

Related Manuals for Criterion MENTOR2000R


Summary of Contents for Criterion MENTOR2000R
- Page 1 MENTOR2000R - Please follow these assembly instructions as it will save you time, make assembly easier and prevent possible damage to your unit. - Correct Assembly is your responsibility. - We strongly recommend that the unit is assembled on a soft surface such as a carpet or blanket.
-
Page 2: Exploded View
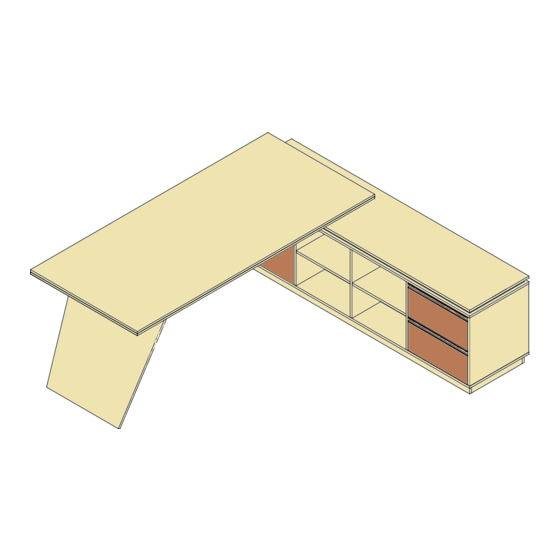
EXPLODED VIEW Due to the weight and size of this desk, and the associated components, it is recommended that assembly and installation be completed by two people. TOOL REQUIRED HARDWARE KIT x 52 x 82 x 85 x 16 x 85 CAM STICKERS IMPORTANT: MISSING / DAMAGED PARTS WILL NOT BE REPLACED UNLESS THE INFORMATION REQUIRED IS SUPPLIED IN FULL... - Page 3 STEP1 x 14 STEP2 STEP3 arrowhead on cam points toward to the hole on the panel edge. ! It is Recommended that Assembly and Installation be Completed by Two People !
- Page 4 STEP4 STEP5 STEP6 arrowhead on cam points toward to the hole on the panel edge. ! It is Recommended that Assembly and Installation be Completed by Two People !
- Page 5 STEP7 STEP8 arrowhead on cam points toward to the hole on the panel edge. ! It is Recommended that Assembly and Installation be Completed by Two People !
- Page 6 STEP9 Put CAM Pins into both Sides STEP10 STEP11 arrowhead on cam points toward to the hole on the panel edge. ! It is Recommended that Assembly and Installation be Completed by Two People !
- Page 7 STEP12 STEP13 arrowhead on cam points toward to the hole on the panel edge. ! It is Recommended that Assembly and Installation be Completed by Two People !
- Page 8 STEP14 STEP15 x 12 arrowhead on cam points toward to the hole on the panel edge. ! It is Recommended that Assembly and Installation be Completed by Two People !
- Page 9 STEP16 x 12 STEP17 Roll Unit Over WR ´[ %DVH WR XQLW arrowhead on cam points toward to the hole on the panel edge. ! It is Recommended that Assembly and Installation be Completed by Two People !
- Page 10 STEP18 x 12 STEP19 x 12 arrowhead on cam points toward to the hole on the panel edge. ! It is Recommended that Assembly and Installation be Completed by Two People !
- Page 11 STEP20 x2 Drawers STEP21 Roll Unit Over and put Drawers into 5HWXUQ DQG ´W &DEOH management components. arrowhead on cam points toward to the hole on the panel edge. ! It is Recommended that Assembly and Installation be Completed by Two People !
- Page 12 STEP22 ! Before moving to the next step please position Return where it will be used in the office ! STEP23 x 20 arrowhead on cam points toward to the hole on the panel edge. ! It is Recommended that Assembly and Installation be Completed by Two People !
- Page 13 STEP24 Secure modesty panel to Leg with six screws, part E1 ! Before moving to the next step remember to position Return where it will be used in the office ! STEP25 Secure modesty panel to Return with six screws, part E ! Due to the weight of the Leg Please Don’t move Desk with Leg and Modesty Panel attached ! arrowhead on cam points toward to the hole on the...
- Page 14 STEP26 STEP27 x 85 CAM STICKERS Cover CAM Locks with provided Stickers where required. Secure desk top to Leg with twelve screws, part E arrowhead on cam points toward to the hole on the panel edge. ! It is Recommended that Assembly and Installation be Completed by Two People !
- Page 15 ! Due to the Weight of the Leg and Desk Top Please Don’t move Unit with Top and Leg Attached!
- Page 16 MODEL NUMBER OF THE UNIT PURCHASED DESCRIPTION/PART NUMBER OF THE MISSING OR FAULTY PART QUANTITY OF THE PARTS NEEDED If for whatever reason you cannot get in contact with the store, please get in contact with Criterion direct at h p://www.rvm.com.au/contact/ Product of RVM Australia...
-
Page 17: Warranty Policy
2. Subject to Clause 1, the Seller warrants that CRITERION branded products will be free of manufacturing defects and will perform to the Seller’s specifications subject to the following clauses.
Need help?
Do you have a question about the MENTOR2000R and is the answer not in the manual?
Questions and answers