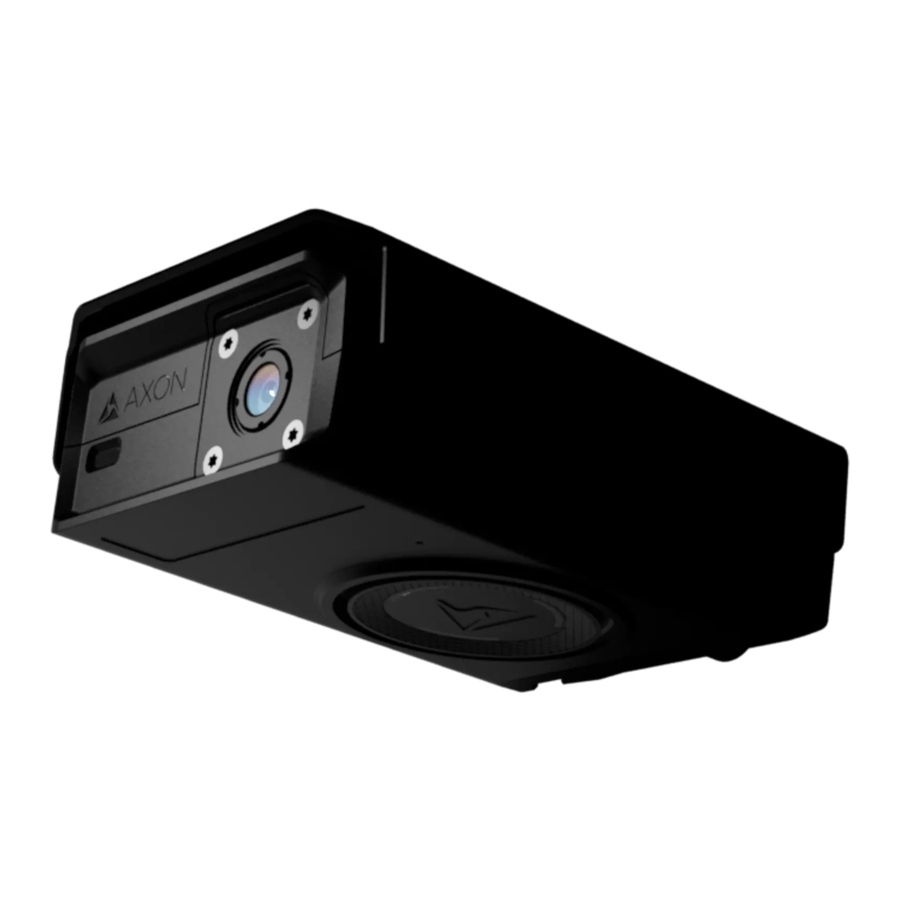
Axon Fleet 2 Quick Start Manual
Hide thumbs
Also See for Fleet 2:
- User manual (22 pages) ,
- Installation manual (39 pages) ,
- Quick start manual (2 pages)
Table of Contents
Advertisement
Quick Links
Axon Fleet 2 Wireless Microphone Quick Start Guide
English
Microphone
Green = 40% - 100%
Yellow = 20% - 39%
Red = Less Than 20%
Speaker
Front View
Read, understand, and follow all current instructions, warnings, and relevant Axon training materials before using any Axon system. The most up-
to-date warnings and instructions are available at www.axon.com.
Before using an Axon Fleet 2 wireless microphone, ensure it is fully charged. See Battery LED and Recharging the Battery on page 2 for more
information.
Connecting the Optional Lapel Microphone Accessory
If lapel microphone is not used, ensure the socket plug is inserted into the connection
socket when in use to protect against rain/water intrusion into the socket.
1. Insert the lapel microphone 2.5mm jack into the connection socket on the top of a
compatible wireless microphone.
2. When the wireless microphone is on, a short beep is emitted when the lapel microphone
jack is fully inserted, indicated the connection is made.
A short beep is also emitted when the jack is removed from the connection socket.
Pairing a Wireless Microphone with a Junction Box
1. Turn on the Axon Fleet 2 wireless microphone.
2. Press and hold the junction box button for 3 seconds or until the
junction box LED blinks blue to indicate pairing mode.
Junction Box LED
3. On the wireless microphone, press and hold the Function and EVENT
buttons for five seconds.
4. Wait until the Function LED blinks blue and then transitions to solid
blue indicating that it is paired with the junction box. The junction
box LED will also be solid blue.
Once a wireless microphone and junction box have been paired, the
wireless microphone will connect to the junction box as soon as both
are powered on.
Power Switch
Red = On/Buffering
Function Button
Mute and used for pairing
EVENT Button
Double Tap = Start Record
Battery Status Button
Push to Show Status of Battery
Quick Reference
Function LED
Connection socket
Used for recharging and
connecting the lapel
microphone accessory
Top View
Recording
The Axon Fleet 2 wireless microphone has two operating modes. The
BUFFERING mode and EVENT (recording) mode.
1. Turn the system on. Move the Power Switch to the ON position.
• The wireless microphone conducts start-up checks and syncs
mode indications with the front camera. When the front camera
begins BUFFERING, the Operation LED on the wireless microphone
will blink green.
2. To record, quickly double-press the EVENT button.
• The moment you double-press the EVENT button, both video and
audio will be recorded. This will continue throughout the duration
of the recording until you terminate the recording. Recording can
also be started using Axon View XL, by momentarily pressing the
EVENT button on Axon Fleet 2 front camera, or when the Axon
Signal Vehicle unit sends a signal.
• At the start of an event and every 2 minutes during an event, the
wireless microphone beeps twice.
• The operation LED will blink red.
3. To mute the audio capture, press and hold the Function button for
three seconds. Press and hold the Function button another 3 seconds
to re-enable the audio capture.
4. Recordings can only be stopped using Axon View XL or the Axon
Fleet 2 Front camera EVENT button.
Optional Lapel Microphone Accessory and Socket Plug
Emblem showing
Connection socket
compatibility with
Insert 2.5mm jack from lapel
lapel microphone
microphone accessory or
accessory
socket plug
Solid Red
Boot Up Mode
Blinking Red - EVENT Mode
EVENT Button
Blinking Green
BUFFERING Mode
Advertisement
Table of Contents

Subscribe to Our Youtube Channel
Summary of Contents for Axon Fleet 2
- Page 1 Read, understand, and follow all current instructions, warnings, and relevant Axon training materials before using any Axon system. The most up- to-date warnings and instructions are available at www.axon.com. Before using an Axon Fleet 2 wireless microphone, ensure it is fully charged. See Battery LED and Recharging the Battery on page 2 for more information.
- Page 2 Blinking Yellow , AXON, Axon, Axon Dock, Axon Fleet 2, Axon View XL, and Evidence Sync are trademarks of Axon Enterprise, Inc., some of which are registered in the US and other countries. For more information, visit www.axon.com/legal. All rights reserved. © 2019 Axon Enterprise, Inc.


Need help?
Do you have a question about the Fleet 2 and is the answer not in the manual?
Questions and answers