
Related Manuals for PVA FCM100


Summary of Contents for PVA FCM100
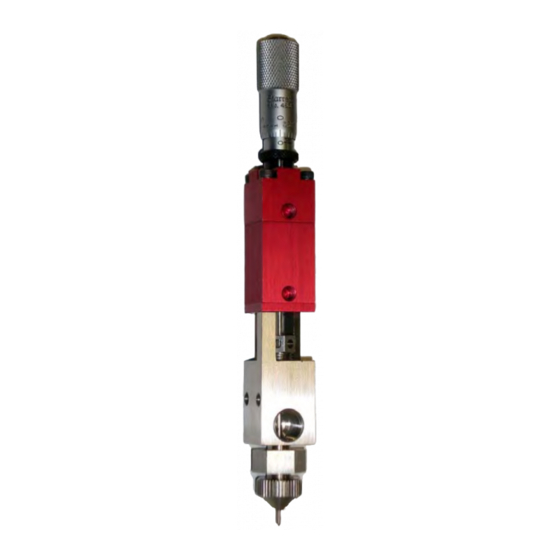
- Page 1 FCM100 FRONT CLOSING MICRO DISPENSE VALVE Version: B12-1788 Operation Manual 1 MUSTANG DRIVE COHOES, NY 12047 PHONE: 518-371-2684 FAX: 518-371-2688 info@pva.net www.pva.net...
-
Page 2: Theory Of Operation
Thank you for purchasing the FCM100 dispensing valve from PVA. Before attempting to operate the FCM100, we recommend that you take a few minutes and read the following operation and setup manual. This will assist in familiarizing you with the product and ensure a successful installation. - Page 3 Nozzle Options The FCM100 valve is available with several different gauge size dispense nozzles (17). Different nozzle sizes are easily interchangeable to the valve by removing the nozzle lock nut (12). Nozzle sizes are selected based on the size dot or bead of material that is to be applied.
-
Page 4: Periodic Maintenance
Refer to the FCM100 cross sectional view for location of parts referenced in the following procedures. 1) Lubricate the packing (5) on the FCM100 valve every 200 hrs by placing a few drops of mineral oil or other light oil inside the packing nut. -
Page 5: Operation
Tool Kit PVA offers standard tool kits for all dispensing valves. The tool kit for the FCM100 is part number B12-1986, which includes all necessary tools and lubricating grease to perform maintenance on this dispense valve: B12-1986 Includes: Part Number... -
Page 6: Routine Cleaning And Disassembly
Routine Cleaning and Disassembly Cleaning and rebuilding the valve will be required from time to time. A spare parts kit, part # FCM1-SP is available with all the normal wear parts included. 1) Begin disassembly by removing air and fluid pressure from the valve. 2) Remove all pneumatic tubing and fluid delivery fittings, hoses, etc. -
Page 7: Fluid Section
Assembly Instructions General • All o-rings must be lubricated with a small amount of silicone grease. • A small amount of removable thread locker should be applied to the set screw (19). • Assemble the air section and fluid section separately prior to connecting the assemblies. -
Page 8: Spare Parts
3) Using the tip of a 3/32” Allen key, tighten the packing nut (6). Spare Parts PVA offers standard spare parts kits for all dispensing valves. These kits are stocked for immediate shipment and allow replacement of all wearable parts of the valve. - Page 10 BILL OF MATERIALS FOR FC100-MC (B12-1788): Refer to Drawing #112-2420 Item Part Number Description Quantity 114-7293 Nozzle Adapter V302 Seat 114-5247 Needle 114-6933 Fluid Section V305 Packing V306 Packing Nut V200 End Cap V201 Lower Air Body V202 Piston 114-6556 Upper Air Body 01423 Micrometer Head...
-
Page 11: Troubleshooting
Troubleshooting Problem Possible Cause Corrective Action Valve does not - Air pressure to air section too low - Increase air pressure to 60-100 psi cycle - Packing nut is too tight - Loosen packing nut until valve just begins to cycle, retighten - Micrometer adjustment is - Back out micrometer adjustment by bottomed out... - Page 12 Unauthorized repair or modification of the enclosed product, and/or the use of spare parts not directly obtained from PVA (or from factory authorized dealers) will void all warranties.
Need help?
Do you have a question about the FCM100 and is the answer not in the manual?
Questions and answers