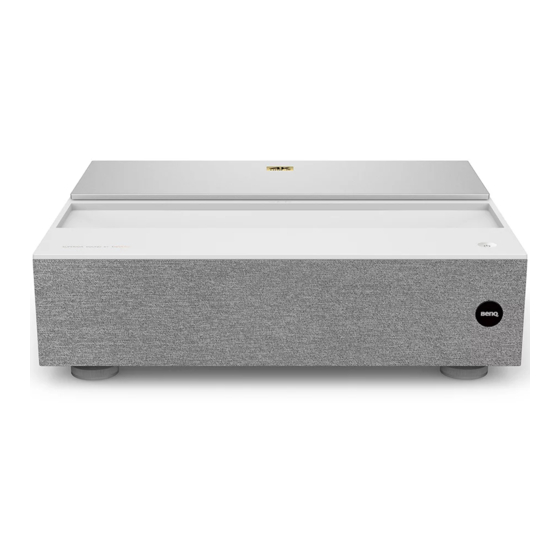
Summary of Contents for BenQ V7000i
- Page 1 IMPORTANT To install the projector properly, you are strongly recommended to follow the steps and safety precautions in this document. Digital Projector Installation Guide Laser TV Projector | V7000i / V7050i 4J.JP102.001 V1.03...
- Page 2 Projector’s remote control ATV dongle (QS01) Dongle’s remote control Warranty card Quick Start Guide Online Manual Product Support V7000i / V70500i / QS01 Support.BenQ.com Scan to watch how-to videos.
-
Page 3: Before Getting Started
Before getting started Check the size of your projection wall/screen and determine where to install the projector. Screen Width Screen Hight What You Need To Know Before You Buy Your Laser TV Image bottom- shelf surface distance TV shelf TV shelf depth TV shelf height Note For details for projector placement, see “Measurements”... -
Page 4: Remove Packing Materials
Remove packing materials. Install batteries to dongle’s remote control. Projector Dongle... - Page 5 Connect ATV dongle and power cord. How to make connections Optional AVR / PS5 / DVD player How to connect to audio systems...
- Page 6 Place the projector. 100" Measurements of 100" projection screen How to place the projector 8 7 . 2 " ( 2 2 1 . 4 c m Wall ALR screen 1 5 . 8 " ( 4 0 . 2 c m ) 1 5 .
- Page 7 Using the integrated measuring tool to measure distance from projector to the wall Distance to the wall BENQ ALR SCREEN Recommended for 100” ALR screen with frame depth of 2.8 cm.
- Page 8 Power on and complete inital setup. SKIP Press on remote control to skip. Note See “6. Screen adjustment” on page 9 for details.
-
Page 9: Screen Adjustment
Internet 3 seconds Wi-Fi Screen adjustment. How to adjust the screen Focus adjustment > INSTALLATION > Motor Focus > Adjust... - Page 10 Disable auto keystone > INSTALLATION > Auto Keystone > Off > INSTALLATION > Keystone > 0.0 Screen edge adjustment > INSTALLATION > Test Pattern > On...
- Page 11 Image size Image alignment Keystone correction...
- Page 12 Complete screen adjustment > INSTALLATION > Test Patter > Off Mark the position. The projector placement is complete. Mark the position if possible so you can align the projector again quickly once it is moved.


Need help?
Do you have a question about the V7000i and is the answer not in the manual?
Questions and answers