
Related Manuals for BenQ V5000i


Summary of Contents for BenQ V5000i
- Page 1 IMPORTANT To install the projector properly, you are strongly recommended to follow the steps and safety precautions in this document. Digital Projector Installation Guide TV Projector | V5000i P/N: 4J.JRA01.001 V1.01...
- Page 3 Schrauben von der Decke fällt. Der BenQ-Deckenmontagesatz für den Projektor ist im selben Fachgeschäft erhältlich, in dem Sie auch den BenQProjektor erworben haben. BenQ empfiehlt, dass Sie außerdem ein separates, mit dem Kensington-Schloss kompatibles Sicherheitskabel kaufen und dieses ordnungsgemäß in der Aussparung für das Kensington- Schloss am Projektor und an der Grundplatte des Deckenmontagegestells anbringen.
- Page 4 Installation Guide TV Projector ATV dongle (QS02) Installation guide Warranty card QR code for support website Online Manual Product Support V5000i / QS02 Support.BenQ.com What You Need To Know Scan to watch how-to videos. Before You Buy Your Laser TV...
-
Page 5: Before Getting Started
c r e Before getting started Ensure you have a Google account and the projector's location has wireless Internet, then check the size of your projection wall/screen and determine where to install the projector. Screen Width Google Account Screen Height Internet Image bottom-shelf surface distance... - Page 6 Remove lens stickers. Failure to remove stickers before use may cause damage to the lens. Install batteries to the remote control. Only use the remote control provided with the projector. Do not use the QS02 remote control (availability may vary by country/region).
- Page 7 Connect ATV dongle and power cord. How to make connections AVR / PS5 / DVD player Optional How to connect to audio systems...
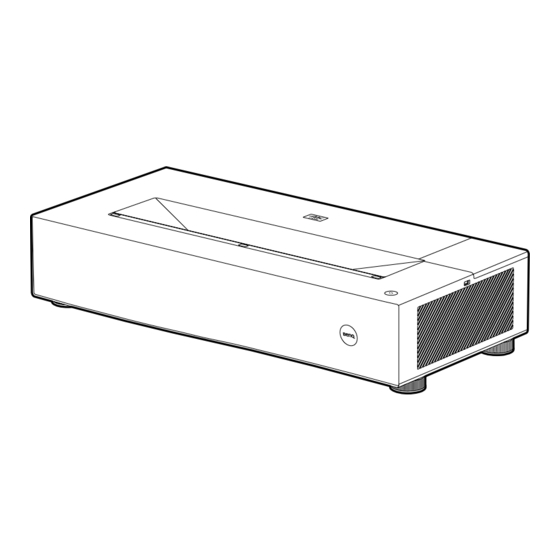
- Page 8 Place the projector. 90" Measurements of 90" projection screen How to place 7 8 . 4 " ( 1 9 9 . 2 c m the projector 1 5 . 0 " ( 3 8 . 2 c m ) 1 7 .
- Page 9 Using the integrated measuring tools to measure distance from projector to the wall Distance to the wall 120" 100" 90" 80" Recommended for 100” ALR screen with frame depth of 2.7 cm.
-
Page 10: Projector Position
Power on and complete initial setup. Projector Position... -
Page 11: Screen Adjustment
Screen adjustment. Image size How to adjust the screen Image alignment Keystone correction... - Page 12 Retract the measuring tools.
- Page 13 Connections 2.5A HDMI 1 SPDIF AUDIO HDMI 3 HDMI 2 SERVICE RS-232 HDCP 2.2 HDCP 2.2 HDCP 2.2 TRIGGER AUDIO RETURN+ 2.5A 1.5A MEDIA READER...
-
Page 14: Specifications
Mechanical Digital Please visit your local website from Size HDMI (HDCP 2.2) x 3 http://Support.BenQ.com and find your 358 (W) x 760 (L) x 164 (H) mm (with service contact window. foot) Weight 13.2 Kg + 200 g (29.12 + 0.44 lbs) Notice To ensure safe use of this product, please read the user manual for details before you operate your projector. - Page 15 紅外線接收器 x 2 AC100–240V、50–60 Hz(自動) 建議使用原廠的包裝或同材質的包裝材料。 耗電量 輸入端子 250 瓦(最大);< 0.5 瓦(待機) 維修 視訊訊號輸入 機械 請從 http://Support.BenQ.com 造訪當地 數位 網站,並查詢服務聯絡窗口。 大小 HDMI (HDCP 2.2) x 3 358(寬)x 760(長)x 164(高) 公釐(含腳座) 重量 13.2 公斤 + 200 公克 (29.12 + 0.44 磅)...
Need help?
Do you have a question about the V5000i and is the answer not in the manual?
Questions and answers