Table of Contents
Advertisement
Quick Links
Advertisement
Table of Contents

Subscribe to Our Youtube Channel
Related Manuals for AEG EOD3460AA


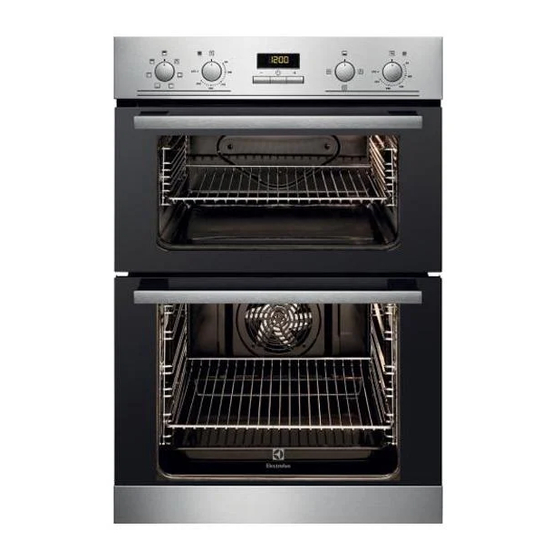
Summary of Contents for AEG EOD3460AA
- Page 1 EOD3460AA EN OVEN USER MANUAL...
-
Page 2: Table Of Contents
www.electrolux.com CONTENTS 1. SAFETY INFORMATION..................2 2. SAFETY INSTRUCTIONS..................4 3. PRODUCT DESCRIPTION................... 6 4. BEFORE FIRST USE.................... 7 5. DAILY USE......................7 6. CLOCK FUNCTIONS................... 9 7. USING THE ACCESSORIES................10 8. ADDITIONAL FUNCTIONS................. 11 9. HINTS AND TIPS....................11 10. - Page 3 ENGLISH responsible for any injuries or damages that are the result of incorrect installation or usage. Always keep the instructions in a safe and accessible location for future reference. 1.1 Children and vulnerable people safety This appliance can be used by children aged 8 years •...
-
Page 4: Safety Instructions
www.electrolux.com Do not use a steam cleaner to clean the appliance. • Do not use harsh abrasive cleaners or sharp metal • scrapers to clean the glass door since they can scratch the surface, which may result in shattering of the glass. If the mains power supply cable is damaged, it must be •... - Page 5 ENGLISH • Do not pull the mains cable to WARNING! disconnect the appliance. Always pull Risk of damage to the the mains plug. appliance. • Use only correct isolation devices: line protecting cut-outs, fuses (screw type • To prevent damage or discoloration to fuses removed from the holder), earth the enamel: leakage trips and contactors.
-
Page 6: Product Description
www.electrolux.com • Be careful when you remove the door • Before replacing the lamp, disconnect from the appliance. The door is heavy! the appliance from the power supply. • Clean regularly the appliance to • Only use lamps with the same prevent the deterioration of the surface specifications. -
Page 7: Before First Use
ENGLISH 4. BEFORE FIRST USE Press again and again until the WARNING! indicator for the Time of Day function Refer to Safety chapters. flashes. To set a new time, refer to "Setting the 4.1 Initial Cleaning time". Remove all accessories and removable 4.4 Preheating shelf supports from the appliance. - Page 8 www.electrolux.com 5.2 Activating and deactivating 1. Turn the knob for the top / main oven functions to select an oven function. the top / main oven 2. Turn the knob for the temperature to select a temperature. It depends on the model if 3.
-
Page 9: Clock Functions
ENGLISH 5.5 Display A. Function indicators B. Time display C. Function indicator The electronic programmer works only with the main oven. 5.6 Buttons Button Function Description MINUS To set the time. CLOCK To set a clock function. PLUS To set the time. 6. -
Page 10: Using The Accessories
www.electrolux.com 6.3 Cancelling the clock The clock function operates. The display shows the indicator for the clock function functions you set. 1. Press the again and again until the For the Minute Minder necessary function indicator flashes. function the display shows the time left. -
Page 11: Additional Functions
ENGLISH 2. Put the deep pan into the oven on the All accessories have small necessary shelf position. indentations at the top of the You can use the trivet to grill flat dishes in right and left side to increase large quantities and to toast. - Page 12 www.electrolux.com 9.1 Double oven • If you cannot find the settings for a special recipe, look for the one that is Top oven almost the same. The top oven is the smaller of the two • You can extend baking times by 10 – ovens.
- Page 13 ENGLISH Baking results Possible cause Remedy The cake browns unevenly. The mixture is unevenly dis- Spread the mixture evenly tributed. on the baking tray. The cake is not ready in the The oven temperature is too The next time you bake, set baking time given.
- Page 14 www.electrolux.com Food Temperature (°C) Time (min) Shelf position Pastry: - Choux 180 - 190 30 - 40 - Eclairs, Profiteroles 180 - 190 30 - 40 - Flaky / Puff Pies 210 - 220 30 - 40 Shortcrust: - Mince Pies 190 - 210 15 - 20 - Meat Pies...
- Page 15 ENGLISH Food Temperature (°C) Time (min) Shelf position Pastry: - Choux 180 - 190 30 - 40 - Shortcrust 180 - 190 25 - 35 - Flaky 180 - 190 30 - 40 - Puff Follow manufacturer's instructions. Reduce the temperature by 20ºC.
- Page 16 www.electrolux.com Food Time (min) Pork Chops 20 - 25 Whole Fish, Trout / Makarel 10 - 12 Fillets, Plaice / Cod 4 - 6 Kebabs 12 - 18 Kidneys, Lamb / Pig 6 - 10 Sausages 20 - 30 Toasted Sandwiches 3 - 4 Steaks: - Rare...
-
Page 17: Care And Cleaning
ENGLISH 10. CARE AND CLEANING WARNING! Refer to Safety chapters. 10.1 Notes on cleaning • Clean the front of the appliance with a soft cloth with warm water and a cleaning agent. • To clean metal surfaces, use a 2. Pull the rear end of the shelf support dedicated cleaning agent. - Page 18 www.electrolux.com 45° The heating element folds down. 4. Hold the door with one hand on each 3. Clean the oven ceiling. side and pull it away from the 4. Install the heating element in the appliance at an upwards angle. opposite sequence.
-
Page 19: Troubleshooting
ENGLISH 1. Deactivate the appliance. When the cleaning is completed, install the 2. Remove the fuses from the fuse box glass panels and the door. Do the above steps in the opposite sequence. Install the or deactivate the circuit breaker. smaller panel first, then the larger. -
Page 20: Energy Efficiency
www.electrolux.com 11.2 Service data the front frame of the appliance cavity. Do not remove the rating plate from the If you cannot find a solution to the appliance cavity. problem yourself, contact your dealer or an Authorised Service Centre. The necessary data for the service centre is on the rating plate. - Page 21 ENGLISH – Make sure that the oven door is duration of the cooking. The closed properly when the residual heat inside the oven will appliance operates and keep it continue to cook. closed as much as possible during – Use the residual heat to warm up the cooking.
- Page 22 www.electrolux.com...
- Page 23 ENGLISH...
- Page 24 www.electrolux.com/shop...
Need help?
Do you have a question about the EOD3460AA and is the answer not in the manual?
Questions and answers