Table of Contents

Subscribe to Our Youtube Channel
Related Manuals for Steelcase Workcentre Credenza


Summary of Contents for Steelcase Workcentre Credenza
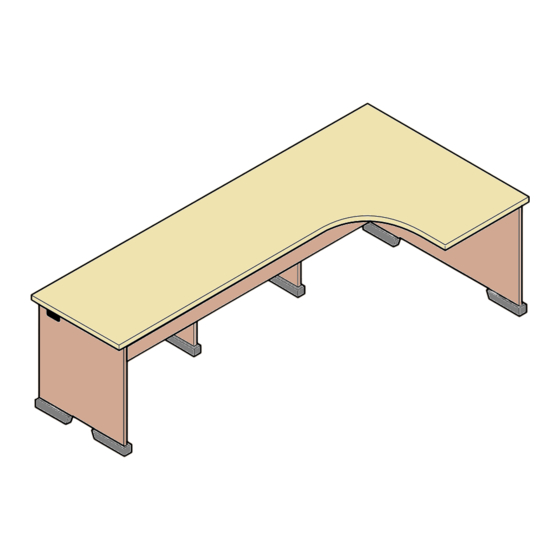
- Page 1 Steelcase, Inc. Grand Rapids, MI 49501 U.S.A. 1-888-783-3522 Assembly of Workcentre Credenza Unit with Integrated Adjustable Top Right Hand Corner Unit Workcentre Unit Tools Posi-Drive Power Driver with Phillips tip Rev. C Assembly Directions Y9501725 Printed in U.S.A.
- Page 2 A Screw (2) Steel Dowels into holes in each End Panel. B Move End Panels so dowels are engaged into holes in Modesty Panel. MODESTY PANEL C Insert Cam Locks with arrows pointing in direction of dowels into holes. D Secure End Panels to Modesty Panel with a half turn of Cam Locks.
- Page 3 Fit (2) Support Legs onto dowels in back of Modesty Panel. Secure with cam locks. ARROWS TO SIDE ARROWS DOWN (will be used in step 5) Lower assembly onto top and secure with cam locks, brackets and screws. Carefully turn assembled unit over.
- Page 4 INSTALLATION OF OPTIONAL BACK PANEL Inside ends of end panels use these sets of holes CENTER Outside ends of end panels use these sets of holes NOTE: A 97" Workcentre uses a one piece back panel. A 113" unit (shown here) requires a three piece back panel.
- Page 5 INSTALLATION OF ADJUSTABLE KEYBOARD SHELF FOR INTEGRATED TOP Underside of Top Surface (8) screws #10-9 x 7/8” pan head Using predrilled holes in top surface, position keyboard track. Secure with (8) screws. Y9501725 Rev. C Page 5 of 5...
Need help?
Do you have a question about the Workcentre Credenza and is the answer not in the manual?
Questions and answers