Table of Contents
Advertisement
Quick Links
Advertisement
Table of Contents

Subscribe to Our Youtube Channel
Summary of Contents for Sunjoy A101012900
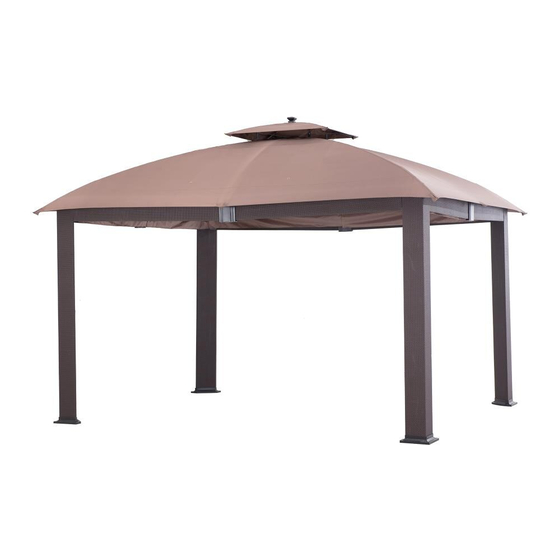
- Page 1 Assembly Manual Item#: A101012900 Thank you for your purchase! We are pleased that you have chosen Sunjoy for your outdoor furniture purchase. Our clear, easy to follow, step by step instructions will guide you through the project from start to finish.
-
Page 2: Safety Information
Safety information •Keep all children and pets away from assembly area. Children and pets should be supervised when they are in the area of the production construction. •This package contains small items and plastic bags that should be kept away from children. •Keep assembly area at least 6 ft. - Page 3 assemble the product if any parts are missing. •This unit is heavy. Do not assemble this item alone. At least four or more people are recommended for safe assembly. •Tools required for assembly (NOT included): Screwdriver, a hammer, and a ladder not lower than 2.4m (about 7.8 feet).
-
Page 4: Parts List
Parts List Description Part# Label Image Post GZ1081XXA01 Long screen 1 GZ1081XXA02 Long screen 2 GZ1081XXA03 Short screen 1 GZ1081XXA04 Short screen 2 GZ1081XXA05 Decorating plate GZ1081XXA06 Long netting bar GZ1081XXA07 Short netting bar GZ1081XXA08 Slanting bar GZ1081XXA09 Bottom tube of slanting bar GZ1081XXA10 Long middle bar GZ1081XXA11... -
Page 5: Hardware Pack
Description Part# Label Image Post base GZ1081XXA22 Base cover GZ1082XXA16 Small canopy GZ1081XXA24 Big canopy GZ1081XXA25 Hardware Pack 1 Description Part# Label Image M6x25 Bolt SM06025C M6 Washer UD06C M6x20 Bolt BM06020C M6 Nut LM06C M6 Wrench W10D 5 / 10... - Page 6 Fig.1: Lift the Base cover (R) and attach the Post base (Q) to the post by Bolt (AA) and Washer (BB). Fig.2: Attach the Lower connector of slanting bar (J) to the top of the Post (A) by Bolt (AA) and Washer (BB) Fig.3: Attach the Long screen1 (B1) to the Long screen2 (B2) by Bolt (CC), washer (BB) and Nut (DD).
- Page 7 Hardware Pack 2 Description Part# Label Image M6 washer UD06C M6 but LM06C M6X45 Bolt BM06040C 7 / 10...
- Page 8 Fig.7: Insert the Slanting bar (G1) into the Bottom tube of slanting bar (G2) Fig.8: Insert the other side of Slanting bar (G1) into the Big top connector (L) Fig.9: Attach the Bottom tube of slanting bar (G2) to the Lower connector of slanting bar (J) by using Bolt (FF), Washer (BB) and Nut (DD).
- Page 9 Hardware Pack 3 Description Part# Label Image 8X180 Stake DD08180C Fig.17: Spread the Big canopy (S2), and attach the four corners of the big canopy to the end of the Lower tube of slanting bar (G2). Fig.18: Attach the four middle fabric bags on each side of the big canopy to the end of the Bottom tube of long middle bar (H2) and Bottom tube of short middle bar (I2).
-
Page 10: Care And Maintenance
Important Please do not return this product to the store. For technical assistance or replacement parts, please call our customer service department at 1 (866) 578-6569 for anytime or email to customer.care@sunjoygroup.com Care & Maintenance •Before using, clean the product completely with a soft, dry towel. When not in use, wipe free of any dirt or loose objects, wash with a mild solution of soap and water;...


Need help?
Do you have a question about the A101012900 and is the answer not in the manual?
Questions and answers