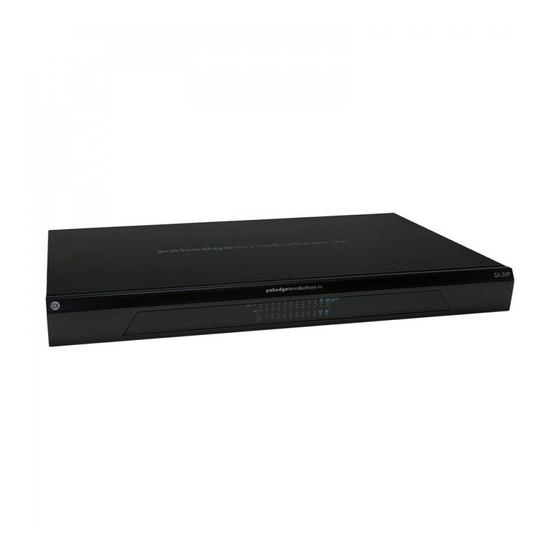
Summary of Contents for Pakedge SX-24P16
- Page 1 QUICK START GUIDE SX-24P16 Enterprise-Class, Fully Managed 24 Port Gigabit Switch with 16 PoE+ Capable Rear Facing Ports Version 1.0 pakedgedevice&software inc...
-
Page 2: Table Of Contents
PoE Ports *PoE is supplied on a power budget. This means 120W are available for total PoE power on the SX-24P16. A mix of PoE and PoE+ devices may be used at the same time, as long as the total power usage from PoE is under 120W. This allows for 4 devices to be... -
Page 3: Preparing To Install The Switch
Preparing to Install the Switch Logging Into the Switch Installing the SX-24P16 is similar to installing any other Pakedge switch. If you have installed a Connect the SX-24P16 to power. The PWR LED will light up and the fans will start. -
Page 4: Changing The Ip Address Of The Switch
There are two ways to reach the IP Address settings on the switch. From the Dashboard at New to the SX Series switches are the Pakedge Zones. Pakedge Zones provide a simple way to the center of the screen or the menu at the top of the page, click “System” and then go to configure the switch to use the specialized VLAN settings of a Pakedge network. -
Page 5: Manually Configuring Vlans
Then click “Apply” to save that VLAN to the switch. VLAN ID’s 1 - 6 are color coded to match the Pakedge Zones these are used for. To configure ports as different VLANs, use the “Port Assignments” section. -
Page 6: Console Into The Switch
Console Into the Switch Resetting IP address through the console You can reset the IP address of the switch through the console. This can be helpful in case of miss- The SX Series switches have a console port to serve as a back door entrance to the switch. This configuration. - Page 7 The manufacturer is not responsible for any radio or TV interference caused by unauthorized modifications to this equipment. pakedgedevice&software inc 3847 Breakwater Avenue Hayward,CA 94545 Main: 650-385-8700 Fax: 650.685.5520 www.pakedge.com sales@Pakedge.com © Pakedge Device & Software Inc. 2015 – All Rights Reserved...


Need help?
Do you have a question about the SX-24P16 and is the answer not in the manual?
Questions and answers