Advertisement
Quick Links
Item #1005 425 416
Model #OSCW-24M BK
USE AND CARE GUIDE
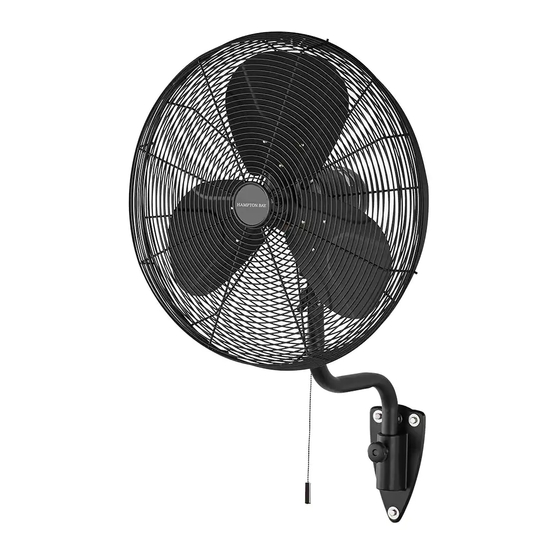
24 INCH BLACK OUTDOOR WALL MOUNT FAN
Questions, problems, missing parts? Before returning to the store,
call Hampton Bay Customer Service
8 a.m. - 7 p.m., EST, Monday-Friday, 9 a.m. - 6 p.m., EST, Saturday.
1-855-HD-HAMPTON
HAMPTONBAY.COM
THANK YOU
We appreciate the trust and confidence you have placed in Hampton Bay through the purchase of this light kit. We strive to continually create
quality products designed to enhance your home. Visit us online to see our full line of products available for your home improvement needs.
Thank you for choosing Hampton Bay!
Advertisement

Subscribe to Our Youtube Channel
Related Manuals for HAMPTON BAY OSCW-24M BK


Summary of Contents for HAMPTON BAY OSCW-24M BK
- Page 1 THANK YOU We appreciate the trust and confidence you have placed in Hampton Bay through the purchase of this light kit. We strive to continually create quality products designed to enhance your home. Visit us online to see our full line of products available for your home improvement needs.
- Page 2 Table of Contents Table of Contents ..............2 Pre-Installation ..............3 Safety Information ............... 2 Assembly ................4 Warranty ................2 Safety Information READ AND SAVE THESE INSTRUCTIONS. □ Always unplug unit for cleaning. CAUTION: Read and follow all instructions before operating □...
- Page 3 Pre-Installation TOOLS REQUIRED Phillips Flat head Step Wrench Square xed screwdriver screwdriver ladder socket wrench HARDWARE INCLUDED Part Description Quantity Part Description Quantity Knob Hexagonal nut Hexagonal screw Screw Hexagonal threaded screw Flat washer Flat washer Left flange Spring washer Right flange PACKAGE CONTENTS Part...
- Page 4 Assembly Instructions Installing the wall mounting bracket to wall CAUTION: If you are going to attach the fan assembly (A) to a wood stud or wood post, the stud or wood post must be wide enough and thick enough to sustain the wall mounting bracket (C) and the weight of the fan assembly (A).
- Page 5 Assembly Instructions (continued) Installing the mounting pipe and base assembly □ Put one end of the pipe (B) into the slot in the base of the mounting bracket (C). □ Carefully insert the position knob and tighten it to hold the pipe (B). Wall mount bracket / Motor assembly CAUTION: Be sure to secure the knobs.
- Page 6 Assembly Instructions (continued) Rear grill and blade assembly spring washer □ Remove the four nuts, spring washers and flat washers from the bolts around the motor shaft. □ Carefully slide the rear grill (F) over the bolts. □ Secure with the flat washers, spring washers and nuts removed in Step 1.
- Page 7 Operating Instructions Adjust airflow upward or downward □ Loosen (but do not remove) the adjustment knob by turning it counterclockwise. □ Tilt the head of the fan to the desired angle. □ Retighten adjustemnt knob once desired angle is set. Speed control Oscillating knob □...
- Page 8 Questions, problems, missing parts? Before returning to the store, call Hampton Bay Customer Service 8 a.m. - 7 p.m., EST, Monday-Friday, 9 a.m. - 6 p.m., EST, Saturday 1-855-HD-HAMPTON HAMPTONBAY.COM Retain this manual for future use. Net weight: 38.59 lbs (17.5 kgs) Gross weight: X.XX lbs (X.X kgs) PENDING...
Need help?
Do you have a question about the OSCW-24M BK and is the answer not in the manual?
Questions and answers
Missing pivot knob. Not in box.
To obtain a replacement pivot knob for the HAMPTON BAY OSCW-24M BK, contact the Customer Service Team at 1-855-HD-HAMPTON or visit www.HamptonBay.com.
This answer is automatically generated