Advertisement
Quick Links
USER MANUAL
USER MANUAL
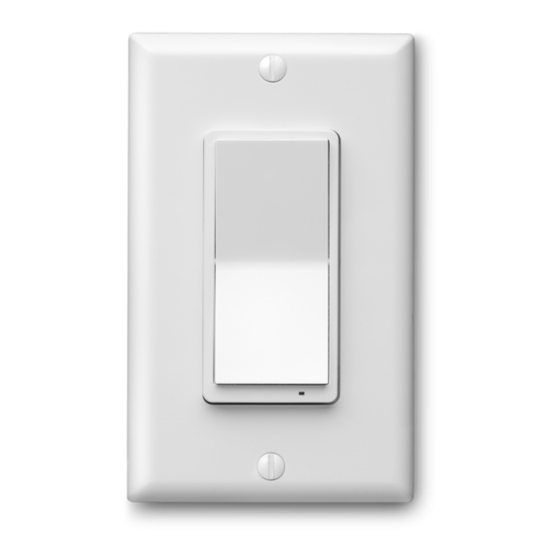
REMOTE SWITCH
S2
www.getzooz.com
Firmware 1.02
FEATURES
Control other Z-Wave devices and enable scenes with
Ÿ
a click of a button
Classic paddle switch look and size + magnetic base
Ÿ
Install in your electrical switch box or mount
Ÿ
anywhere on a wall with just adhesive tape
The latest 700 chip with S2 and SmartStart support
Ÿ
Powered by batteries, no wires needed
Ÿ
SPECIFICATIONS
Model Number: ZEN34
Ÿ
Z-Wave Signal Frequency: 908.42 MHz
Ÿ
Power: 2 x CR2032 batteries
Ÿ
Operating Temperature: 32 – 104° F
Ÿ
Range: Up to 250 feet line of sight
Ÿ
Installation and Use: Indoor Only
Ÿ
INSTALLATION
1. CHOOSE MOUNTING LOCATION
You can install the Remote Switch in an existing
electrical box, it will fit great next to your hard-wired
switches.
You can also mount it on any type of clean flat surface
or use it as a hand-held remote without the mounting
base.
2. INSTALL THE MAGNETIC BASE
In an electrical box:
Turn the power off at the breaker.
Ÿ
Make sure you have an empty spot in the box to fit
Ÿ
the Remote Switch in.
Use a standard flat head screwdriver to attach the
Ÿ
magnetic base to the electrical box with the supplied
mounting screws.
On a wall or any clean flat surface:
Use the supplied screws or adhesive tape to attach
Ÿ
the magnetic base to the surface of your choice
3. ATTACH THE WALL PLATE
Use the supplied short wall plate screws to attach the
plate over the magnetic base or use your existing
switch plate if mounting the device in a multi-gang
box.
4. PLACE THE REMOTE SWITCH IN THE BASE
That's it! Just place the remote in the base and either
keep it there to use the device as a standard wall
switch or take it out and put it on your night stand
when going to bed for convenient remote control.
WARNING
This product should be installed indoors only upon
Ÿ
completion of any building renovations.
Prior to installation, the device should be stored in a
Ÿ
dry, dust-and-mold-proof place.
Do not install the device in a place with direct sun
Ÿ
exposure, high temperature, or humidity.
Keep away from chemicals, water, and dust.
Ÿ
Ensure the device is never close to any heat source or
Ÿ
open flame to prevent fire.
No part of the device may be replaced or repaired by
Ÿ
the user except for the batteries.
ZEN34
PAGE 1
Z-WAVE CONTROL
1. ADD DEVICE to your hub
Initiate inclusion (pairing) in the app (or web
interface). Not sure how? ask@getzooz.com
If you're using an S2 hub, it may ask you to scan the QR
code or enter the DSK key printed on the back sticker
to complete secure inclusion.
2. POWER the device
Use the triangle tool to open
the remote and access the
batteries. Pull the battery tabs
to power the Remote Switch. If
using SmartStart, it will join
your hub automatically.
Otherwise, proceed to manual
inclusion.
MANUAL INCLUSION
Put your Z-Wave hub into inclusion mode and click
the upper paddle 6 times quickly. The LED indicator
will blink blue during the process and light up green
once added successfully. It will light up red if failed.
Choose your hub and scan the QR code with your phone's
camera. Then click on the link to access the pairing guide.
SmartThings
Get more tutorials and helpful tips at www.support.getzooz.com
TROUBLESHOOTING
The device won't add to your system? Try this:
1. Initiate EXCLUSION and click the lower paddle 6
times quickly.
2. Click the upper paddle 7-8 times as quickly as
possible or try adding it in a non-secure mode.
3. Bring the device closer to your hub, it may be out of
range.
4. Double-check if the device is powered.
5. Get troubleshooting tips for your hub at
www.support.getzooz.com
EXCLUSION (REMOVING / UNPAIRING DEVICE)
1. Bring the Remote Switch within direct range of your
Z-Wave gateway (hub).
2. Put the Z-Wave hub into exclusion mode (not sure
how to do that? ask@getzooz.com).
3. Click the lower paddle 6 times very quickly
4. Your hub will confirm exclusion and the device will
disappear from your controller's device list.
FACTORY RESET
When your network's primary controller is missing or
otherwise inoperable, you may need to reset the device
to factory settings manually. In order to complete the
process, make sure the device is powered, then tap-
tap-tap'and'hold the upper paddle. The LED indicator
will blink red 5 times to indicate successful reset.
NOTE: All previously recorded activity and custom
settings will be erased from the device's memory.
WAKE-UP MODE
You will need to wake the Remote Switch up when
changing any advanced settings or assigning any new
scenes or actions to it. Click the upper paddle 7 times
as quickly as possible to wake the device up. The LED
indicator will stay on solid blue during wake-up and will
turn off when the device turns the Z-Wave radio off
again.
ASSOCIATION
The Remote Switch supports Group 1 with 1 Controller
node
for lifeline communication, Group 2 with up
devices for on/off control through basic set commands
(single click paddle), and Group 3 with up
for dimming control through switch multilevel
commands (press-and-hold paddle).
Hubitat
to
10
PAGE 2
HA
to
10
devices
Advertisement

Related Manuals for ZooZ ZEN34


Summary of Contents for ZooZ ZEN34
- Page 1 Powered by batteries, no wires needed Ÿ Choose your hub and scan the QR code with your phone’s camera. Then click on the link to access the pairing guide. SPECIFICATIONS Model Number: ZEN34 Ÿ Z-Wave Signal Frequency: 908.42 MHz Ÿ Power: 2 x CR2032 batteries Ÿ...
- Page 2 You can adjust the LED indicator color and operation mode in the advanced settings below. IN NO EVENT SHALL ZOOZ OR ITS SUBSIDIARIES AND AFFILIATES BE LIABLE FOR ANY INDIRECT, INCIDENTAL, PUNITIVE, SPECIAL, OR CONSEQUENTIAL DAMAGES, OR DAMAGES FOR LOSS OF PROFITS, REVENUE, OR USE INCURRED BY CUSTOMER OR ANY...
Need help?
Do you have a question about the ZEN34 and is the answer not in the manual?
Questions and answers