Advertisement
Quick Links
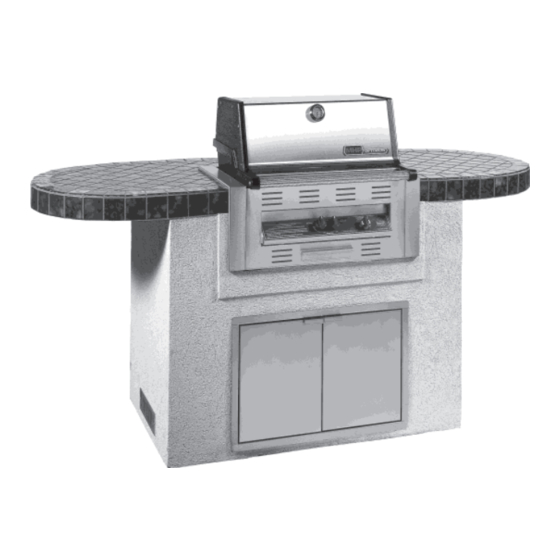
MODERN HOME PRODUCTS GAS
Owners Manual
Assembly and Maintenance Instructions For Models:
JNR4DD, WNK4DD, WRG4DD, WHRG4DD, TJK2DD, TRG2DD, and THRG2DDSeries
THIS GAS APPLIANCE IS DESIGNED FOR OUTDOOR USE ONLY.
FOR YOUR SAFETY
If you smell gas:
1.
Shut off gas to appliance.
2.
Extinguish any open flame.
3.
Open Lid.
Of odor continues, immediately call
4.
your gas supplier or your fire depart-
ment.
5.
THESE INSTRUCTIONS SHOULD BE LEFT WITH THE CUSTOMER.
KEEP THESES INSTRUCTIONS FOR FUTURE REFERENCE.
Rev (1-18)
FOR YOUR SAFETY
1.
Do not store or use gasoline or other
flammable vapors and liquids in the
vicinity of this or any other appliance.
2.
An LP cylinder not connected for use
shall not be stored in the vicinity of
this or any other appliance.
FOR YOUR SAFETY
Follow all leak-test procedures carefully in
this manual before using. Do this even if
the grill was dealer assembled. Do not try
to light this appliance without reading the
"Lighting" instructions in this manual.
YOU MUST READ THIS OWNERS MANUAL BEFORE
OPERATING YOUR GAS GRILL.
Advertisement


Need help?
Do you have a question about the JNR4DD Series and is the answer not in the manual?
Questions and answers