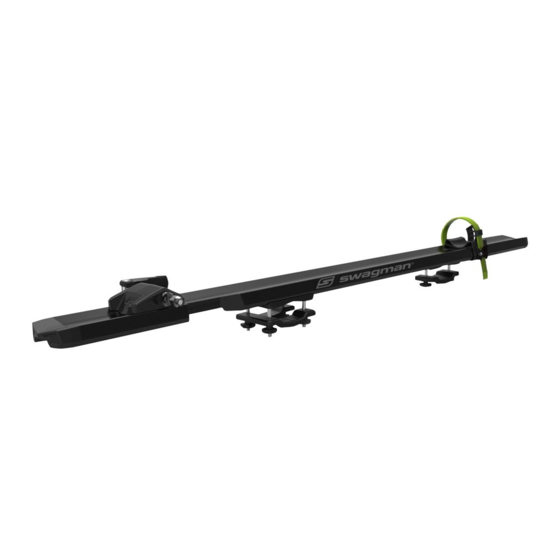
Advertisement
Available languages
Available languages
INSTALLATION
1. Remove the 4 wing nuts on the front and 2 on the rear
crossbar mounts and take off the lower crossbar clamp
(diagram 1).
2. Position the front clamp onto the front crossbar. Attach
the crossbar clamp and loosely attach the 4 wing nuts
(diagram 2).
3. Slide the rear crossbar mount into position over the rear
crossbar. Attach the crossbar mount and loosely attach
the 2 wing nuts (diagram 3).
4. Move the rack from side to side on the crossbars to
insure it is perpendicular with the vehicle.
5. Once it is the correct position tight the 6 wing nuts.
Note: You may encounter a situation where you will want
to move the wheel strap in front of the rear crossbar
mount. This may be necessary if you have a very short
wheel base bicycle or the crossbars are quite far apart.
You will need to slide the rear crossbar mount off the back
of the rack, then install the wheel strap on the extrusion
followed by replacing the rear crossbar mount (diagram 4).
INSTALLING THE BIKES:
1. Remove the front wheel from the bike. Insert the fork
blade into the bike mount bracket with the QR lever
(not supplied) in the open position, hand tighten the
nut on the opposite side of the lever.
2. Then close the QR lever so that the fork is tight in the
bike support bracket. Move the bike back and forth to
ensure that the fork is tight in the bracket.
3. Slide the rear wheel strap holder in position and attach
the wheel strap. Pull the strap snug and test to ensure it
is tight. Avoid putting the strap through the area where
there is the valve stem.
IMPORTANT NOTES:
• Bicycle fork must have safety tabs.
• Remember that you are carrying a bike on your roof
and your car's handling characteristics will differ, so
GO SLOWER than normal, especially in high winds and
around bends. Keep your speed below 60mph.
• Do not forget that your vehicle will be much higher than
normal, so be care that you have enough room when
entering tunnels, car parks and especially your garage!
Never exceed the vehicle manufacturers or after market
crossbars recommended maximum weight limits.
Swagman • 300 - 1880 Government St. • Penticton, B.C. Canada V2A 7J1 • Phone (250) 490-8883 • Fax (250) 490-8885 • www.swagman.net
PRODUCT: 64704 Enforcer • Page 1 of 2
INSTRUCTION SHEET
1
2
3
REV 20/07/15
Advertisement
Table of Contents

Summary of Contents for Swagman 64704
- Page 1 Never exceed the vehicle manufacturers or after market crossbars recommended maximum weight limits. REV 20/07/15 Swagman • 300 - 1880 Government St. • Penticton, B.C. Canada V2A 7J1 • Phone (250) 490-8883 • Fax (250) 490-8885 • www.swagman.net...
- Page 2 142mm and 138mm for assorted Fat Bike Dropout widths (diagram 6). BIKE FORK REV 20/07/15 Swagman • 300 - 1880 Government St. • Penticton, B.C. Canada V2A 7J1 • Phone (250) 490-8883 • Fax (250) 490-8885 • www.swagman.net...
- Page 3 • N’oubliez pas que le vélo augmente la hauteur de votre véhicule. Assurez-vous d’avoir la hauteur nécessaire à l’entrée des tunnels, des stationnements REV 20/07/15 Swagman • 300 - 1880 Government St. • Penticton, B.C. Canada V2A 7J1 • Phone (250) 490-8883 • Fax (250) 490-8885 • www.swagman.net...
- Page 4 à pneus surdimensionnés (largeur 142 ou 138 mm) (diagramme 6). REV 20/07/15 Swagman • 300 - 1880 Government St. • Penticton, B.C. Canada V2A 7J1 • Phone (250) 490-8883 • Fax (250) 490-8885 • www.swagman.net...


Need help?
Do you have a question about the 64704 and is the answer not in the manual?
Questions and answers