Table of Contents
Advertisement
Quick Links
Advertisement
Table of Contents

Related Manuals for HydroLogic EvolutionRO


Summary of Contents for HydroLogic EvolutionRO
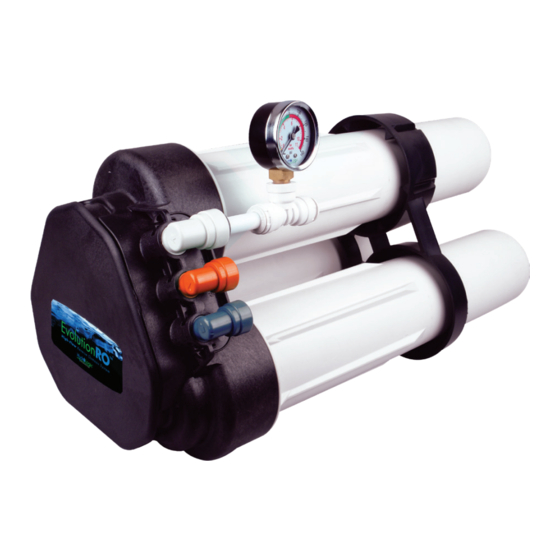
- Page 1 USER MANUAL BUILT IN THE BUILT IN THE U.S.A. U.S.A.
-
Page 2: Table Of Contents
DESCRIPTION is a customized Reverse Osmosis water filter that is made in the USA. This system is capable of reducing up to 95% of most contaminants. This system is designed and built for use with hydroponic or horticultural applications. This system is built to give the maximum amount of flow from the membrane while sending less wastewater to the drain, compared to similar RO filters. -
Page 3: Precautions
PRECAUTIONS 6 Do not use this product to make safe drinking water from non-potable water sources. Do not use the system on microbiologically unsafe water, or water of unknown quality without adequate disinfection before or after the system. 6 Temperature of the water supply to the must be between 40°F–100°F (4°C–38°C). -
Page 4: Filter Replacement Schedule
For most applications, the membranes should be replaced every 6 months to two years. BE SURE TO CHANGE YOUR FILTERS BASED ON THE FILTER REPLACEMENT SCHEDULE! Replacement HydroLogic Part # Filter Schedule 2,500 gallons of HL 22019 purified water... -
Page 5: Includes
INCLUDES 1. Manifold (X1) 2. Filter Housing (X3) Carbon Filter (X1) 4. 600+ Gallon/Day Membrane (X2) 5. White White Feed Fitting (X1) Blue Product Water Fitting (X1) Orange 1:1 Ratio Drain Fitting (X1) Green 2:1 Ratio Drain Fitting (X1) 9. Lock Bar (X1) 10. -
Page 6: Installation
INCLUDES IMPORTANT: BEFORE YOU START MUST BE FLUSHED To ensure optimal efficiency, the carbon filter FOR 10 MINUTES, PRIOR TO MEMBRANE INSTALLATION. To do this, follow the steps below but DO NOT install the membranes, only the carbon filter. After the steps are complete, run the system for 10 minutes. Once the flush is complete, the system is ready to return to STEP 9 for membrane installation. - Page 7 INCLUDES STEP 6: STEP 5: Install the Support Leg/Housing Wrench, Install the pressure gauge assembly. Push the as shown. short length of tubing into the left side of the gauge. Push the other end of the tubing into the elbow connector fitting as shown. STEP 7: STEP 8: Install the white inlet tubing by pushing the tubing...
-
Page 8: Performance And Dimensions
PERFORMANCE Membrane Rejection Chart Symbol % Rejection Aluminum 97–98 Ammonium 85–95 TFC Membrane Arsenic 90–95 Borate 30–50 Rejection Chart Boron 60–70 Br - Bromide 93–96 Cadmium 93–97 Calcium 95–98 The TFC membrane rejection chart can Cl - Chloride 92–98 be very helpful as a general guideline, Chromate 85–95 Copper... -
Page 9: Component Specs
Proposition 65 compliant RO Membrane: HL 22045 HydroLogic Membranes are recognized as one of the industry’s most reliable and highest performing membranes that deliver consistent performance and quality. Advanced membrane technology and manufacturing processes allow these membranes to deliver consistent results. -
Page 10: Quick Connect Fittings
QUICK CONNECT FITTINGS (QC) Connecting QC Fittings: Push tubing firmly into the fitting, all the way until the tube stops. The collet (gripper) has stainless steel teeth which hold the tube firmly in position while the O-ring provides a leak proof seal. Pull tubing to check for security. -
Page 11: Warranty And Support
A one-year warranty against manufacturer’s defects comes with each unit. These defects must be reported to Hydrologic upon receiving the merchandise, when the box is opened, or immediately thereafter. For other issues that may arise throughout the lifetime of the product, please contact HydroLogic directly for technical support. -
Page 12: Troubleshooting
Q: Why are both the 1:1 and 2:1 Flow Restrictors included in the box? A: The Flow Restrictor(s) determines your waste to purified water ratio. HydroLogic has always provided two options for the waste to purified water ratio, because water conditions vary across the world;... -
Page 13: Options
OPTIONS TDS Monitor HL 28010 Measures PPM of dirty water going in Flowmaster and pure water going out. Monitors HL 19020 performance of your membranes. Gallon meter and filter capacity monitor. Indicates when to change your filters. Pressure Regulator HL 26020 Required for water pressure over 80 psi. -
Page 14: Filter Replacement Log
FILTER REPLACEMENT LOG MEMBRANE DATE CARBON FILTER DATE... -
Page 15: User Notes
USER NOTES... - Page 16 370 Encinal Street Suite 150 Santa Cruz,CA 95060 ph: 888.426.5644 fax: 831.336.9840 ACCREDITED BUSINESS techsupport@hydrologicsystems.com hydrologicsystems.com...
Need help?
Do you have a question about the EvolutionRO and is the answer not in the manual?
Questions and answers