
Related Manuals for FIBARO Home Center HCL


Summary of Contents for FIBARO Home Center HCL
- Page 1 Installation manual FIBARO Home Center HCL & HC2 Version 1.3 Last revision: 01-04-2019...
- Page 2 PC/Mac • Smartphone (Android/iOS) Copyright © 2019 by FIBARO Benelux All rights reserved. No part of this publication may be reproduced, distributed, or transmitted in any form or by any means, including photocopying, recording, or other electronic or mechanical methods, without the prior written permission of the publisher, except in the case of brief quotations embodied in critical reviews and certain other noncommercial uses permitted by copyright law.
-
Page 3: Table Of Contents
1.2 Installation of FIBARO Finder ......................5 2 Getting started ............................6 2.1 FIBARO system wizard........................6 2.2 Remote access by FIBARO ID ....................... 7 2.2 Sharing access to the Home Center....................8 2.3 Updating Home Center ........................9 2.4 Interface ............................10 2.5 Configuration Home Center ...................... -
Page 4: Installation
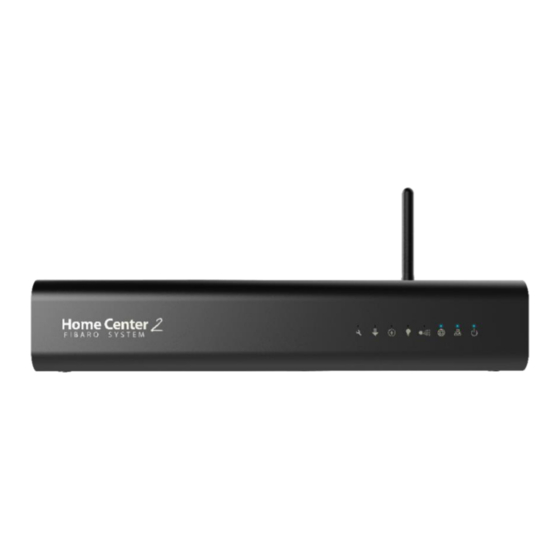
1 Installation 1.1 Installation Home Center Install the Home Center as described in the printed manual. Start Home Center by the POWER button on the back and wait approx. 2 minutes to boot. When the Home Center is correctly installed and fully booted, three LEDs will light up. This means POWER, NETWORK AND INTERNET (from right to left). -
Page 5: Installation Of Fibaro Finder
Open the downloaded file and install FIBARO Finder on your computer. Open FIBARO Finder and find your Home Center on the list. Choose Home Center marked with the serial number you can find on a sticker placed on your Home Centers casing. If the list is empty or you can’t find your Home Center on the list, click Refresh. -
Page 6: Getting Started
2 Getting started 2.1 FIBARO system wizard When you log in to the Home Center for the first time you will see FIBARO System Wizard. IMPORTANT: In order to use all system functionalities, it’s required to complete the wizard. To start configuring your system click Configure. -
Page 7: Remote Access By Fibaro Id
2.2 Remote access by FIBARO ID FIBARO ID is a unique form of identification for FIBARO users which allows you to log in once to access FIBARO cloud services. With FIBARO ID you may use Remote Access, voice assistant integrations and other cloud services. For more information about FIBARO ID, please read: https://manuals.fibaro.com/faq-id/... -
Page 8: Sharing Access To The Home Center
Optional – when other users need access to the Home Center and/or the FIBARO Home Center app. Only the Super User/FIBARO ID can manage accounts of the users of the Home Center. For instance to grant/block access to the devices, scenes and system settings. -
Page 9: Updating Home Center
5. In case you have no experience with updating the Home Center we strongly advise you to contact a Certified FIBARO Installer. Access the Home Center with FIBARO Finder and login Go to the “Configuration” tab. Scroll down the page. -
Page 10: Interface
Access the Home Center with FIBARO Finder and login When you are logged in you’ll see the following interface: The main screen (Your House) of FIBARO Home Center contains 8 panels: 1. Top bar – shows current status of devices 2. -
Page 11: Z-Wave Devices (Adding/Deleting)
Z-Wave controller, but within range of a repeater of this Z-Wave network 2.6.1 Z-Wave network Mesh network topology used by the FIBARO System prevents influence of the building construction on its operation. Mains powered devices work as a receiver and transmitter that can send radio signal between themselves expanding network range in this way. -
Page 12: Deleting Device
Put your Z-Wave device into the adding mode according to its manual. Home Center will start the inclusion process and device configuration. If process have not started even after few tries, try deleting the device according to “Deleting a Z- Wave device”. -
Page 13: Home Center Settings
Put your Z-Wave device into the exclusion mode according to its manual (triple clicking the B-button, TMP button or S1 switch in case of FIBARO System devices). Home Center will start the process of exclusion and removing from controller’s memory. Successful removal will be confirmed by “Removing devices finished”... -
Page 14: Back-Up
HC2 operating system. There are two types of back-ups Cloud back-up – create a back-up in the FIBARO Cloud. Cloud back-ups are very useful when the Home Center configuration needs to be transferred to an Home Center 2. -
Page 15: Fibaro Home Center App (Ios/Android)
Make sure your devices is connected with the same WiFi network as the Home Center. Open the app Login with your FIBARO ID credentials IMPORTANT: Local access credentials of the Home Center need to be the same as Fibaro ID account! Select Home Center in the list. -
Page 16: Appendix A: Useful Links
Appendix A: Useful links Knowledge base: kb.fibaro.com Manuals and device documentation: manuals.fibaro.com FIBARO Forum: forum.fibaro.com FIBARO Marketplace: marketplace.fibaro.com Compatibility: compatibility.fibaro.com... -
Page 17: Appendix B: Faq
Delete it from FIBARO ID account, if possible. • If you don’t know to which FIBARO ID account it is linked to, or cannot access it, contact our Support Team. Remote access – I can not access my Home Center remotely? - Page 18 Use a different browser – the most recommended is Google Chrome working on private mode. PIN alarm panel – What is the default PIN-code? The default PIN code of FIBARO Home Center = 1111 Mesh reconfiguration – After including I changed the location of my Z-Wave device.
-
Page 19: Appendix C: Starting Recovery Hcl
Home Center IP will be set to 192.168.81.1 and you’ll need to adjust the network settings on your computer in order to access the device. Type in the IP address of Home Center Lite in your web browser or use Fibaro Finder. Recovery Mode screen will be displayed:... -
Page 20: Appendix D: Starting Recovery Hc2
Home Center IP address to static or dynamic (DHPC)?. Entering Recovery Mode is signalled with a control diode. Type in the IP address of your Home Center 2 in the web browser or use FIBARO Finder. Recovery Mode screen will be displayed:...
Need help?
Do you have a question about the Home Center HCL and is the answer not in the manual?
Questions and answers