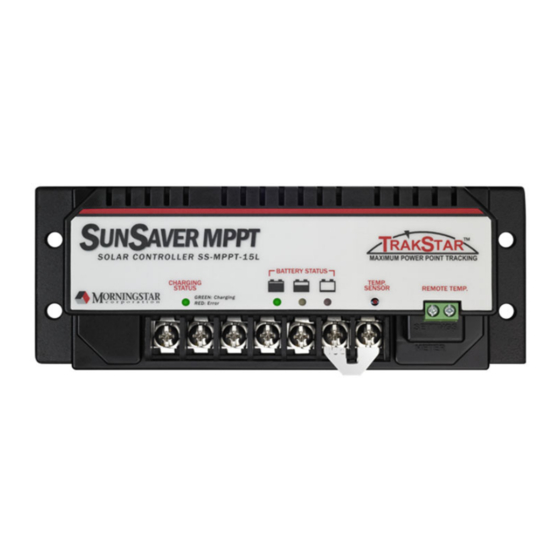
Table of Contents
Advertisement
Quick Links
Specifications:
SS-MPPT-15L
Nominal Battery Voltage
12 V or 24 V
Max. Solar Input Voltage
60 V
Nominal Maximum Input Power
200 W / 400 W
Maximum Battery Current
15 A
Battery Voltage Range
7 – 36 V
Rated Load Current
15 A
Operational Configuration:
DIP
Switches
Bottom
Switch 1: Battery Type
Top
1
Battery Select Jumper
Sealed
Gel
INSERTED
DIP
Switches
OFF
ON
Battery Select Jumper
REMOVED
1
Flooded
AGM
DIP
Switches
OFF
ON
1
Set points for this switch setting can be modified with custom programming.
Contact Information:
Technical Support: Support.morningstarcorp.com
Phone: 1‐
215‐321‐4457
4
BATTERY SET POINTS
12-volt (24-volt)
Set Point
GEL
Sealed
AGM
14.0 V
14.1 V
14.3 V
Absorption Voltage
(28.0 V)
(28.2 V)
(28.6 V)
13.7 V
13.7 V
13.7 V
Float Voltage
(27.4 V)
(27.4 V)
(27.4 V)
Time until Float
3 hours
3 hours
3 hours
Equalize Voltage
N/A
N/A
14.5 V
Equalize Duration
N/A
N/A
3 hours
Equalize Calendar (days)
N/A
N/A
Maximum Regulation Voltage*
15 V (30 V)
LVD**/ LVR** (Switch 2 OFF)
11.5 V /12.6 V @ 12 V (23.0 V/25.2 V @ 24 V)
LVD**/LVR** (Switch 2 ON)
11.0 V/12.1 V @ 12 V (22.0 V/24.2 V @ 24 V)
Load HVD**
15.3 V (30.6 V)
Load HVR**
14.5 V (29 V)
Array HVD (Temp. Comp.)
Highest voltage set point + 0.5 V
Array HVR (Temp. Comp.)
13.8 V (27.6 V)
*Not temperature compensated. 15 V @ 12 V nominal, 30 V @ 24 V nominal.
**
Adjustable by DIP Switch 2. Not temperature compensated. Can be modified in
custom settings.
1
For Custom Programming:
Use the software available at https://www.morningstarcorp.com/msview/.
See the SunSaver MPPT Installation, Operations, and Maintenance Manual for
additional information/guidance.
Switch 2: Load Control /
Low Voltage Disconnect/Reconnect
OFF
LVD = 11.0 V
LVD = 11.5 V
LVR = 12.1 V
LVR = 12.6 V
2
These values can be modified
with custom programming.
Switch 3: Auto-Equalization
OFF
ON
Auto‐Equalize OFF
Auto‐Equalize ON
(AGM, Flooded Battery Types only)
Switch 4: Communication Mode -
Meter/MODBUS®
OFF
ON
Remote Meter, &
MODBUS® Protocol for
Relay Driver
MSView, Ethernet Meterbus
Converter, 3
© 2021 Morningstar Corporation. All Rights Reserved.
Flooded
14.4 V
(28.8 V)
13.7 V
(27.4)
3 hours
14.9 V
3 hours
28
28
Scan QR Code to go
directly to the
SunSaver MPPT
Installation Manual
and warranty
information online.
Warranty Registration: https://www.morningstarcorp.com/product‐registration/
In the Box:
2
ON
SunSaver MPPT
Charge Controller
Tools Required:
— #2 Philips Screwdriver
— 3/16 (5 mm) & 3/32" (2.5 mm) Flathead Screwdriver
— Drill with a 3/32" (2.5 mm) bit
— Multimeter
rd
‐Party Devices
MS‐003294 SS‐MPPT QSG (3/16/2021) Rev C03
Quick Start Guide
Safety Information:
WARNING: Shock Hazard
The SunSaver MPPT controller must be installed by a
qualified technician in accordance with the electrical
regulations of the country of installation.
WARNING: Shock Hazard
This unit is not provided with a GFDI device. This charge
controller must be used with an external GFDI device as
required by the Article 690 of the National Electrical Code
for the installation location.
IMPORTANT: READ the SunSaver MPPT Installation
Manual for safety and regulatory information,
instructions on configuration and operation, and
warranty information.
Optional Accessories:
Screws (x4)
Remote Temperature
Sensor (RTS)
Remote Meter (RM‐1)
PC MeterBus Adapter
(MSC)
Relay Driver (RD‐1)
Ethernet MeterBus
Converter (EMC‐1)
USB Communications Adapter
(UMC‐1)
1
Advertisement
Table of Contents

Summary of Contents for Morningstar SunSaver MPPT
- Page 1 Load HVR** 14.5 V (29 V) Array HVD (Temp. Comp.) Highest voltage set point + 0.5 V Scan QR Code to go WARNING: Shock Hazard Array HVR (Temp. Comp.) 13.8 V (27.6 V) directly to the This unit is not provided with a GFDI device. This charge *Not temperature compensated. 15 V @ 12 V nominal, 30 V @ 24 V nominal. SunSaver MPPT Adjustable by DIP Switch 2. Not temperature compensated. Can be modified in controller must be used with an external GFDI device as Installation Manual custom settings. required by the Article 690 of the National Electrical Code and warranty Switch 1: Battery Type for the installation location. information online. For Custom Programming: IMPORTANT: READ the SunSaver MPPT Installation ...
- Page 2 Quick Start Guide SunSaver MPPT™ Charge Controller Photovoltaic (PV) Array IMPORTANT: Example only. Actual wiring may vary. READ the SunSaver Minimum Status LED Battery SOC LEDs Clearance MPPT Installation, Operations, and Maintenance Manual for mandatory See the Morningstar PV String Calculator at: safety requirements. All configuration must comply with local and national Requirements: 6" http://string‐calculator.morningstarcorp.com/ electric codes. Consult your local electric authority to ensure compliance. 60 Voc Maximum Optional Accessories 12 Vdc Module 12 Vdc Module 2" 2" 6" USB Ethernet PC MeterBus Remote Meter Relay Driver MeterBus Communications Adapter (MSC) (RM‐1) (RD‐1)


Need help?
Do you have a question about the SunSaver MPPT and is the answer not in the manual?
Questions and answers