Advertisement
Quick Links
Advertisement

Related Manuals for BOS Suspension VOID2


Summary of Contents for BOS Suspension VOID2
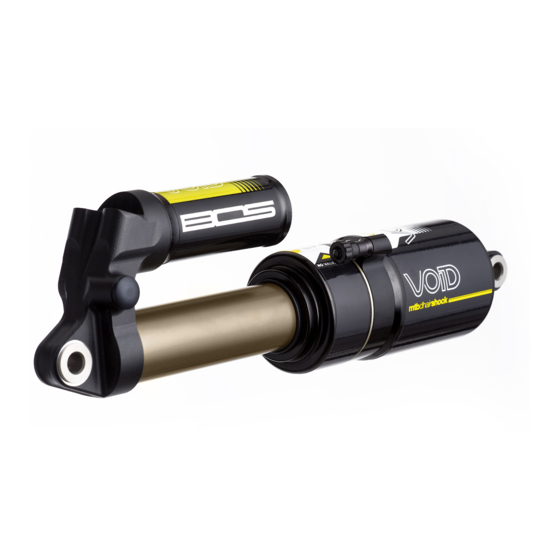
- Page 1 VOID² User Manual...
- Page 2 Warranty Terms and conditions BOS Suspension offers warranty on its products on the following terms: BOS guarantees to the original purchaser that the BOS product for which they received this warranty is free from defects in material and workmanship for one year from the date of original retail purchase.
- Page 3 1. Introduction The VOID shock that you’ve bought was designed and developed to fit most bikes on the market; nevertheless you should refer to the tuning section of this manual to fit it perfectly to your bike, your weight, and your riding style. Caution : Never try to disassemble your shock.
-
Page 4: Air Pressure
3. Settings AIR PRESSURE In order to get the best performance from your BOS product, it’s essential to set up the shock to an optimum air pressure based on your weight and your bike’s rear suspension geometry before using the shock. - Page 5 SETTING YOUR SAG The sag is the amount of travel used by your suspension from your weight on the bike. It is set by adjusting the air pressure. BOS recommends a sag percentage of 30 to 35 %, depending on your use and your riding style. The bike manufacturer may also indicate a sag percentage.
-
Page 6: Hydraulic Settings
HYDRAULIC SETTINGS The VOID shock is a three-ways adjustable shock, which means there are three different damping adjustments: rebound, low-speed compression, high-speed compression. Your shock’s base setting (internal) is set up for your bike’s geometry when you purchase the shock. We use three basic settings which cover the majority of bikes on the market. - Page 7 Important : To start your adjustment, turn the knob clockwise until it stops (clicks = 0). Then count the clicks while turning the knob counterclockwise. Base settings (regardless of internal shock setting): Low-speed compression: 12 clicks from fully closed position High-speed compression: 17 clicks from fully closed position Rebound: 12 clicks from the fully closed position Please refer to the shock chart list available to download at bosmtb.com for specific pressure and setting...
- Page 8 Caution : Only use O-rings provided by BOS. The dimensions and the material are specifically chosen for this purpose. Procedure Place the head of the shock in a soft-jawed vice (figure 1). Caution : Before tightening the vice, make sure the jaws grip a flat surface and are not touching the rebound knob.
- Page 9 AIR VALVE ADJUSTMENT It is possible to place your VOID air valve around the air can, and also position it toward or away from the piggyback. This allows the shock to be fitted on a maximum of frames. Caution : Never place the valve in front of the piggyback, in the no-valve area, even if it is facing away from the piggyback.
- Page 10 Remove the air can (figure 3) Change the position of the valve sleeve if needed and rotate it according on your needs (figure 4). Make sure you have aligned the air can (a) sticker with the rebound knob (figure 5). Replace the air can by screwing back by hand until the stickers align to ensure the proper torque (figure 6).
- Page 11 FAQ11 What is the basic set up? Your VOID shock was delivered with intermediate external hydraulic settings and inflated to a 80 to 100psi pressure; nevertheless you should refer to the tuning section of this manual to fit it perfectly to your bike, your weight, and your riding style.
- Page 12 I’ve not had success in setting up my shock. What can I do? The internal tuning (settings/air damper) it’s a preset tuning to correspond to a maximum of peoples, however it’s possible to adapt all of this parameters to match with your weight, your use and your style, even so to optimize your set up please contact your BOS service center.